

Every driver knows the sudden frustration of a car that won’t start, often due to a tired or failing battery. While visiting a mechanic is always an option, testing your car battery at home can save you time, money, and stress. With a few simple tools and some basic know-how, you can determine the health of your battery before it leaves you stranded. In this article, we’ll guide you through easy, step-by-step methods to check your car battery’s condition from the comfort of your garage, helping you stay one step ahead on the road.
Table of Contents
- Essential Tools for Effective Car Battery Testing
- Preparing Your Vehicle Safely Before Battery Inspection
- Step-by-Step Visual Inspection for Early Battery Issues
- Using a Multimeter to Accurately Measure Battery Voltage
- Interpreting Test Results and Knowing When to Replace
- Maintenance Tips to Prolong Your Battery Life
- Q&A
- In Summary

Essential Tools for Effective Car Battery Testing
To confidently assess your car battery’s health, having the right tools within reach is crucial. Start with a reliable digital multimeter, an indispensable device that measures voltage accurately and quickly. This handheld gadget helps you check the battery’s charge status by quantifying its voltage output, usually displayed in volts (V). Alongside, keep a pair of insulated gloves and safety goggles handy to protect yourself from accidental acid spills or sparks during testing. For those wanting to go beyond basic checks, an automotive battery tester can provide detailed insights into the battery’s performance under load.
Additional tools make the process smoother and safer. An wrench set is essential for loosening the battery terminals without causing damage, while a battery terminal cleaner brush helps remove corrosion that can skew your test results. Consider creating a simple reference chart like the one below, which helps you interpret your voltage readings quickly with a glance:
| Voltage Reading | Battery Condition |
|---|---|
| 12.6V or above | Fully Charged |
| 12.4V – 12.6V | Moderately Charged |
| 12.2V – 12.4V | Discharged |
| Below 12.2V | Needs Replacement |
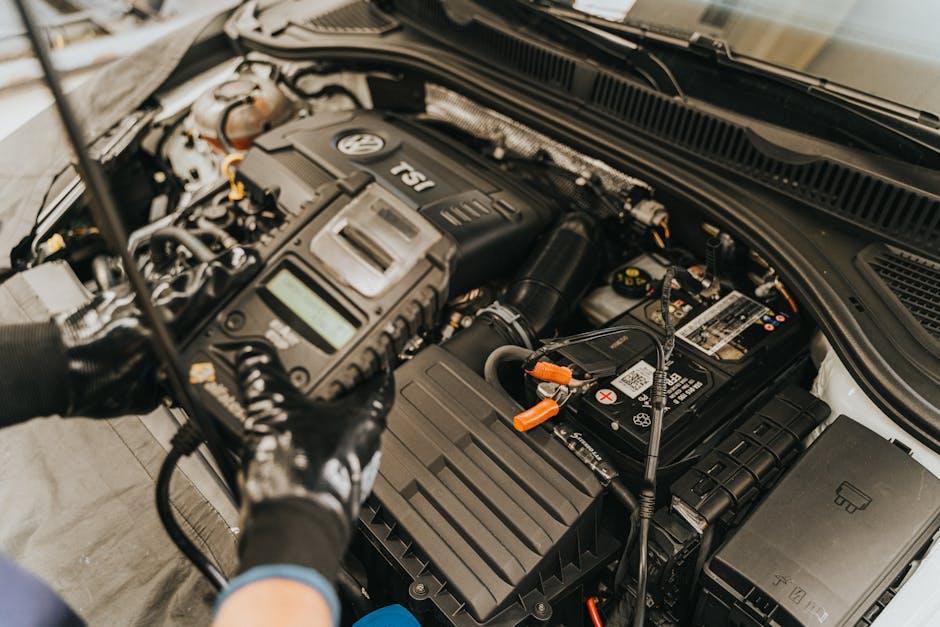
Preparing Your Vehicle Safely Before Battery Inspection
Before diving into the process of testing your car battery, it’s crucial to ensure that your vehicle is in a safe and stable condition. Begin by parking the car on a flat surface and switching off the engine completely. This prevents any electrical surges and ensures an accurate reading of your battery’s health. Always engage the parking brake to keep the vehicle stationary during inspection.
Next, open the hood and take some time to visually inspect the battery and its surroundings. Look for any signs of corrosion on the terminals, leaks, or damaged cables, as these issues can affect your battery’s performance and the safety of your test. Wear protective gloves and eye protection to avoid any accidents, and prepare the tools you’ll need:
- Multimeter or voltmeter
- Wire brush or battery terminal cleaner
- Safety goggles and gloves
- Clean rags

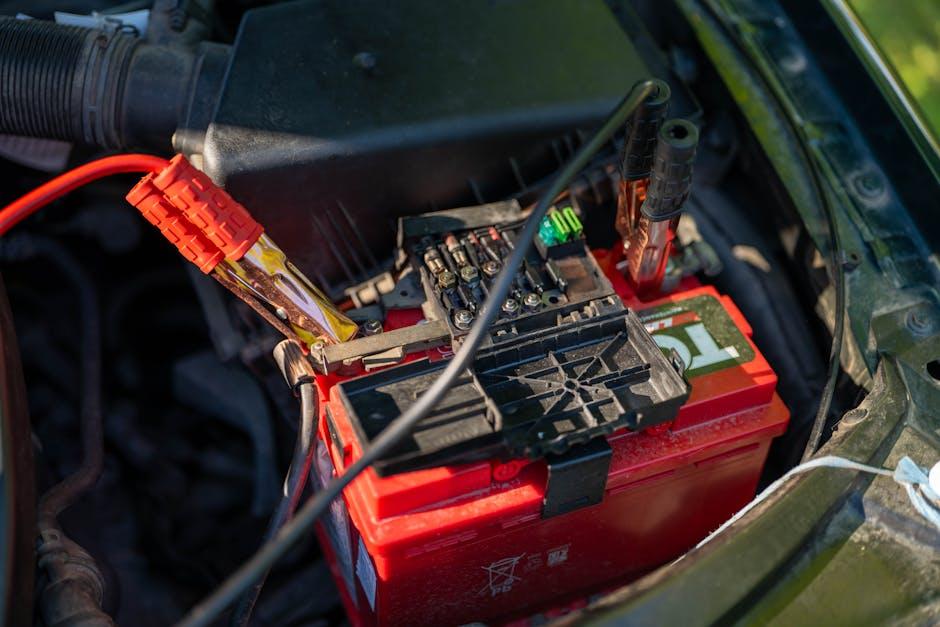
Step-by-Step Visual Inspection for Early Battery Issues
Begin by carefully lifting the hood and locating the battery. Take a close look at the terminals and cables, searching for any signs of corrosion—whitish or bluish powdery deposits can indicate early deterioration. Next, inspect the battery case for cracks, bulges, or leaks, all of which can compromise performance and safety. Use a clean cloth to gently wipe the battery surface to get a better view and avoid false alarms caused by dirt or dust.
Pay special attention to the fluid levels inside the battery if it’s not a sealed unit. Low or uneven fluid levels can lead to internal damage and reduce your battery’s lifespan. Here’s a handy checklist to guide your inspection:
- Corroded terminals: Clean or replace if necessary.
- Damaged cables: Check for cracks or fraying.
- Cracked/bulging case: Replace immediately.
- Leaking fluid: Dispose of battery safely and purchase a new one.
- Fluid levels: Top-off with distilled water if applicable.
| Symptom | What to Look For | Action |
|---|---|---|
| Corrosion | Powdery buildup around terminals | Clean with baking soda and water |
| Cracks | Visible splits in battery casing | Replace battery immediately |
| Low Fluid | Fluid below recommended level | Refill with distilled water |
| Loose Cables | Terminals wiggle when touched | Tighten cable connections |
Using a Multimeter to Accurately Measure Battery Voltage
To begin measuring your battery’s voltage accurately, you’ll first need a reliable multimeter set to the DC voltage setting, typically marked as “V” with a straight line or “VDC.” Before touching the battery terminals, ensure your car is off to prevent any sudden current that could affect your reading. Carefully connect the multimeter’s red probe to the positive (+) terminal and the black probe to the negative (–) terminal. A steady readout between 12.4V and 12.7V usually indicates a fully charged battery, while anything below 12.4V may signal a weakening battery that needs further inspection or charging.
Accuracy is key when interpreting the results, so keep in mind the following tips to ensure a precise measurement:
- Clean Terminals: Dirty or corroded terminals can alter readings, so gently clean them before testing.
- Steady Hands: Hold the probes lightly but firmly to avoid fluctuating values.
- Multiple Tests: Take several readings to confirm consistency.
| Voltage Range | Battery Condition |
|---|---|
| 12.7V – 12.9V | Fully Charged |
| 12.4V – 12.6V | Moderately Charged |
| < 12.4V | Needs Charging or Replacement |

Interpreting Test Results and Knowing When to Replace
Once you’ve conducted your battery test, understanding the numbers is critical to making the right decision. A healthy, fully charged car battery typically measures around 12.6 volts or higher when the engine is off. If your reading falls between 12.4 to 12.6 volts, the battery is moderately charged but may need a top-up soon. Anything below 12.4 volts suggests your battery is running low on power and could struggle to start your vehicle. When the engine is running, voltages should range from 13.7 to 14.7 volts, indicating your alternator is charging the battery efficiently.
Knowing when it’s time to replace your battery can save you from unexpected breakdowns. Along with voltage levels, watch for these warning signs:
- Slow engine crank: Your car takes longer than usual to start.
- Check engine light: Sometimes indicates battery or charging system issues.
- Corrosion build-up: Excessive white or bluish deposits on battery terminals.
- Old age: Batteries older than 3-5 years should be tested more frequently.
| Voltage Reading | Battery Health Status | Action |
|---|---|---|
| > 12.6 V | Fully Charged | No action needed |
| 12.4 – 12.6 V | Moderate Charge | Consider charging soon |
| < 12.4 V | Low Charge | Recharge or test further |
| < 12.0 V | Discharged / Faulty | Replace battery |

Maintenance Tips to Prolong Your Battery Life
Keeping your car battery in prime condition requires a blend of simple habits and attentive care. Regularly cleaning the terminals prevents corrosion build-up, which can hinder electrical flow and lead to premature battery failure. Make a habit of wiping the battery with a mixture of baking soda and water every few months. Additionally, ensure that all connections are tight; loose clamps can cause starting issues or even complete power loss during critical moments.
Another key practice is to monitor the battery’s charge level and avoid deep discharges, which strain the battery’s chemical components. When parking for extended periods, consider disconnecting the battery or using a trickle charger to maintain an optimal charge. Lastly, safeguard your battery from extreme temperatures by parking in shaded or garage spaces during hot summers and insulating it during harsh winters to slow down the natural degradation process.
- Keep terminals clean and connections tight
- Avoid deep discharges; use trickle chargers if needed
- Protect from extreme weather conditions
| Maintenance Action | Frequency | Benefit |
|---|---|---|
| Terminal cleaning | Every 3 months | Prevents corrosion |
| Charge level check | Monthly | Ensures reliable starts |
| Use of trickle charger | During long storage | Maintains battery life |
Q&A
Q&A: How to Test a Car Battery at Home
Q1: Why should I test my car battery at home?
A1: Testing your car battery at home saves time and money by identifying potential issues before they leave you stranded. It’s a simple way to ensure your battery is healthy and your car starts reliably, especially before extreme weather or long trips.
Q2: What tools do I need to test a car battery at home?
A2: The basics include a multimeter (digital or analog) to measure voltage, safety gloves and goggles for protection, and optionally a battery load tester. Many hardware stores sell affordable, user-friendly testers that make the job easier.
Q3: How do I safely prepare my car battery for testing?
A3: First, turn off your engine and remove the keys. Wear safety gear to protect against sparks or acid leaks. Locate your battery—usually under the hood—and clean the terminals if there’s corrosion. Make sure the area is well-ventilated.
Q4: What is the voltage range that indicates a healthy car battery?
A4: A fully charged car battery should read about 12.6 volts or more at rest. Anything below 12.4 volts suggests a partially discharged battery, and under 12.0 volts usually means the battery is weak or dead.
Q5: How do I use a multimeter to test the battery voltage?
A5: Set the multimeter to DC voltage (20V range). Connect the red probe to the positive terminal and the black probe to the negative terminal. Read the voltage on the display and compare it to the healthy range.
Q6: What does it mean if the voltage drops significantly when I start the engine?
A6: A voltage drop below 10 volts during engine start suggests the battery might be weak or failing to deliver enough power. If that happens, it could be time to recharge or replace the battery.
Q7: Can I test the battery without a multimeter?
A7: Yes, some DIY methods include turning on the headlights—dim lights might indicate a weak battery—or using a battery hydrometer to check electrolyte levels (for non-sealed batteries). However, these methods are less precise.
Q8: How often should I test my car battery at home?
A8: Ideally, check your battery every 3-6 months, especially before seasonal changes or if your car shows signs of sluggish starts. Regular testing helps catch issues early.
Q9: What should I do if my battery fails the test?
A9: First, try recharging it with a battery charger. If after charging it still reads low voltage or performs poorly under load, it’s best to replace the battery to avoid breakdowns.
Q10: Are there any precautions I should keep in mind while testing?
A10: Always wear protective gear, avoid touching terminals with bare hands or metal tools that could cause shorts, and work in a ventilated area. Batteries contain corrosive acid and explosive gases, so handle with care.
Testing your car battery at home is a practical way to maintain your vehicle’s health. With a few simple tools and precautions, you can become the master of your battery’s fate—keeping your ride smooth, reliable, and ready for the road ahead.
In Summary
Testing your car battery at home doesn’t have to be a daunting task reserved for the pros. With a little curiosity, some basic tools, and the simple steps outlined above, you can confidently assess whether your battery is ready to hit the road or if it’s time for a replacement. Remember, a healthy battery is the heartbeat of your vehicle’s electrical system—keeping you powered up and on the move. So next time your engine stutters or the dashboard lights dim, you’ll know exactly how to take matters into your own hands and keep your journey going strong.