

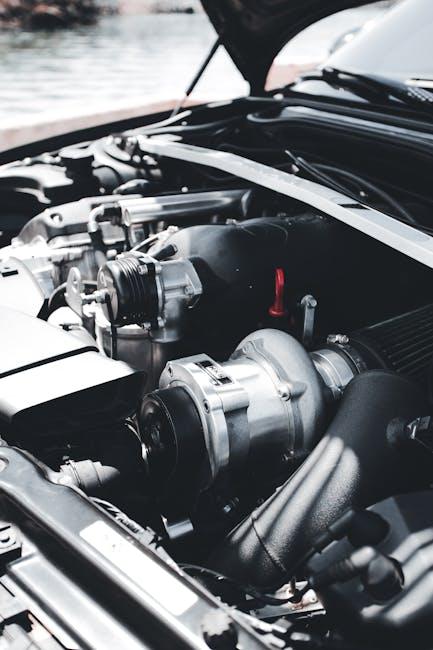
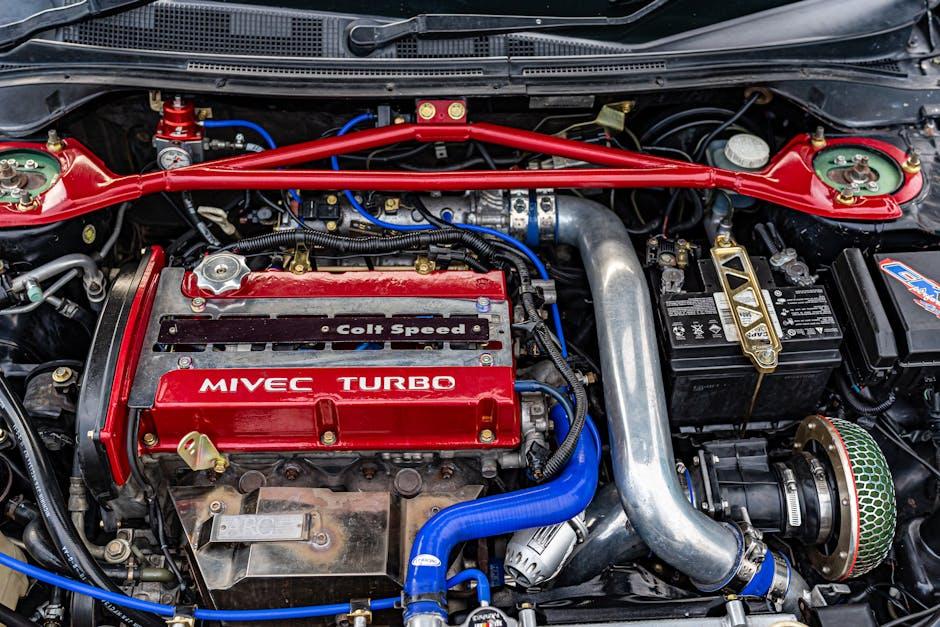
Beneath the hood of every vehicle lies a complex symphony of parts working in harmony to keep the engine running smoothly. Among these vital components, the engine coolant plays a quiet yet crucial role—regulating temperature, preventing overheating, and protecting against corrosion. Over time, however, this lifeblood can become contaminated or lose its effectiveness. That’s where flushing the engine coolant comes in—a maintenance task that refreshes the system and helps ensure your engine’s longevity. In this article, we’ll guide you through the step-by-step process of how to flush engine coolant, empowering you to take this essential car care chore into your own hands.
Table of Contents
- Preparing Your Vehicle for a Coolant Flush
- Selecting the Right Tools and Coolant for Your Engine
- Step-by-Step Guide to Draining Old Coolant Safely
- Thoroughly Flushing the Cooling System for Optimal Performance
- Refilling and Bleeding the Cooling System Correctly
- Post-Flush Maintenance Tips to Keep Your Engine Running Smoothly
- Q&A
- Key Takeaways
Preparing Your Vehicle for a Coolant Flush
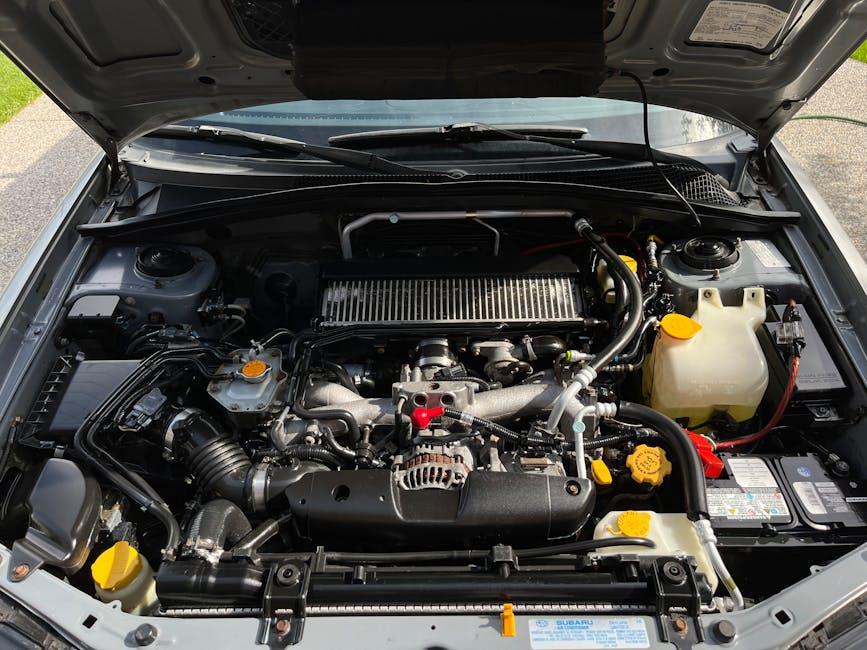
Before diving into the actual flushing process, it’s essential to get your vehicle ready. Start by ensuring the engine is completely cool to avoid burns or injuries. Raise the front of your car with sturdy jack stands or ramps for better access to the radiator drain plug and the lower radiator hose. Have a large drain pan ready to catch the old coolant, and make sure you’re wearing gloves and safety goggles for protection. Taking these steps will create a safer and more efficient workspace.
Gather all necessary supplies beforehand to streamline the job. Here’s a quick checklist:
- New coolant compatible with your vehicle
- Distilled water for rinsing
- Socket wrench set for hose clamps
- Funnel to avoid spills
- Clean rags or towels to wipe up drips
| Step | Tip |
|---|---|
| Check Manual | Verify coolant type and flush interval |
| Cool Down | Never open hot radiator cap |
| Prepare Tools | Keep everything within arm’s reach |

Selecting the Right Tools and Coolant for Your Engine
Before diving into the flushing process, it’s essential to gather the right tools and choose the appropriate coolant. Using improper equipment or coolant can lead to ineffective cleaning or even engine damage. Essential tools typically include a drain pan, funnel, gloves, and protective eyewear. A pressure tester or a garden hose may be helpful to ensure the system is flushed thoroughly. Investing in high-quality tools ensures a safer and smoother coolant flush.
When selecting coolant, pay attention to your vehicle’s manufacturer recommendations since coolants vary by chemical composition and performance characteristics. Here is a quick comparison to guide your choice:
| Coolant Type | Base Fluid | Best For | Service Life |
|---|---|---|---|
| Organic Acid Technology (OAT) | Ethylene Glycol | Modern Cars | Up to 5 years |
| Inorganic Acid Technology (IAT) | Ethylene or Propylene Glycol | Older Vehicles | 2 years or 30,000 miles |
| Hybrid Organic Acid Technology (HOAT) | Ethylene Glycol plus Silicates | Varied Applications | 3-5 years |
Tip: Always dispose of old coolant responsibly, as it is toxic to people and animals. And remember, matching the coolant type with your specific engine ensures optimal thermal protection and corrosion resistance.

Step-by-Step Guide to Draining Old Coolant Safely
Before you begin, ensure the engine is cool to prevent burns or injury. Start by positioning your vehicle on a flat surface and engaging the parking brake for safety. Gather the necessary tools: a drain pan, gloves, safety goggles, and a wrench. Locate the radiator drain valve, usually found at the bottom of the radiator. Place the drain pan beneath the valve, and slowly open it to allow the old coolant to flow out completely. To avoid spills, pour the drained coolant into a sealed container for proper disposal following environmental regulations.
While the coolant is draining, inspect the hoses and radiator for any signs of wear or leaks and consider replacing any damaged parts. Once the old coolant has fully drained, close the radiator valve securely before proceeding to the next step. Here’s a quick checklist for safety and efficiency:
- Cool engine: Always work on a cooled engine to avoid injuries.
- Proper containers: Capture all fluid in leak-proof containers.
- Dispose responsibly: Never pour coolant down drains or on soil.
- Wear protective gear: Gloves and goggles protect your skin and eyes.
Thoroughly Flushing the Cooling System for Optimal Performance
Ensuring your engine’s cooling system is free from old coolant, rust, and debris is essential for maintaining efficient heat transfer and preventing overheating issues. Begin by draining the existing coolant completely from the radiator and engine block, then fill the system with a specialized radiator flush solution or a mixture of distilled water and a non-toxic cleaner. Running the engine at operating temperature allows the flush solution to circulate thoroughly, breaking down deposits and expelling contaminants. After letting the system cool, drain the flush completely, making sure no residue remains that could mix with your new coolant.
To guarantee a spotless system, it’s beneficial to repeat the flushing process or perform a final rinse with distilled water. This extra step ensures that all harsh chemicals and impurities are removed, promoting longevity and peak performance. Consider the following tips for an effective flush:
- Use manufacturer-recommended flush products to avoid damaging seals and components.
- Check hoses and clamps during the flush for any signs of wear or leaks.
- Properly dispose of used coolant following environmental regulations.
| Flush Stage | Action | Approx. Time |
|---|---|---|
| Drain Old Coolant | Remove all existing coolant from system | 10-15 min |
| Flush Solution Fill | Fill system with flush agent & run engine | 30-45 min |
| Drain Flush Solution | Completely drain the cleaning agent | 10 min |
| Rinse & Refill | Flush with distilled water & add fresh coolant | 15-20 min |

Refilling and Bleeding the Cooling System Correctly
Start by ensuring your vehicle is completely cool before attempting to refill the radiator. Pour the coolant mixture slowly into the radiator or coolant reservoir to prevent air pockets from forming. By filling carefully, you reduce the chance of trapping bubbles inside the system, which can lead to overheating or inefficient circulation. Make sure to use the type of coolant recommended in your owner’s manual, and maintain an ideal mix with distilled water for optimum performance.
Once the system is filled, it’s crucial to eliminate any trapped air—a process known as bleeding. To do this effectively:
- Locate the bleeder valve—often near the thermostat housing or radiator.
- Open the valve slightly while the engine is running and warming up, allowing air to escape.
- Keep adding coolant as the level drops during bleeding.
- Close the valve once a steady flow of coolant without bubbles appears.
This simple procedure safeguards your cooling system’s efficiency and prevents potential future issues caused by airlocks.
Post-Flush Maintenance Tips to Keep Your Engine Running Smoothly
After completing an engine coolant flush, maintaining your engine’s optimal temperature and performance is crucial. Begin by regularly checking coolant levels to ensure they remain within the recommended range; low coolant can lead to overheating and damage. Incorporate visual inspections of hoses and the radiator for any signs of leaks, cracks, or corrosion, as even minor damage can hamper your cooling system’s effectiveness. Don’t forget to monitor the coolant’s color and consistency—fresh coolant typically has a bright hue, while old or contaminated coolant may appear rusty or murky.
Adopting a routine maintenance schedule can significantly extend engine life and prevent costly repairs. Here’s a handy checklist to keep at your fingertips:
- Coolant level: Top off as needed with the manufacturer’s recommended type.
- Temperature gauge: Ensure your engine runs within safe temperature limits.
- Thermostat check: Replace if your engine experiences irregular heating.
- Pressure cap inspection: Maintain pressure balance to prevent coolant loss.
- Scheduled flushes: Follow manufacturer guidance for coolant replacement intervals.
| Maintenance Task | Recommended Frequency | Benefit |
|---|---|---|
| Coolant Level Check | Monthly | Prevents overheating |
| Hose and Radiator Inspection | Every 3 months | Detects leaks early |
| Thermostat Testing | Annually | Maintains temperature control |
| Pressure Cap Check | Every 6 months | Ensures optimal pressure |
Q&A
Q&A: How to Flush Engine Coolant
Q1: Why is flushing engine coolant important?
A1: Flushing engine coolant is essential to remove old, contaminated coolant and any built-up rust, sludge, or debris from your vehicle’s cooling system. This helps prevent overheating, corrosion, and extends the life of your radiator and engine.
Q2: How often should I flush my vehicle’s coolant?
A2: Most manufacturers recommend flushing the coolant every 30,000 to 50,000 miles or every 2 to 5 years. However, always check your owner’s manual for specific guidelines, as coolant types and vehicle designs can vary.
Q3: What tools and materials do I need to flush engine coolant?
A3: You’ll need a few essentials: a catch pan to collect old coolant, a wrench or screwdriver to open the drain plug, fresh coolant (manufacturer-approved), distilled water, gloves, safety glasses, and possibly a funnel. Some prefer using a coolant flush chemical for a deeper clean.
Q4: Can I flush the coolant myself, or should I see a professional?
A4: If you’re comfortable working under your car and following basic safety steps, a DIY flush is quite doable. However, if you’re unsure about any step, especially dealing with coolant systems and disposal, it’s wise to consult a mechanic.
Q5: What’s the basic process of flushing engine coolant?
A5: First, ensure the engine is cool, then drain the old coolant by opening the radiator drain valve and engine block drain plug if available. Next, flush the system with distilled water or a flush solution by filling and running the engine briefly. Drain again, then refill with fresh coolant mixed per the manufacturer’s ratio. Finally, bleed the system of air and check for leaks.
Q6: How do I safely dispose of old coolant?
A6: Used coolant is toxic and should never be poured down drains or on the ground. Collect it in a sealed container and take it to a local auto shop or hazardous waste facility that accepts automotive fluids.
Q7: What signs indicate my coolant needs flushing?
A7: Look out for coolant that’s rusty, murky, or has particles floating in it. Also, an overheating engine, heater malfunctions, or unexplained temperature gauge spikes can signal your coolant system needs attention.
Q8: Are all coolants the same, or should I use a specific type?
A8: Coolants vary by color, chemistry, and additives—such as ethylene glycol-based or organic acid technology (OAT) types. Always use the type recommended by your vehicle’s manufacturer to ensure proper corrosion protection and system compatibility.
Q9: What happens if I never flush my coolant?
A9: Failing to flush coolant can result in corrosion inside the cooling system, clogged radiator passages, overheating, and potentially costly engine damage. Regular maintenance keeps your engine running smoothly and prevents breakdowns.
Q10: Can I flush coolant in cold weather?
A10: It’s best to flush coolant in a warm environment to avoid freezing risks and to ensure the system is warmed up for proper draining. If you must flush in cold conditions, take extra precautions to protect the cooling system and yourself.
Key Takeaways
Flushing your engine coolant may seem like a small task, but it plays a vital role in keeping your vehicle’s heart beating strong and steady. By regularly refreshing this life-giving fluid, you ensure optimal performance and extend the lifespan of your engine. Whether you’re a seasoned mechanic or a first-time DIYer, mastering this simple process empowers you to take control of your car’s health. So roll up your sleeves, grab your tools, and give your engine the refreshing flush it deserves—because every journey is smoother when your engine runs cool.
1 Comment
Thank you for your sharing. I am worried that I lack creative ideas. It is your article that makes me full of hope. Thank you. But, I have a question, can you help me?