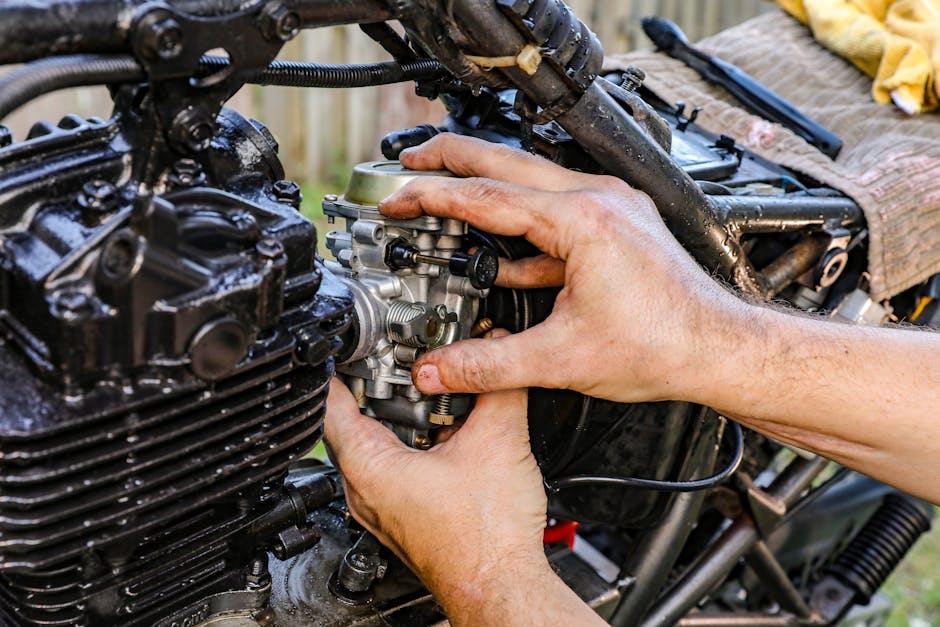
Beneath the hood of every vehicle lies a complex symphony of metal and machinery, tirelessly working to keep you moving. Over time, however, dust, grime, and oil can settle into this intricate dance, quietly hampering performance and longevity. For many, the thought of engine cleaning may seem daunting or reserved for the professionals. Yet, with a bit of guidance and the right approach, even beginners can confidently tackle this task. In this article, we’ll explore practical DIY engine cleaning tips designed to help you rejuvenate your engine’s appearance and functionality without the fuss—turning a seemingly complicated chore into an empowering weekend project.
Table of Contents
- Understanding the Basics of Engine Cleaning Safety Precautions to Keep in Mind Preparing Your Engine Bay for a Thorough Clean Essential Tools and Cleaning Products for Effective Results Step-by-Step Guide to Manual Engine Degreasing Maintaining Your Engine’s Appearance Between Deep Cleans
- Q&A
- To Conclude

Understanding the Basics of Engine Cleaning Safety Precautions to Keep in Mind Preparing Your Engine Bay for a Thorough Clean Essential Tools and Cleaning Products for Effective Results Step-by-Step Guide to Manual Engine Degreasing Maintaining Your Engine’s Appearance Between Deep Cleans
Before diving into the grime and dirt, it’s crucial to keep safety at the forefront of your engine cleaning routine. Begin by disconnecting the battery to avoid any electrical mishaps. Avoid using high-pressure water that can force moisture into sensitive components, and always work in a well-ventilated space. Protective gloves and eyewear are essential to shield you from harsh chemicals in degreasers. Also, be mindful of hot engine parts; waiting for the engine to cool down prevents burns and ensures cleaning agents work effectively.
Preparation is key to a successful engine bay clean. Start by removing loose debris using a brush or compressed air. Gather your arsenal of tools including a soft-bristle brush, microfiber cloths, and plastic scrapers for stubborn dirt. Use specially formulated engine degreasers to break down oil and grime without damaging rubber or paint surfaces. Here’s a handy overview of essential items:
| Tool/Product | Purpose | Tip |
|---|---|---|
| Soft-Bristle Brush | Gently scrub dirt off surfaces | Use circular motions |
| Microfiber Cloths | Wipe and dry surfaces without scratching | Use separate cloths for cleaning and drying |
| Engine Degreaser | Break down grease and oil deposits | Choose biodegradable options when possible |
| Plastic Scraper | Remove stubborn grime carefully | Avoid metal tools to prevent damage |
Q&A
Q&A: DIY Engine Cleaning Tips for Beginners
Q1: Why should I clean my car’s engine myself?
A: Cleaning your engine at home saves money, gives you a better understanding of your vehicle’s condition, and can improve engine performance by removing dirt and grime that cause overheating or corrosion. Plus, it’s a satisfying hands-on project!
Q2: How often should I clean my engine?
A: Generally, cleaning your engine once or twice a year is sufficient. However, if you frequently drive in dusty or muddy conditions, consider cleaning more often to prevent buildup that can affect engine components.
Q3: What tools and materials do I need to get started?
A: Basic supplies include a plastic bag or cling wrap to cover sensitive parts, a soft brush, degreaser formulated for automotive use, a garden hose or pressure washer (on a low setting), microfiber towels, and protective gloves and eyewear.
Q4: Which parts of the engine should I avoid soaking or spraying with water?
A: Avoid getting water on the battery terminals, exposed wiring, air intake, distributor, and any electrical connectors. Cover these parts securely with plastic before you begin cleaning to prevent damage.
Q5: How do I properly apply degreaser to the engine?
A: Spray the degreaser evenly over the engine’s surfaces, focusing on areas with heavy grime and oil buildup. Let it sit for 5-10 minutes to break down the grease, but avoid letting it dry completely on the engine.
Q6: Is it safe to use a pressure washer on my engine?
A: Use a pressure washer cautiously. Keep the pressure low and maintain a distance of at least 12 inches to avoid damaging delicate parts. Alternatively, a simple garden hose spray is often safer and sufficient for beginners.
Q7: How do I dry the engine after cleaning?
A: Use microfiber towels to blot excess water. Let the engine air dry with the hood open for a few hours. For faster drying, you can also use compressed air to blow out water from crevices or a leaf blower on a low setting.
Q8: Are there any safety tips I should follow?
A: Absolutely! Work in a well-ventilated area, wear gloves and goggles, and cool down your engine completely before starting. Also, avoid using harsh chemicals that can damage plastic or rubber components.
Q9: Can engine cleaning improve my car’s performance?
A: A clean engine can run cooler and help you spot leaks or worn parts earlier, which contributes to smoother performance and longevity. However, cleaning won’t fix mechanical issues on its own.
Q10: What should I do if I’m unsure about any step?
A: Consult your vehicle’s manual for specific instructions, watch tutorial videos for visual guidance, or ask for advice at a local auto shop. When in doubt, it’s always better to proceed with caution or seek professional help.
This Q&A provides a solid introduction for beginners eager to tackle engine cleaning safely and effectively, blending practical advice with creative clarity.
To Conclude
Armed with these simple yet effective DIY engine cleaning tips, even beginners can breathe new life into their vehicles with confidence and care. Remember, a clean engine isn’t just about aesthetics—it’s a step toward better performance and longevity. So roll up your sleeves, gather your supplies, and let the satisfying process of engine rejuvenation steer you toward a smoother, more reliable ride. Happy cleaning!


1 Comment
j9eydp