

Beneath the sleek curves of your car lies a complex network of wires, circuits, and components that keep everything from your headlights to your engine’s ignition running smoothly. The electrical system is the unseen heartbeat of your vehicle, silently powering convenience and safety features every time you turn the key. Yet, like any intricate system, it demands attention and care to stay reliable. In this article, we’ll explore essential maintenance tips to help you keep your car’s electrical system in top shape—ensuring that the spark behind your drive never fades.
Table of Contents
- Understanding the Heart of Your Car’s Electrical System
- Signs Your Electrical System Needs Attention
- Essential Tools for Diagnosing Electrical Issues
- Maintaining Battery Health for Reliable Starts
- Caring for Wiring and Connectors to Prevent Failures
- Tips for Keeping Alternator Performance Optimal
- Q&A
- To Conclude
Understanding the Heart of Your Car’s Electrical System
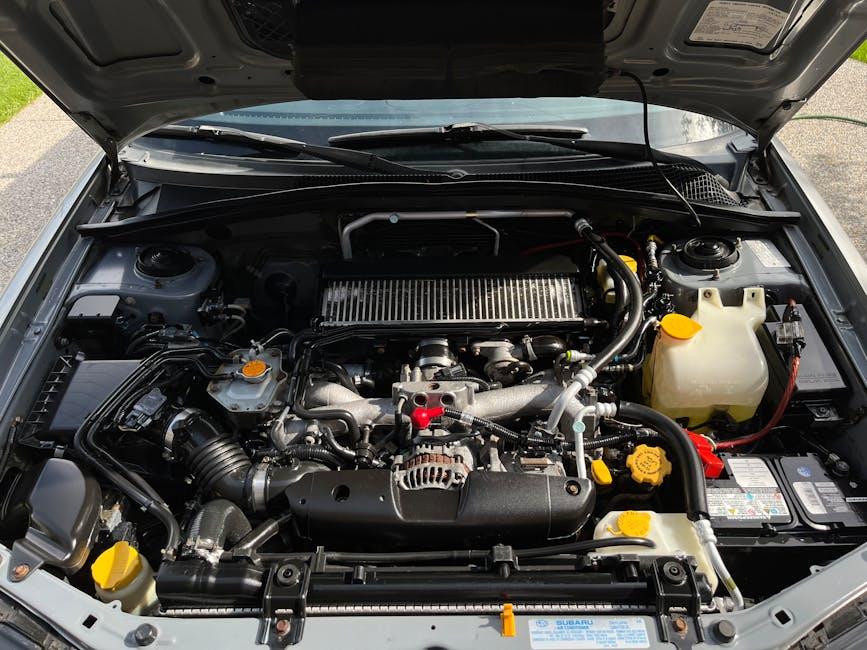
The electrical system in your vehicle is much more than just powering the lights and radio—it’s the vital network that controls everything from the ignition to the onboard computer. At the core of this system is the battery, often referred to as the “heart” of your car’s electrical system. This powerhouse stores energy and supplies the necessary current to start the engine and run electrical components. Alongside the battery, the alternator keeps the system charged as you drive, ensuring a continuous flow of electricity and preventing unexpected power losses. Understanding these components and how they interact helps you identify issues before they become costly repairs.
To keep this crucial system in peak condition, regular maintenance is essential. Here are some key points to focus on:
- Battery Health: Check for corrosion on terminals and ensure clean connections for optimal performance.
- Alternator Function: Listen for unusual noises signaling wear and verify voltage output with a multimeter.
- Fuses and Wiring: Inspect fuses periodically and look for any damaged wiring to avoid shorts and electrical failures.
| Component | Maintenance Tip | Frequency |
|---|---|---|
| Battery | Clean terminals and test charge | Every 6 months |
| Alternator | Test output voltage | Every 12 months |
| Fuses | Visual inspection | With every oil change |
Signs Your Electrical System Needs Attention
Pay close attention to how your vehicle behaves, as subtle electrical issues often precede bigger problems. Dim or flickering headlights, frequent blowing of fuses, or unusual dashboard warning lights can all be red flags. You might also notice your battery warning light illuminating sporadically or a slow engine crank when starting the car. These signs suggest your electrical system demands a thorough inspection to avoid unexpected breakdowns.
Other symptoms often overlooked include:
- Malfunctioning power windows and locks
- Sporadic issues with the car stereo or infotainment system
- Unresponsive interior lights or instrument panel
- Strange smells or warmth near wiring or fuse boxes
If these issues become a pattern, it’s time to consult a professional who can conduct comprehensive diagnostics and pinpoint the source before it escalates.
| Symptom | Possible Cause | Recommended Action |
|---|---|---|
| Flickering lights | Loose wiring or alternator issues | Check connections & alternator output |
| Slow engine crank | Weak battery or corroded terminals | Test battery & clean terminals |
| Frequent fuse blowouts | Short circuits or faulty components | Inspect wiring harness & replace faulty parts |

Essential Tools for Diagnosing Electrical Issues
When tackling electrical issues in your vehicle, having the right tools at hand can significantly streamline the diagnosis process. A multimeter is indispensable for measuring voltage, current, and resistance, allowing you to pinpoint faulty wiring or components with precision. Additionally, a test light is invaluable for quickly checking circuits and fuses, making it easier to identify breaks or shorts in the electrical pathways. Don’t underestimate the value of a good set of wire strippers and crimpers too—they ensure clean connections and reliable repairs without causing further damage.
Beyond these essentials, investing in a scan tool or OBD-II reader can unlock the vehicle’s onboard diagnostics, providing codes and data that reveal hidden electrical faults. For more hands-on work, insulated screwdrivers and electrical tape serve as critical safety and repair companions. Here’s a quick overview of must-have items:
- Multimeter: Measures electrical values
- Test Light: Checks live circuits
- Wire Strippers/Crimpers: Prepares and secures wiring
- OBD-II Reader: Accesses diagnostic codes
- Insulated Tools: Enhances safety during repairs
- Electrical Tape: Protects wire splices
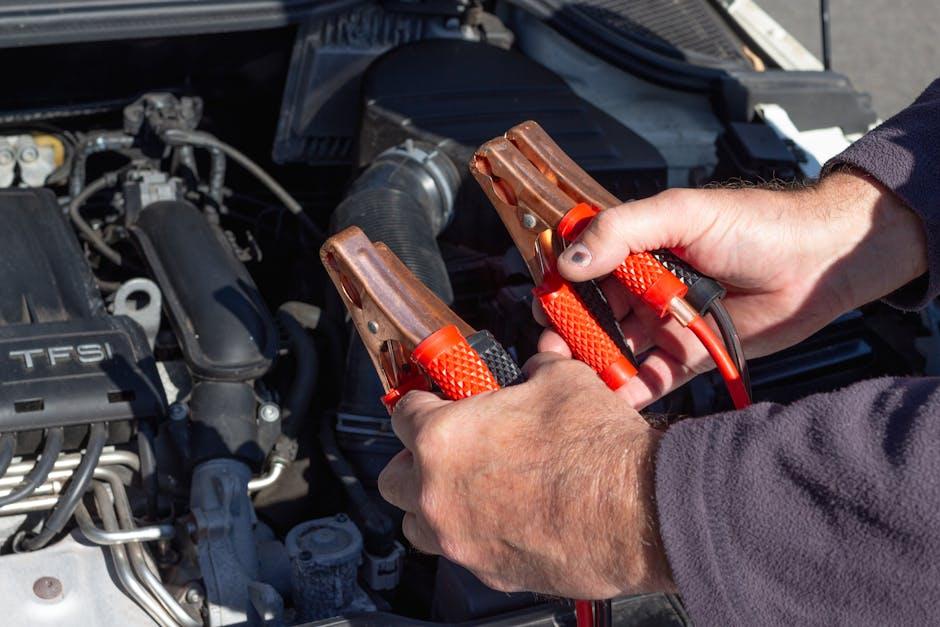
Maintaining Battery Health for Reliable Starts
Ensuring your battery remains in peak condition is crucial for dependable engine starts every time you turn the key. Start by keeping the terminals clean and free of corrosion, which can block electrical flow and reduce performance. Use a mixture of baking soda and water with a wire brush for gentle cleaning. Additionally, routinely check the battery casing for any cracks or leaks, and make sure it stays securely fastened to prevent vibrations that could damage internal components. Don’t forget that extreme temperatures—both hot and cold—can dramatically impact battery life, so park in shaded or sheltered areas whenever possible.
Regular inspection of your battery’s charge levels and health status can save you from unexpected breakdowns. Using a digital multimeter or a dedicated battery tester, monitor the voltage to ensure it stays within the optimal range of 12.4 to 12.7 volts when the engine is off. Below is a quick reference table highlighting voltage states and their implications:
| Voltage Reading | Battery Status | Recommended Action |
|---|---|---|
| Above 12.7V | Fully Charged | No immediate action |
| 12.4V – 12.7V | Moderately Charged | Monitor regularly |
| Below 12.4V | Discharged | Recharge or replace |
- Avoid leaving lights or electronics on when the engine is off.
- Charge the battery periodically if the vehicle is unused for extended periods.
- Schedule professional checks to assess battery health during routine maintenance.

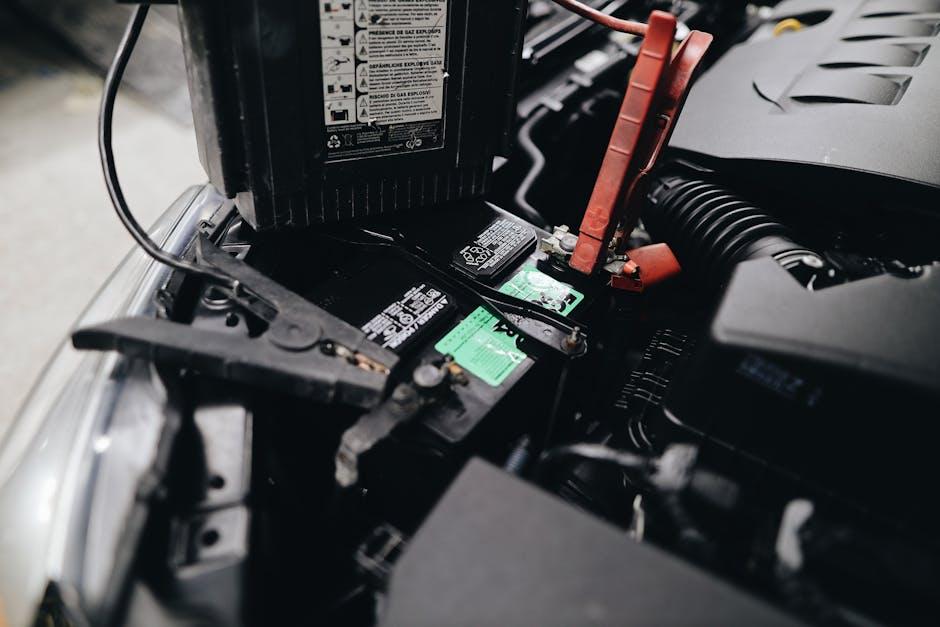
Caring for Wiring and Connectors to Prevent Failures
Maintaining the integrity of your car’s wiring and connectors is crucial for avoiding unexpected electrical issues that can leave you stranded. Always inspect wires for signs of fraying, cracking, or corrosion, especially around connection points where moisture and dirt tend to accumulate. Using dielectric grease on connectors not only prevents oxidation but also ensures a stable, corrosion-resistant seal. Remember to secure loose wires with clips or ties to avoid abrasion from rubbing against metal parts or engine heat, which can degrade the insulation over time.
Regular cleaning of electrical connections is just as important as visual inspections. Use a contact cleaner specifically designed for automotive use to remove buildup without damaging sensitive components. Here are some best practices to keep in mind:
- Disconnect battery power before working on wiring to prevent shorts.
- Use proper tools for removing connectors to avoid damaging terminals.
- Replace damaged connectors rather than attempting quick fixes with tape.
| Common Issue | Preventive Measure |
|---|---|
| Corroded terminals | Apply dielectric grease and clean regularly |
| Worn insulation | Inspect and replace damaged wires promptly |
| Loose connections | Secure with proper clips and reconnect firmly |
Tips for Keeping Alternator Performance Optimal
Maintaining the charging efficiency of your alternator is crucial to avoid unexpected battery failures. Start by regularly inspecting the alternator belt for signs of wear such as cracks, fraying, or glazing. A loose or damaged belt can slip and reduce output, causing the battery to drain. Keep terminals clean and free of corrosion to ensure optimal electrical connectivity. Using a wire brush and a terminal cleaner, remove any buildup that could hinder efficient power flow. Additionally, make sure all wiring harnesses connecting to the alternator are secured tightly and show no signs of heat damage or exposed wires.
Beyond physical inspections, employ routine voltage output checks using a multimeter to monitor the alternator’s health. A healthy alternator typically produces a voltage between 13.8 to 14.4 volts while the engine is running. If readings consistently fall outside this range, consider further diagnostics or professional servicing. Below is a quick reference table for ideal alternator voltage ranges based on engine state:
| Engine State | Voltage Range (Volts) |
|---|---|
| Engine Off | 12.4 – 12.7 |
| Idle | 13.8 – 14.4 |
| High RPM | 14.0 – 14.8 |
Q&A
Q&A: Car Electrical System Maintenance Tips
Q1: Why is maintaining my car’s electrical system important?
A1: Your car’s electrical system powers essential components like the battery, alternator, starter, lights, and infotainment. Proper maintenance ensures reliability, extends component life, and prevents unexpected breakdowns that could leave you stranded.
Q2: What are the key signs my car’s electrical system needs attention?
A2: Flickering or dimming headlights, slow engine crank, dashboard warning lights, frequent blown fuses, or malfunctioning electronics are red flags. Addressing these early can save time and costly repairs.
Q3: How often should I check my car battery?
A3: It’s wise to inspect your battery at least twice a year. Look for corrosion on terminals, ensure tight connections, and test the battery voltage—especially before extreme weather seasons.
Q4: Can I clean battery terminals myself?
A4: Yes! Use a mixture of baking soda and water with a wire brush. Disconnect the battery cables first (negative cable first), clean the terminals, rinse, dry, and reconnect carefully to avoid sparks.
Q5: What role does the alternator play, and how do I know if it’s failing?
A5: The alternator charges your battery while the engine runs. Warning signs of failure include dimming lights, battery warning light on the dash, or unusual noises. Regular inspections can catch wear before it causes issues.
Q6: How do I maintain the wiring in my car’s electrical system?
A6: Check for frayed, cracked, or exposed wires regularly. Avoid DIY fixes that use simple tape; instead, opt for professional repairs or proper wire connectors to prevent shorts or electrical fires.
Q7: Should I worry about fuses?
A7: Yes, fuses protect your electrical circuits. If a fuse keeps blowing, it indicates an underlying issue like a short circuit. Replace blown fuses promptly and diagnose recurring problems with a professional.
Q8: How can I protect my car’s electrical system from extreme weather?
A8: Keep terminals clean and covered, ensure wiring insulation is intact, and use a battery maintainer in cold climates. In hot weather, park in shaded areas to avoid battery overheating.
Q9: When should I seek professional electrical system maintenance?
A9: If you encounter persistent electrical issues, warning lights you don’t understand, or advanced diagnostics are required, it’s best to consult a certified mechanic specializing in automotive electrical systems.
Q10: Can regular maintenance prevent major electrical failures?
A10: Absolutely. Routine inspections, cleaning, and timely repairs catch small problems before they escalate, saving you from stressful breakdowns and costly fixes down the road.
To Conclude
Maintaining your car’s electrical system is like tuning the heartbeat of your vehicle—steady, reliable, and ready to respond whenever you turn the key. By keeping these vital components in check, you not only prevent unexpected breakdowns but also ensure a smoother and safer drive every time. So, treat your car’s electrical system with the regular care it deserves, and it will reward you with years of dependable performance on the road ahead. After all, a well-powered car is a happy car.