

Beneath the sleek metal hood of your vehicle lies a complex symphony of parts and mechanics, all working in harmony to power your journey. Yet, like any finely tuned orchestra, the engine can hit a few sour notes—unexpected stalls, strange noises, or warning lights that flicker to life without warning. Understanding common engine problems and knowing how to address them not only saves time and money but also keeps your vehicle running smoothly for miles to come. In this article, we’ll explore some of the most frequent engine issues drivers face and provide practical guidance on how to fix them, turning everyday headaches into manageable maintenance.
Table of Contents
- Common Engine Overheating Causes and Practical Cooling Solutions
- Identifying and Repairing Misfires for Smooth Engine Performance
- Diagnosing Oil Leaks and Implementing Effective Repairs
- Understanding Timing Belt Issues and Preventive Maintenance Tips
- Recognizing Symptoms of Engine Knock and How to Address Them
- Essential Steps to Restore Engine Compression and Power
- Q&A
- To Conclude

Common Engine Overheating Causes and Practical Cooling Solutions
Engine overheating is often the silent saboteur behind many roadside emergencies. Common culprits include a malfunctioning thermostat that fails to regulate coolant flow, a leaking radiator reducing the cooling efficiency, and clogged or damaged hoses interrupting fluid circulation. These issues not only cause the temperature gauge to spike but can also lead to costly repairs if ignored. Keeping an eye on coolant levels and regularly inspecting hoses and clamps can prevent many overheating episodes before they escalate.
Addressing overheating requires practical, preventative steps that restore optimal cooling system performance. Simple fixes like flushing the radiator, replacing faulty thermostats, or installing a high-quality electric cooling fan can dramatically improve heat dissipation. The table below summarizes common causes alongside effective cooling solutions, making troubleshooting more straightforward:
| Overheating Cause | Practical Cooling Solution |
|---|---|
| Thermostat stuck closed | Replace with a new thermostat |
| Radiator leaks | Seal leaks or replace radiator |
| Coolant contamination | Flush cooling system & refill with fresh coolant |
| Faulty cooling fan | Repair or install electric fan upgrade |

Identifying and Repairing Misfires for Smooth Engine Performance
Engine misfires can sneak up on any vehicle owner, leaving you with a jittery ride and reduced fuel efficiency. They occur when the combustion process in one or more cylinders doesn’t fire properly, leading to rough idling, hesitation during acceleration, or even the check engine light coming on. Common culprits include worn spark plugs, clogged fuel injectors, or faulty ignition coils. To get ahead of costly repairs, regularly inspect and replace spark plugs as needed, and use fuel system cleaners to keep injectors clear. A small investment in routine maintenance can prevent those annoying jerks that disrupt your daily drive.
Diagnosing misfires often involves a few key steps that you can try at home before heading to a mechanic. Start by scanning for error codes using an OBD-II reader, as this tool quickly points to which cylinder is the troublemaker. Next, check your ignition system for signs of wear or damage. Keep in mind these troubleshooting tips:
- Inspect spark plugs: Look for cracks, carbon buildup, or worn electrodes.
- Test ignition coils: Use a multimeter to confirm voltage output.
- Examine fuel injectors: Listen for clicking sounds or use injector cleaner additives.
Below is a simple reference table to help determine the likely cause based on symptoms:
| Symptom | Potential Cause | Recommended Action |
|---|---|---|
| Engine hesitation under load | Faulty spark plugs | Replace spark plugs |
| Rough idle with a check engine light | Ignition coil malfunction | Test and replace ignition coils |
| Poor fuel economy, hard start | Clogged fuel injectors | Use injector cleaner or professional cleaning |
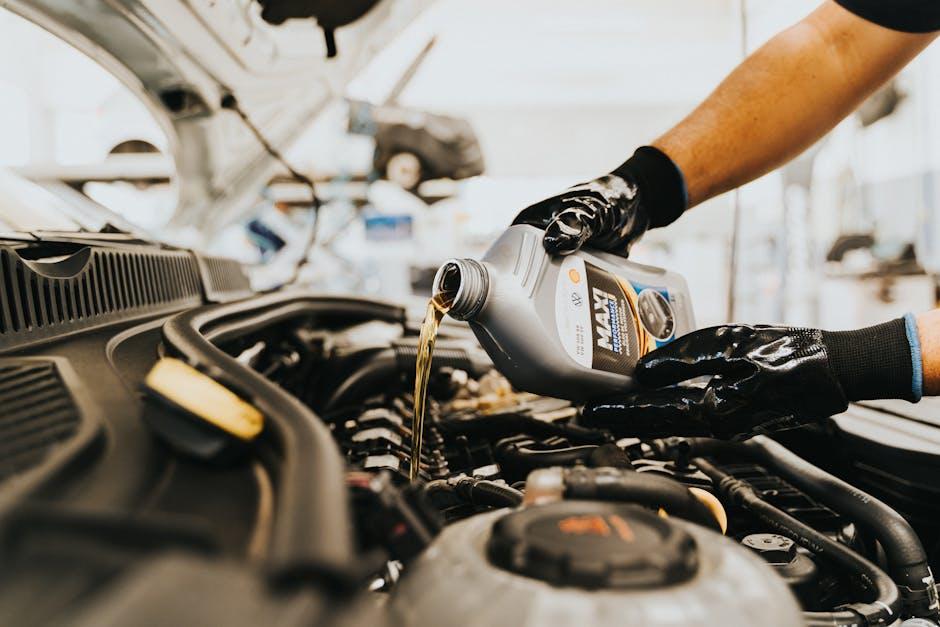
Diagnosing Oil Leaks and Implementing Effective Repairs
Identifying the source of an oil leak often requires a systematic approach, starting with a thorough visual inspection. Common culprits include worn-out gaskets, degraded seals, or cracked oil pans. Begin by examining areas around the valve cover, oil filter, and oil pan for wet spots or pools of oil. Using a clean rag to wipe suspicious sections can help track fresh leaks. Additionally, running the engine for a few minutes and then inspecting underneath the vehicle can reveal drips or trails that pinpoint trouble spots. If the leak is persistent but elusive, adding a UV dye to the oil and using a UV light source can highlight even the smallest fissures or faulty seals.
Once the leak source is confirmed, implementing effective repairs hinges on choosing the right method to restore the vehicle’s integrity. Simple gasket replacements often suffice for minor leaks; however, cracked oil pans or degraded seals might require professional-grade sealants or full part replacements. Here’s a quick guide to common repairs:
- Valve cover gasket: Replace gasket and clean mating surfaces thoroughly.
- Oil pan: Tighten bolts or replace with a new pan if severely damaged.
- Oil filter: Ensure proper installation and replace gasket if leaking.
- Rear main seal: Usually requires professional disassembly and replacement.
| Leak Location | Common Repair | Estimated Time |
|---|---|---|
| Valve Cover | Gasket Replacement | 1-2 hours |
| Oil Pan | Sealant or Pan Replacement | 2-3 hours |
| Oil Filter Area | Filter & Gasket Check/Replace | 30 minutes |
| Rear Main Seal | Seal Replacement | 4-6 hours |
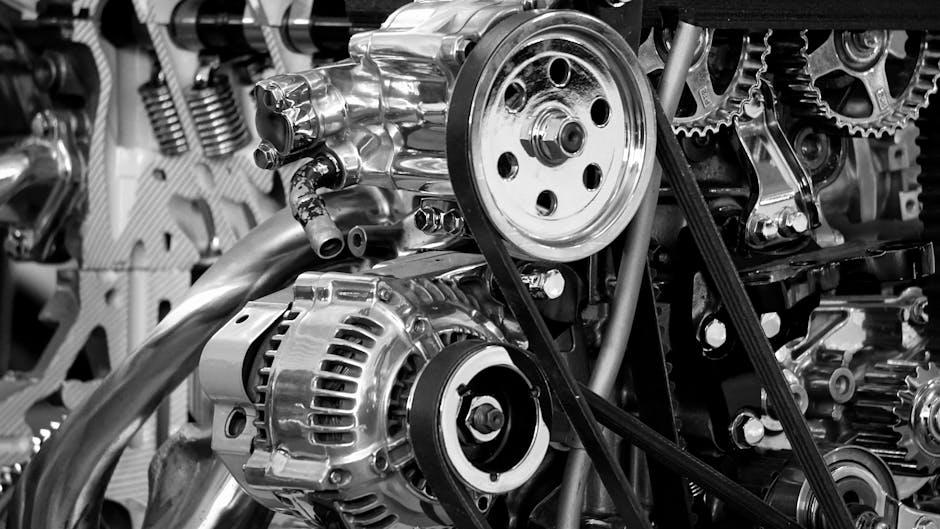
Understanding Timing Belt Issues and Preventive Maintenance Tips
Timing belt issues can silently disrupt your engine’s performance, often leading to costly repairs if ignored. Common symptoms include unusual engine noises, rough idling, or difficulty starting the vehicle. Regular inspection is crucial since the belt’s rubber composition is prone to wear, cracking, or stretching over time. Incorporating routine visual checks, especially around 60,000 to 100,000 miles, can help identify signs of deterioration before they escalate. Waiting until a total failure occurs could result in severe engine damage, surpassing the cost of a preventive replacement.
To keep your timing belt in optimal condition, follow these essential maintenance tips:
- Adhere to manufacturer replacement intervals: Timing belts should be replaced as recommended, often between 60,000 and 100,000 miles.
- Inspect related components: Tensioners, pulleys, and water pumps also wear out and should be checked or replaced simultaneously.
- Listen for warning sounds: Squealing, ticking, or slapping noises near the front of the engine may indicate belt issues.
- Seek professional evaluation: If in doubt, a trusted mechanic’s assessment can prevent unnecessary damage.
| Issue | Cause | Preventive Action |
|---|---|---|
| Belt Cracking | Age & Heat Exposure | Replace as per mileage schedule |
| Loose Belt | Worn Tensioner | Inspect & replace tensioner |
| Unusual Noise | Misaligned Pulley | Realign or replace pulley |
Recognizing Symptoms of Engine Knock and How to Address Them
Engine knock, often described as a metallic pinging or rattling sound during acceleration or under load, is more than just an annoyance—it signals that your engine’s combustion process is out of sync. Typically caused by premature fuel ignition, this can damage pistons, rods, and other internal components if left unchecked. Common culprits include using lower-octane fuel than recommended, carbon buildup inside the combustion chamber, or faulty spark plugs. Recognizing these signs early is crucial to preventing costly repairs and maintaining smooth engine performance.
To tackle engine knock effectively, consider these practical steps:
- Switch to a higher-octane fuel to ensure proper combustion timing
- Inspect and replace spark plugs if they appear worn or fouled
- Use a fuel system cleaner to reduce carbon deposits that cause hot spots
- Ensure the engine’s timing and sensor readings (like knock sensors) are accurate
Regular maintenance and timely diagnosis are your best defenses against knock-related damage. Below is a quick reference guide summarizing symptoms alongside probable causes and solutions:
| Symptom | Probable Cause | Recommended Action |
|---|---|---|
| Metallic pinging under acceleration | Low-octane fuel or advanced ignition timing | Use recommended fuel grade, check ignition timing |
| Intermittent knocking noise | Worn or dirty spark plugs | Inspect and replace spark plugs |
| Loss of engine power with knocking | Carbon deposits causing hot spots | Fuel system cleaning and decarbonizing |
Essential Steps to Restore Engine Compression and Power
Regaining engine compression and power starts with a thorough inspection of critical components such as piston rings, cylinder walls, and valves. Worn piston rings often allow gases to escape, reducing compression, so replacing these with high-quality replacements is essential. Additionally, honing the cylinder walls restores their smooth finish, helping new rings seat properly and ensuring an airtight seal. Checking valve clearances and reseating or replacing valves can eliminate leaks, allowing optimal compression during the combustion cycle.
Key maintenance actions include:
- Replacing damaged or worn piston rings
- Honing cylinder walls for proper ring sealing
- Inspecting and servicing valves for tight sealing
- Using engine oil additives to improve ring lubrication
- Conducting a compression test to measure improvements
| Step | Purpose | Estimated Time |
|---|---|---|
| Replace Piston Rings | Restore seal between piston and cylinder | 3-4 hours |
| Hone Cylinder Walls | Prepare surface for ring seating | 1-2 hours |
| Valve Inspection | Ensure valves close completely | 2 hours |
| Compression Test | Verify engine pressure levels | 30 minutes |
By methodically addressing these components, you revive your engine’s efficiency and power output, prolonging its life and enhancing performance. Consistent maintenance and early intervention are the pillars of robust engine health.
Q&A
Q&A: Common Engine Problems and How to Fix Them
Q1: Why is my engine overheating, and what can I do about it?
A1: Overheating is often caused by low coolant levels, a malfunctioning thermostat, or a faulty water pump. Start by checking the coolant reservoir — if it’s low, top it up with the appropriate coolant. If the problem persists, the thermostat or water pump may need professional inspection or replacement. Regular maintenance of your cooling system can prevent future overheating.
Q2: What causes rough idling, and how can I smooth it out?
A2: Rough idling can stem from dirty fuel injectors, a faulty spark plug, or an air intake issue. Cleaning or replacing spark plugs typically helps, as does using a fuel system cleaner to clear injectors. Don’t overlook the air filter — a clogged filter reduces airflow and affects engine performance. Replace it if dirty.
Q3: My engine is making knocking sounds. Should I be worried?
A3: Yes, knocking noises often indicate improper combustion, which can be caused by low-octane fuel, carbon build-up, or engine timing issues. Use the recommended octane fuel for your car, and consider a fuel system cleaning. Persistent knocking means professional diagnosis is necessary to avoid serious engine damage.
Q4: Why does my engine stall randomly, and how can I fix that?
A4: Random stalling usually points to fuel delivery problems, sensor malfunctions, or ignition issues. Check your fuel pump and fuel filter for blockages, and ensure ignition components like coils and plugs are in good shape. Sometimes, a faulty mass airflow sensor or idle air control valve needs cleaning or replacement.
Q5: There’s a burning smell from my engine bay — what gives?
A5: Burning smells often signal oil or coolant leaks, or overheated components. Inspect for leaks around the engine and oil pan. Check if the belts are frayed or slipping, which can cause overheating and odors. Address leaks promptly — ignoring them risks severe engine damage.
Q6: How can I tell if my engine’s timing belt or chain needs attention?
A6: Listen for rattling noises from the engine, notice any rough running, or if the engine won’t start. Timing belts typically require replacement at manufacturer-specified intervals (commonly around 60,000-100,000 miles). If neglected, a broken belt can cause catastrophic engine damage. Chains are more durable but can stretch or wear and may need inspection and replacement over time.
Q7: What’s the deal with my Check Engine Light turning on?
A7: The Check Engine Light can indicate a range of issues from minor to severe. Common triggers include faulty oxygen sensors, loose gas caps, or emission system problems. Use an OBD-II scanner to read the error codes, or visit a mechanic. Prompt attention prevents minor issues from snowballing into costly repairs.
Q8: Can I prevent engine problems, or am I just waiting for trouble?
A8: Prevention is the best cure! Regular oil changes, timely replacement of air and fuel filters, proper coolant maintenance, and prompt repairs keep your engine happy. Listening to your car’s quirks early on saves both money and headaches down the road.
Final Thought: Engines are complex hearts of your vehicle, but with some knowledge and attention, most common problems can be identified and addressed before they escalate. Always prioritize safety, and when in doubt, seek professional help.
To Conclude
In the vast world beneath your car’s hood, engine troubles can feel like unexpected roadblocks on a smooth journey. Yet, understanding common engine problems and how to fix them transforms these hurdles into manageable pit stops. Whether it’s a sputtering spark plug or a troublesome timing belt, a little troubleshooting and preventive care go a long way in keeping your engine humming reliably. So next time your engine coughs or stalls, remember: with the right knowledge and a dash of patience, you’re well-equipped to get back on the road and enjoy the ride ahead.
2 Comments
g2tji8
g2tji8