

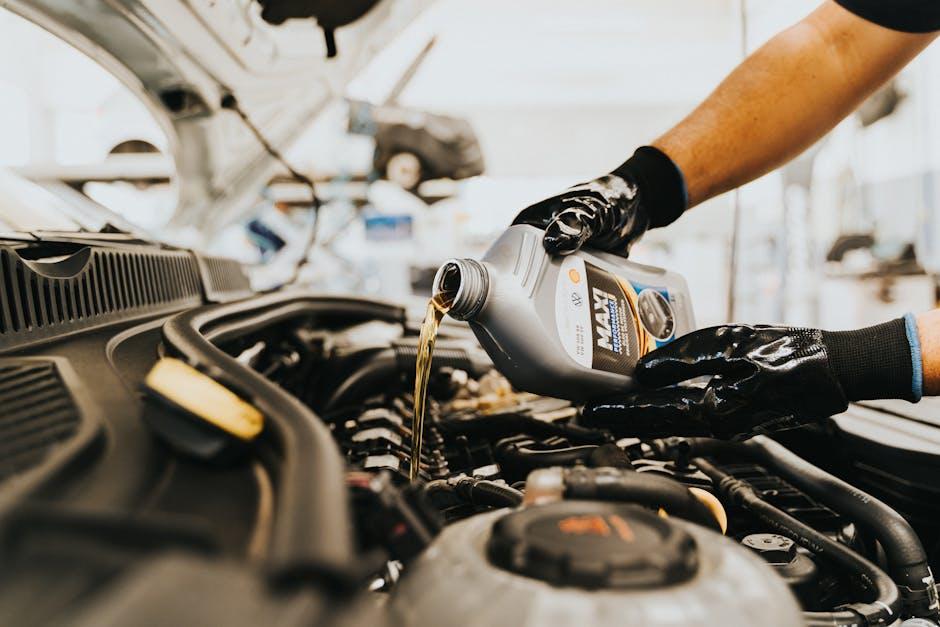
Beneath the sleek exterior of every vehicle lies a complex symphony of metal, fuel, and fire — the engine. It’s the heart that drives you forward, turning your journeys into stories of adventure or routine. Yet, like any finely tuned instrument, even the most reliable engines can encounter hiccups along the way. Recognizing common engine problems early and understanding how to address them can save you time, money, and a great deal of frustration. This article delves into some of the most frequent engine issues drivers face and offers practical fixes to keep your engine humming smoothly on the road ahead.
Table of Contents
- Understanding Engine Overheating and Effective Cooling Solutions
- Identifying Misfires and Strategies for Smooth Combustion
- Diagnosing Oil Leaks and Best Practices for Seal Repairs
- Recognizing Timing Belt Wear and Replacement Guidelines
- Addressing Engine Noise: Causes and Professional Remedies
- Fuel System Issues and Maintenance Tips for Optimal Performance
- Q&A
- Final Thoughts

Understanding Engine Overheating and Effective Cooling Solutions
Engine overheating is a silent saboteur that, if unattended, can lead to severe mechanical failures. The root causes often include a malfunctioning thermostat, a clogged radiator, low coolant levels, or even a broken water pump. Recognizing these warning signs early—like a rising temperature gauge or steam from under the hood—can save you from expensive repairs. Addressing overheating promptly ensures your engine maintains optimal performance and longevity.
Effective cooling solutions hinge on regular maintenance and smart upgrades. Flush the radiator periodically to clear sediment buildup and always use the correct type of coolant for your vehicle. Installing a high-performance cooling fan or a larger radiator can drastically improve heat dissipation for older or heavily used engines. Below is a quick checklist to help maintain a healthy cooling system:
- Check coolant levels monthly
- Inspect hoses and clamps for leaks
- Replace thermostat every 2-3 years
- Clean or replace the radiator cap
- Perform routine radiator flushes

Identifying Misfires and Strategies for Smooth Combustion
Engine misfires can be tricky to pinpoint yet are often the root cause behind a rough idle, poor acceleration, or increased fuel consumption. Detection begins with paying attention to irregular engine sounds—like sudden jerks or hesitation during acceleration. These symptoms are typically linked to issues in the ignition system, fuel delivery, or air intake. Diagnosing a misfire often involves scanning for trouble codes with an OBD-II reader or inspecting the spark plugs and ignition coils for wear or damage. In many cases, cleaning or replacing components can bring the engine back to its smooth rhythm.
Implementing effective strategies to promote smooth combustion extends beyond mere repairs. Consider the following key practices:
- Regularly inspect spark plugs—replace if they show signs of fouling or erosion
- Ensure fuel injectors are clean to maintain optimal spray patterns
- Monitor oxygen sensors to prevent improper air-fuel mixture adjustments
- Maintain a clean air filter to guarantee adequate airflow into the combustion chamber
| Common Cause | Effect on Combustion | Recommended Fix |
|---|---|---|
| Worn Spark Plugs | Weak ignition spark | Replace plugs every 30,000 miles |
| Clogged Fuel Injectors | Poor fuel atomization | Use fuel injector cleaner |
| Faulty Oxygen Sensors | Erratic air-fuel mixture | Replace sensor promptly |
Diagnosing Oil Leaks and Best Practices for Seal Repairs
Identifying the source of an oil leak can be a game of patience and precision. Start by thoroughly cleaning the engine surface to remove old grime and oil residue that might mask the leak. Use a UV dye specifically designed for automotive use, adding it to your engine oil before running the vehicle for a short period. Under a UV light, this dye will highlight the exact point of leakage, making diagnosis straightforward. Keep an eye particularly on common weak spots such as valve cover gaskets, oil pan seals, and drain plugs, where wear and tear is prevalent.
When it comes to repairing seals, quality and careful installation are paramount. Opt for OEM or high-grade aftermarket parts to ensure durability and compatibility. Before replacement, ensure mating surfaces are clean, dry, and free from old sealant residues to prevent future leaks. During reassembly, avoid overtightening bolts, as this can deform the seal and cause new issues. Consider these best practices for oil seal repairs:
- Use a torque wrench for precise bolt tightening.
- Apply a thin layer of oil or silicone-based lubricant on the new seal to facilitate installation.
- Check seal alignment carefully before fully seating it.
- Replace seals proactively if the vehicle has high mileage or shows signs of deterioration.
| Seal Type | Common Leak Cause | Recommended Fix |
|---|---|---|
| Valve Cover Gasket | Aged, cracked gasket | Replace and clean mating surface |
| Oil Pan Seal | Damaged seal or loose bolts | Install new seal, torque bolts properly |
| Camshaft Seal | Worn seal lip | Replace seal, lubricate before fitting |

Recognizing Timing Belt Wear and Replacement Guidelines
A timing belt plays a crucial role in synchronizing the engine’s camshaft and crankshaft movements. Over time, it endures intense stress and friction that gradually wear down its material. Visible signs of wear include cracks, fraying, or missing teeth on the belt’s surface, often accompanied by unusual ticking noises from the engine bay. If the belt shows oil contamination or significant glazing, it signals an urgent need for inspection. Ignoring these warning signs can lead to catastrophic engine failure, as a snapped timing belt can cause valves and pistons to collide, resulting in costly repairs.
Most manufacturers recommend replacing the timing belt every 60,000 to 100,000 miles, but this guideline varies depending on the vehicle model and driving conditions. Checking your owner’s manual for specific service intervals is essential to avoid unexpected breakdowns. Here’s a simple guide to help you remember the key replacement indicators:
- Rough engine performance: Misfires or stalls may signal belt slippage.
- Visible belt wear: Cracks, tears, or missing teeth are definite red flags.
- Age of the belt: If you’re approaching the recommended mileage or age, consider early replacement.
| Factor | Recommended Action |
|---|---|
| Timely replacement interval | Replace between 60,000-100,000 miles |
| Signs of wear | Inspect and replace immediately |
| Engine performance issues | Diagnostic check and belt assessment |

Addressing Engine Noise: Causes and Professional Remedies
Engine noise can often signal underlying mechanical issues that require prompt attention. Common origins of these sounds include worn belts, loose components, or inadequate lubrication. For instance, a knocking or tapping noise may indicate valve problems or piston issues, while squealing often points to a slipping belt. Understanding these auditory cues is crucial to diagnosing the root cause before they escalate into serious mechanical failures.
Professional remedies typically involve a systematic inspection and targeted repairs, such as:
- Tightening or replacing worn belts and pulleys to prevent slippage
- Changing engine oil and filters to ensure proper lubrication
- Adjusting or repairing valve clearances to reduce tapping sounds
- Inspecting and replacing faulty bearings or components causing knocking noises
Regular maintenance and timely professional diagnosis not only restore engine quietness but also extend vehicle longevity.
| Noise Type | Probable Cause | Professional Remedy |
|---|---|---|
| Squealing | Worn or loose belts | Belt adjustment or replacement |
| Knocking | Faulty bearings or pistons | Component inspection and repair |
| Tapping | Valve clearance issues | Valve adjustment or overhaul |
Fuel System Issues and Maintenance Tips for Optimal Performance
Addressing issues within your vehicle’s fuel system is crucial to maintaining smooth engine performance and avoiding unexpected breakdowns. Common culprits such as clogged fuel injectors, dirty fuel filters, or a malfunctioning fuel pump can drastically reduce engine efficiency and cause symptoms like hesitation during acceleration or rough idling. Regular maintenance, including the timely replacement of fuel filters and periodic fuel injector cleaning, helps prevent buildup of contaminants that obstruct fuel flow and degrade combustion quality.
To keep your fuel system in top shape, consider these expert tips:
- Use high-quality fuel to reduce residue and deposits.
- Incorporate fuel system cleaners recommended by your vehicle manufacturer.
- Schedule professional inspections focusing on pump pressure and injector spray patterns.
- Replace fuel filters according to the vehicle’s service manual.
| Symptom | Possible Cause | Maintenance Solution |
|---|---|---|
| Engine hesitation | Clogged fuel injector | Injector cleaning service |
| Reduced fuel economy | Dirty fuel filter | Replace fuel filter |
| Hard starts | Weak fuel pump | Fuel pump inspection/replacement |
Q&A
Q&A: Common Engine Problems and Their Fixes
Q1: Why is my engine overheating, and what can I do about it?
A1: An overheating engine is often a sign of cooling system troubles—like low coolant, a leaking radiator, or a faulty thermostat. To fix it, start by checking coolant levels and topping up if needed. Flush and replace old coolant periodically. If leaks or damaged parts are detected, consider replacing the radiator or thermostat. In stubborn cases, a mechanic’s help is wise to avoid serious engine damage.
Q2: What causes engine knocking, and should I worry?
A2: Engine knocking happens when fuel burns unevenly inside the cylinder, often caused by using low-octane fuel, carbon buildup, or faulty spark plugs. It’s a symptom you shouldn’t ignore—persistent knocking can hurt your engine over time. Solve this by switching to higher-octane fuel, cleaning the engine, or replacing spark plugs as needed.
Q3: Why does my engine stall randomly, and how can I stop it?
A3: Random stalling can stem from issues like a dirty fuel filter, faulty sensors (like the mass airflow sensor), or an inconsistent fuel pump. Regular maintenance, like replacing filters and fuel pump checks, helps prevent stalls. If stalling persists, diagnostic scans can pinpoint electronic sensor problems needing repairs or replacements.
Q4: My engine won’t start—what are the common reasons?
A4: No-start conditions usually boil down to battery issues, faulty starter motors, or fuel delivery problems. Begin with testing the battery’s charge and the starter’s function. If the battery is fine, inspect fuel system components like the fuel pump and injectors. Sometimes, the culprit is as simple as a blown fuse or ignition switch failure.
Q5: What does excessive exhaust smoke indicate?
A5: Different smoke colors tell different stories: white smoke hints at coolant leaks (head gasket issues), blue smoke signals burning oil (worn piston rings or valve seals), and black smoke points to excess fuel (rich mixture or clogged air filters). Diagnosing smoke color helps direct repairs—sometimes an oil change or gasket replacement is all it takes.
Q6: How can I maintain my engine to avoid common problems?
A6: Prevention is key: stick to recommended oil change intervals, use quality fuel, keep cooling system fluids topped up, and replace air and fuel filters regularly. Also, listen for unusual noises and get periodic inspections to catch issues early, ensuring your engine hums smoothly for miles ahead.
This Q&A offers a snapshot of everyday engine troubles along with straightforward fixes, empowering readers to tackle problems before they escalate.
Final Thoughts
Navigating the world of engine troubles can feel daunting, but understanding common problems and their straightforward fixes puts the power back in your hands. Whether it’s a sputtering spark plug or a stubborn coolant leak, knowing what to look for and how to act can save both time and money. Remember, every engine has its quirks—treat it with care, listen to its signals, and it will keep you moving smoothly on the road ahead. Keep this guide close, and transform frustrating breakdowns into manageable challenges, fueling your confidence with every turn of the key.
1 Comment
0cfiwt