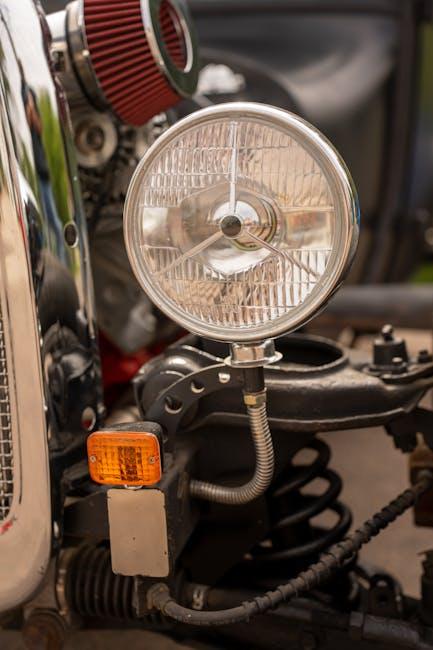
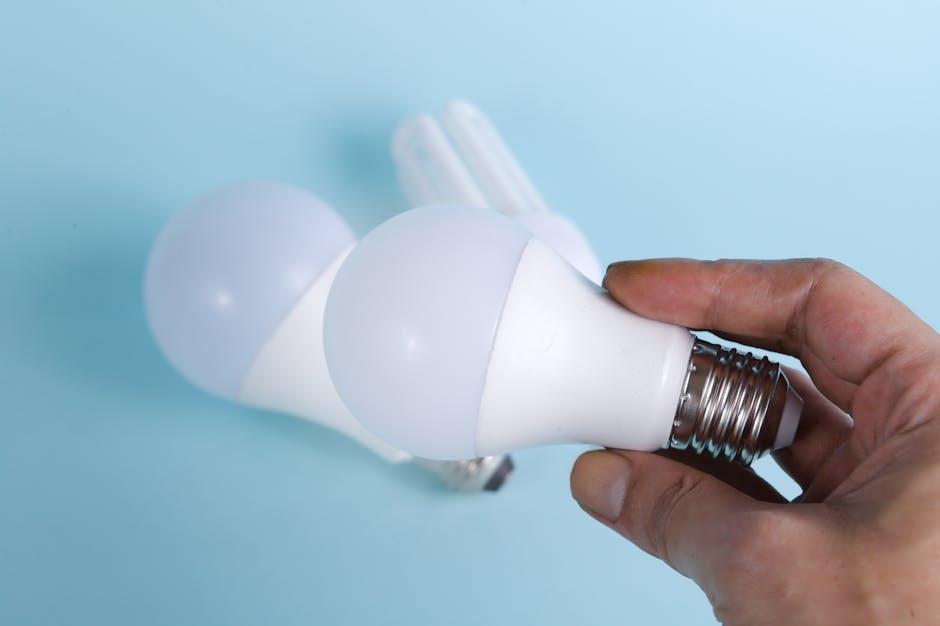
When a car’s headlights or brake lights flicker or fade, it can be more than just a minor annoyance—it’s a safety concern and often a legal requirement. Fortunately, replacing car light bulbs is a straightforward task that doesn’t require a mechanic’s expertise or expensive tools. In this DIY guide, we’ll illuminate the step-by-step process of swapping out your vehicle’s bulbs, empowering you to tackle this common maintenance task with confidence and ease. Whether you’re a seasoned car enthusiast or a weekend warrior, mastering this simple skill will keep you safe on the road and save you a trip to the repair shop.
Table of Contents
- Essential Tools and Safety Tips for Changing Car Light Bulbs
- Identifying the Right Bulb for Your Vehicle Model
- Step-by-Step Instructions for Removing Old Bulbs with Ease
- Techniques for Installing New Bulbs Without Causing Damage
- Troubleshooting Common Issues After Bulb Replacement
- Maintaining Your Car Lights for Long-Lasting Performance
- Q&A
- To Conclude

Essential Tools and Safety Tips for Changing Car Light Bulbs
Before diving into the replacement process, equipping yourself with the right tools is half the battle won. Essential items include a set of screwdrivers (both flathead and Phillips), a pair of needle-nose pliers, and gloves to protect your hands and prevent oils from transferring to the bulbs. For vehicles with tightly packed engine bays, a flashlight or headlamp will greatly enhance visibility. It’s also wise to keep your car’s owner manual nearby; it often contains specific instructions or diagrams for bulb access. Having a clean cloth ready can assist in safely handling and installing the new bulb without damaging it.
Safety is paramount when working on any part of your vehicle’s electrical system. Always ensure the car is turned off and the keys are removed before you begin. If you’ve just driven, let the headlight bulbs cool down—they can reach temperatures that cause burns. Avoid touching the new bulbs with bare fingers; even a small amount of oil from your skin can shorten their lifespan. Lastly, double-check your work by testing the lights in a safe environment before hitting the road. Following these simple tips will not only make the replacement smoother but also keep you safe and your lights shining bright.

Identifying the Right Bulb for Your Vehicle Model
Choosing the perfect bulb for your vehicle requires more than just picking any light that fits. Start by consulting your owner’s manual, which provides manufacturer-approved specifications tailored to your car model. Pay attention to crucial details like bulb type (halogen, LED, or HID), wattage, and size. These factors ensure optimal visibility and prevent potential electrical issues. Additionally, many online automotive parts stores offer tools where you can enter your vehicle’s make, model, and year to instantly find compatible bulbs.
When selecting a replacement, consider these key points:
- Bulb Type: Matches the original to retain lighting quality and safety.
- Brightness Level: Measured in lumens; higher lumens mean brighter lights but may consume more power.
- Color Temperature: Affects the tone of light, such as warm yellow or cool white.
- Longevity: Longer-lasting bulbs can save money but might cost more upfront.
| Bulb Type | Average Lifespan | Typical Application |
|---|---|---|
| Halogen | 500 – 1,000 hours | Standard headlights, fog lights |
| LED | 20,000+ hours | Headlights, daytime running lights |
| HID (Xenon) | 2,000 – 3,000 hours | High-end vehicle headlights |

Step-by-Step Instructions for Removing Old Bulbs with Ease
Begin by ensuring your vehicle is turned off and the light switch is in the “off” position to avoid any electrical mishaps. Access the light housing by opening the hood or trunk, depending on the bulb location. You might need to remove a cover or dust cap, which is often secured with clips or screws. Use a clean cloth to protect your hands from any sharp edges and keep a good grip while gently twisting the bulb socket counterclockwise until it releases.
Once the socket is free, carefully pull out the old bulb without forcing it to avoid damage. If the bulb feels stuck, wiggle it slightly while pulling to loosen it. Remember these quick tips to make the process smoother:
- Avoid touching the new bulb’s glass surface to prevent oil residue from shortening its lifespan.
- Use gloves or a clean cloth when handling bulbs for better grip and safety.
- Keep the old bulb aside to check specifications or for proper recycling.

Techniques for Installing New Bulbs Without Causing Damage
When fitting new bulbs, gentle handling is key to preserving both the bulb and its socket. Always wear clean gloves or use a cloth to avoid transferring oils from your skin onto the glass, which can cause hotspots and shorten the bulb’s lifespan. Before inserting the bulb, make sure the contact points and socket are clean and free of corrosion to ensure a secure electrical connection. Take care not to force the bulb into place; align it correctly with the socket and let it slide in smoothly to prevent bending or breaking delicate pins.
To safeguard your car’s lighting system, consider the following quick tips:
- Disconnect the battery to eliminate accidental short circuits.
- Inspect the bulb holder for any damage or dirt and clean it gently if necessary.
- Replace bulbs one at a time to avoid mixing up connections.
- Test the new bulb before fully reassembling the light housing.

Troubleshooting Common Issues After Bulb Replacement
After replacing your car’s light bulb, you might notice a few hiccups such as flickering lights or bulbs that won’t illuminate at all. These issues often arise from simple oversights like loose connections or remnants of oils from your fingers on the bulb’s surface, which can reduce bulb lifespan significantly. To troubleshoot, first ensure the bulb is seated firmly in its socket, and all electrical connectors are clean and snug. Avoid touching the glass part of halogen bulbs directly; instead, use a clean cloth or gloves during installation. If flickering persists, inspect the fuse related to the light circuit — a blown fuse can cause intermittent lighting problems.
In case of continued failure, the problem might be related to the vehicle’s electrical system rather than the bulb. Check for signs of corrosion or damaged wiring around the headlight assembly. Use this quick reference to identify common indicators and potential fixes:
| Symptom | Possible Cause | Recommended Action |
|---|---|---|
| Bulb Does Not Illuminate | Burnt-out fuse or faulty socket | Replace fuse; clean or replace socket |
| Flickering Light | Loose connection or grounding issue | Secure connectors; check grounding wires |
| Dim Light | Voltage drop or dirty bulb lens | Check battery; clean lens surface |
- Double-check bulb orientation: Incorrect installation can cause malfunction.
- Consult your vehicle manual: Different makes and models may require specific bulb types and installation methods.
- Test the new bulb outside the socket: Use a 12V power source to verify functionality before installing.

Maintaining Your Car Lights for Long-Lasting Performance
To ensure your car lights deliver optimal brightness and last as long as possible, regular upkeep is essential. Begin by cleaning the lenses with a soft cloth and mild detergent to remove grime and oxidation, which can dim light output. Regular inspections for cracks or moisture buildup inside the housing help prevent corrosion and electrical faults. Additionally, avoid touching the glass part of halogen bulbs with bare hands; the oils can create hot spots, drastically reducing their lifespan.
Integrating simple habits into your maintenance routine can reinforce the durability of your car lights. Consider the following:
- Check alignment: Misaligned headlights reduce road visibility and strain the bulbs.
- Replace bulbs in pairs: Ensures uniform brightness and balanced lighting.
- Use quality bulbs: Authentic, OEM-grade bulbs offer better performance and longevity.
- Inspect electrical connections: Loose wiring can cause flickering and premature burnouts.
| Maintenance Task | Recommended Frequency | Tools Needed |
|---|---|---|
| Lens Cleaning | Monthly | Soft cloth, mild detergent |
| Bulb Inspection & Replacement | Every 12,000 miles or annually | Gloves, screwdrivers |
| Electrical Check | Every 6 months | Multimeter |
| Alignment Adjustment | Annually or after impact | Alignment tool or professional service |
Q&A
Q&A: DIY Guide to Replacing Car Light Bulbs
Q1: Why should I consider replacing my car’s light bulbs myself?
A: Taking on the task of replacing your car’s light bulbs can save you time and money, boost your confidence as a DIYer, and ensure your vehicle stays safe on the road with properly functioning lights. Plus, it’s a surprisingly simple fix once you know the steps!
Q2: How do I know when it’s time to replace a bulb?
A: Common signs include dim or flickering lights, a bulb that doesn’t illuminate at all, or a warning light on your dashboard. It’s a good idea to check your car lights regularly, especially before long trips or during seasonal changes.
Q3: What tools will I need for this project?
A: Most bulb replacements require basic tools like a screwdriver and gloves to protect the bulbs from oils on your skin. Sometimes a socket wrench or pliers might come in handy. Refer to your car’s manual to be sure.
Q4: How do I find the correct replacement bulb for my car?
A: The easiest way is to check your owner’s manual or look at the existing bulb’s code. Auto parts stores and online retailers often have lookup tools where you can enter your vehicle’s make, model, and year to find the exact match.
Q5: What’s the general process for changing a car light bulb?
A: Typically, you’ll open the hood or access the light housing through the trunk or wheel well, remove the electrical connector, carefully remove the old bulb, insert the new one without touching the glass, reconnect everything, and test the new bulb.
Q6: Are there any safety precautions I should follow?
A: Absolutely! Make sure the car is off and cool before starting. Avoid touching halogen bulbs with bare hands as oils can shorten their lifespan. Handle glass bulbs delicately to prevent breakage, and dispose of old bulbs properly.
Q7: What if my bulb doesn’t light up after replacing it?
A: Double-check the bulb for correct installation and compatibility. Inspect the socket for corrosion or damage, verify the fuse isn’t blown, and ensure the wiring connection is secure. If problems persist, it might be time to consult a professional.
Q8: Can I upgrade my car’s lighting to LED or HID bulbs?
A: Many vehicles can be upgraded to LED or HID bulbs for brighter, more efficient lighting. However, be mindful that not all bulbs are compatible with every car, and some upgrades require additional components or professional installation to avoid electrical issues or legal complications.
Q9: How often should car light bulbs be replaced?
A: Bulbs vary, but a good rule is to check them every 12 months or before long trips. Headlight bulbs typically last between 450 to 1,000 hours of use, but factors like humidity, vibration, and voltage fluctuations can shorten their life.
Q10: Any tips for a smooth bulb replacement experience?
A: Yes! Work in good lighting with the car on a flat surface, keep your car manual handy, keep track of small screws and clips, and don’t rush. Patience and attention to detail make the job easier and help prevent damage.
This creative yet practical Q&A provides readers with clear, essential insights into replacing car light bulbs on their own, empowering them to illuminate their journey safely and confidently.
To Conclude
And there you have it—a simple, hands-on guide to brightening your drive one bulb at a time. Replacing car light bulbs may seem daunting at first, but with a little patience and this step-by-step approach, you’ve empowered yourself to take control of your vehicle’s lighting needs. Remember, a well-lit path isn’t just about seeing clearly; it’s about being seen safely. So next time a bulb burns out, don’t hesitate—reach for the tools, trust your instincts, and keep the road ahead shining bright. Happy fixing!

