

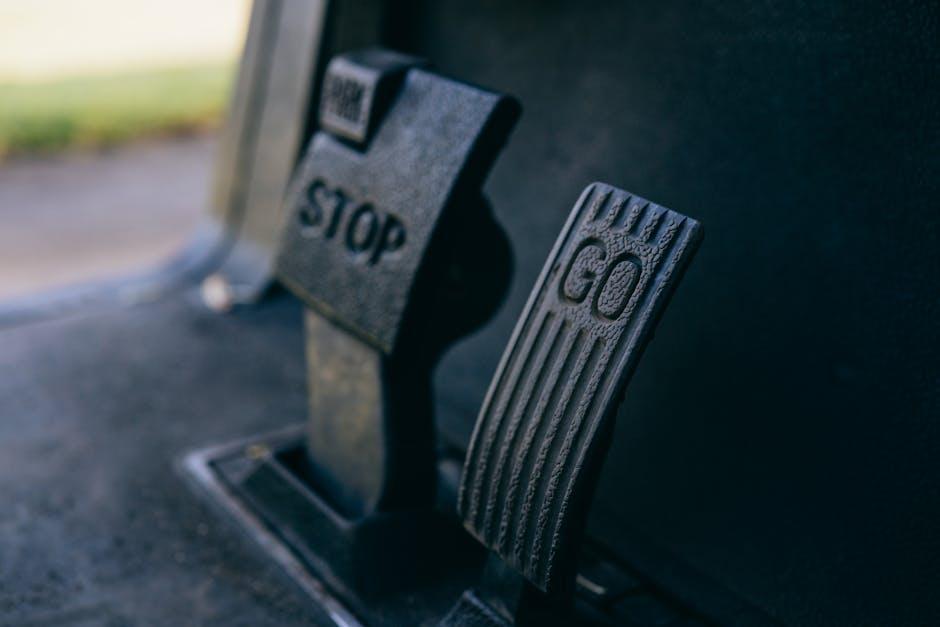
There’s a subtle rhythm to a well-maintained car — the steady brake pedal, the confident stop, the reassuring feel of control. When that rhythm falters, it’s often a sign that your brake system needs attention. Bleeding your brakes might sound like a job for the pros, but with a bit of know-how and patience, it’s a task you can confidently tackle in your own driveway. In this guide, we’ll walk you through the step-by-step process of bleeding your brakes at home, helping you restore that vital connection between you and the road. Whether you’re a seasoned DIYer or a beginner eager to learn, understanding this crucial maintenance skill can keep your vehicle safe and responsive — no mechanic’s appointment necessary.
Table of Contents
- Gathering Essential Tools and Safety Gear for Brake Bleeding
- Preparing Your Vehicle and Identifying the Bleed Screws
- Understanding the Brake Fluid System and Choosing the Right Fluid
- Step-by-Step Guide to Bleeding Brakes Using the Traditional Method
- Tips for Achieving a Smooth and Air-Free Brake Line
- Troubleshooting Common Issues and When to Seek Professional Help
- Q&A
- Key Takeaways

Gathering Essential Tools and Safety Gear for Brake Bleeding
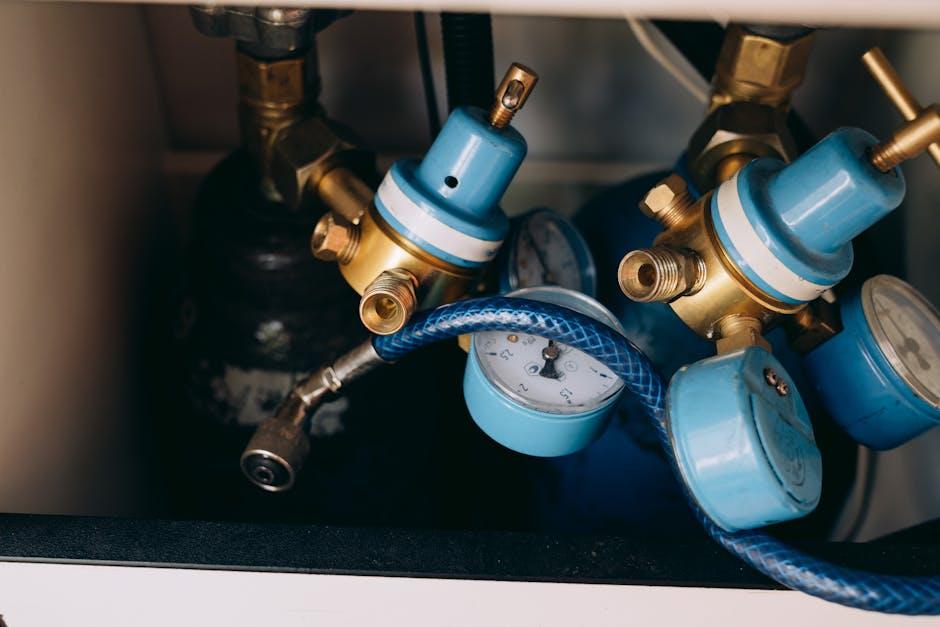
Before you roll up your sleeves and dive into the brake bleeding process, it’s crucial to arm yourself with the right set of tools and safety gear. Having everything prepared not only streamlines the job but also keeps you safe. At the very least, you’ll need a quality brake fluid that matches your vehicle’s specifications, a clear plastic hose to channel the brake fluid during bleeding, and a wrench set tailored to your car’s bleeder valves. Don’t forget a clean catch container to collect old fluid—preventing spills and contamination is key.
Safety is equally important in any DIY brake task. Equip yourself with sturdy gloves to shield your skin from corrosive brake fluid, and wear eye protection to guard against unexpected splashes. Depending on your workspace, having rags or paper towels on hand is a smart move for quick cleanups. To keep everything organized and within arm’s reach, consider laying out all tools on a tray or mat. Here’s a quick overview of the essentials:
| Item | Purpose | Tip |
|---|---|---|
| Brake Fluid | Replaces old fluid; ensures proper brake function | Use the exact DOT type recommended for your vehicle |
| Clear Hose | Guides brake fluid from bleeder valve | Pick a diameter snug enough for a tight fit |
| Wrenches | Loosens and tightens bleeder valves | Have both box-end and flare nut wrenches if possible |
| Gloves | Protects hands from brake fluid | Nitrile gloves resist chemicals better than latex |
| Eye Protection | Prevents fluid from spraying into eyes | Safety goggles with side coverage preferred |
| Rags/Paper Towels | Clean up spills quickly | Keep them handy near your work area |
Preparing Your Vehicle and Identifying the Bleed Screws
Before diving into the brake bleeding process, it’s essential to ensure your vehicle is perfectly set up for safety and ease of work. Start by parking your car on a level surface and engage the parking brake securely. This prevents any unexpected movement while you’re under the car or working around the wheels. Raising the vehicle with a reliable jack and supporting it with sturdy jack stands will give you better access to the brake calipers or drums, making the bleed screws easier to reach. Safety should always come first — wear gloves and safety glasses to protect yourself from brake fluid, which is corrosive and harmful on contact.
Next, identifying the bleed screws is pivotal for success. These small valves are typically located on each brake caliper or wheel cylinder and are designed to release trapped air from the brake lines. To help you quickly find the right spots, here’s a simple overview of bleed screw locations by vehicle type:
| Vehicle Type | Bleed Screw Location |
|---|---|
| Sedans & Hatchbacks | Top rear corner of each caliper |
| SUVs & Trucks | Upper side of wheel cylinders or calipers |
| Older Models | Near the top, often capped with a rubber cover |
Having identified the correct screws, gather these essential tools to make the task seamless:
- Wrench or socket set: Typically 8mm to 11mm depending on your vehicle.
- Clear tubing: To direct fluid flow and observe air bubbles.
- Container: To catch expelled brake fluid safely.
- Brake fluid: Ensure it matches your vehicle’s specifications.
Understanding the Brake Fluid System and Choosing the Right Fluid
Brake fluid is the lifeblood of your vehicle’s braking system, transferring the force from your pedal to the braking mechanism. Not all brake fluids are created equal, and choosing the right one can significantly impact brake performance and safety. There are three primary types to consider: DOT 3, DOT 4, and DOT 5.1. Each differs in terms of boiling point, chemical composition, and compatibility with your vehicle’s system. Using the wrong fluid can cause corrosion or reduce braking efficiency, so always refer to your owner’s manual when selecting the proper type.
When managing your brake fluid, be aware of its hygroscopic nature — it absorbs moisture over time, which lowers its boiling point and can lead to brake failure. Regular maintenance includes checking fluid levels and replacing old fluid responsibly. Here’s a quick comparison to guide you:
| Brake Fluid Type | Boiling Point (Dry) | Compatibility | Best For |
|---|---|---|---|
| DOT 3 | 205°C (401°F) | Most vehicles, older models | Everyday driving |
| DOT 4 | 230°C (446°F) | Modern vehicles with ABS | Higher performance |
| DOT 5.1 | 260°C (500°F) | High-performance vehicles | Racing & heavy-duty use |
- Never mix DOT 3/4/5.1 with DOT 5, since DOT 5 is silicone-based and incompatible.
- Keep brake fluid containers sealed tightly to prevent moisture intake.
- Flush and replace brake fluid according to your manufacturer’s recommendation, usually every 2-3 years.

Step-by-Step Guide to Bleeding Brakes Using the Traditional Method
Begin by securing your vehicle on a level surface and removing all four wheels to access the brake calipers easily. Have a trusted helper sit in the driver’s seat to gently pump the brake pedal several times, then hold it down firmly. At each wheel, locate the brake bleeder valve and fit a clear hose onto it, placing the other end into a container partially filled with brake fluid to monitor air bubbles. Loosen the valve slightly to allow the old fluid and trapped air to escape. Once the fluid runs clean and free of bubbles, tighten the valve before your assistant slowly releases the brake pedal. Repeat this process on all four wheels in the correct sequence, typically starting from the wheel farthest from the master cylinder and moving closer.
Throughout the bleeding procedure, keep an eye on the master cylinder’s reservoir, topping it up with fresh brake fluid as needed to prevent air from re-entering the system. Maintaining a steady, patient rhythm is key; rushing can introduce bubbles and corrupt the brake lines. Below is a handy summary of the steps to keep you on track:
| Step | Action | Tip |
|---|---|---|
| 1 | Locate and prepare bleeder valves | Wear gloves to protect from brake fluid |
| 2 | Have helper pump and hold brake pedal | Communicate clearly for timing |
| 3 | Loosen valve to expel air and fluid | Watch for bubbles in clear tubing |
| 4 | Tighten valve before releasing pedal | Prevents air from entering system |
| 5 | Repeat on all wheels in proper order | Maintain fluid level in master cylinder |

Tips for Achieving a Smooth and Air-Free Brake Line
Ensuring your brake lines are completely free of air is crucial for a responsive and safe braking system. Before you begin, always use fresh brake fluid that meets your vehicle manufacturer’s specifications, and keep the reservoir topped up during the process to prevent new air from entering. Using a clear hose attached to the bleeder valve allows you to watch for bubbles as you pump, signaling when air has been fully expelled. Remember, consistent pressure is key — avoid sudden or uneven braking motions to maintain a smooth flow.
To further minimize air in the system, organize your tools and assistance ahead of time. Have a friend gently press the brake pedal while you control the bleeder valve. Clear communication between both parties will help you synchronize fluid release perfectly. Also consider these professional tricks for optimal results:
- Start with the furthest caliper: This ensures air is pushed out systematically from the lines.
- Apply slow and steady pressure: Rapid pumping can introduce new air bubbles.
- Check the fluid reservoir frequently: Never let it run dry to avoid sucking air back in.

Troubleshooting Common Issues and When to Seek Professional Help
Sometimes, despite following the steps carefully, you might encounter stubborn issues like a spongy brake pedal or brake fluid that seems to resist bleeding. These symptoms often indicate air pockets trapped deep within the brake lines, or worse, a leak in the system. Before attempting another bleed, double-check the bleeder screws for tightness and ensure your brake fluid reservoir never runs dry during the process. Remember, a vacuum or pressure bleeder tool can be a game-changer when manual methods fall short.
Know when to call in a pro: if you notice persistent brake pedal softness even after multiple bleeding attempts, or if there is visible brake fluid leakage around calipers, hoses, or master cylinders, it’s time to seek expert assistance. Professional mechanics have specialized equipment and diagnostic expertise to tackle complex brake system issues safely. Here’s a quick overview of warning signs that demand professional intervention:
- Brake pedal sinks slowly under pressure
- Visible fluid leaks around hydraulic components
- Unusual noises when pressing the brake
- ABS warning light stays on
- Poor braking response despite correct bleeding technique
| Issue | Possible Cause | Recommended Action |
|---|---|---|
| Spongy Pedal | Air in Brake Lines | Repeat Bleeding Process |
| Fluid Leak | Damaged Hose or Fittings | Consult Professional Mechanic |
| ABS Warning Light | ABS Sensor Fault or Fluid Issue | Diagnostic Scan Required |
Q&A
Q: Why is it important to bleed your brakes at home?
A: Bleeding your brakes removes trapped air from the brake lines, ensuring your brake system works efficiently and safely. Air bubbles can cause a spongy brake pedal and reduce braking performance, which can be dangerous on the road.
Q: How do I know if my brakes need bleeding?
A: If your brake pedal feels soft, spongy, or sinks to the floor when pressed, it’s a clear sign that air has entered the brake lines. Additionally, if your brakes feel less responsive or you hear unusual noises, bleeding might be necessary.
Q: What tools do I need to bleed my brakes at home?
A: You’ll typically need a few basic tools: a wrench to open the bleeder valves, a clear hose to direct brake fluid, a clean container to catch the fluid, fresh brake fluid, and possibly a friend to assist. Additionally, gloves and safety glasses help protect you during the process.
Q: How do I prepare my vehicle for bleeding the brakes?
A: Start by parking on a level surface and engaging the parking brake. Remove the wheels to access the brake calipers or wheel cylinders where the bleeder valves are located. Make sure the brake fluid reservoir is full and clean the area around the bleeder valves to avoid contamination.
Q: What is the basic step-by-step method for bleeding brakes?
A: The common method is “pump and hold” or “two-person” bleeding:
- Have one person press the brake pedal several times and hold it down.
- The other person opens the bleeder valve slightly to let fluid and air escape, then closes it before the pedal is released.
- Repeat this until you see clear, bubble-free fluid.
- Always keep an eye on the master cylinder reservoir and refill fluid as needed to prevent more air from entering.
Q: Can I bleed all four brakes by myself?
A: Yes, but it can be challenging. Using a one-person brake bleeder kit or vacuum bleeder can simplify the process. If you’re working solo without special tools, patience and careful timing are key.
Q: Which wheel should I bleed first?
A: Generally, start bleeding with the wheel farthest from the master cylinder—usually the passenger rear—then move to the driver rear, passenger front, and finally the driver front wheel. This helps ensure air is fully purged from the system.
Q: What type of brake fluid should I use?
A: Consult your vehicle’s manual. Most vehicles use DOT 3, DOT 4, or DOT 5.1 fluids. Never mix DOT 5 (silicone-based) with other types, as it can damage the brake system.
Q: What precautions should I take while bleeding brakes?
A: Brake fluid is corrosive—avoid skin contact and clean any spills immediately, especially on painted surfaces. Work in a well-ventilated area and keep the brake fluid reservoir topped to prevent introducing new air.
Q: How will I know when I’m done bleeding the brakes?
A: When the brake fluid runs clear without air bubbles from the bleeder valve and the brake pedal feels firm and consistent underfoot, you’re done. Always perform a safety test drive in a controlled area before regular driving.
Q: When should I consider professional help?
A: If you encounter persistent spongy pedals, leaks, damaged components, or feel unsure during the process, it’s best to seek a professional mechanic. Safety with your braking system is paramount.
Bleeding your brakes at home can be a rewarding DIY task with the right knowledge and care. Follow these steps diligently, and your brakes will reward you with smooth, responsive stopping power.
Key Takeaways
Bleeding your brakes at home might seem like a daunting task, but with patience, the right tools, and a clear understanding of the process, it’s entirely doable. Taking the time to ensure your brake lines are free of air bubbles not only boosts your vehicle’s safety but also gives you the satisfaction of having tackled a critical maintenance job yourself. So next time your brakes feel a little soft or spongy, remember: a careful bleed could be the key to restoring that solid, confident pedal feel—right from your own garage.
1 Comment
ved5yu