

Beneath the hood of every vehicle lies a complex symphony of parts working in harmony to keep you moving smoothly down the road. Among these hidden essentials, engine oil and various fluids play a starring role, lubricating, cooling, and ensuring everything runs just right. Knowing how to check these vital fluids isn’t just a mechanic’s task—it’s a simple yet powerful way to extend the life of your car and avoid unexpected breakdowns. In this article, we’ll guide you through the straightforward steps to check your engine oil and other crucial fluids, empowering you to take better care of your vehicle with confidence and ease.
Table of Contents
- Preparing Your Vehicle for a Fluid Inspection
- Identifying the Right Fluids to Check Regularly
- Step-by-Step Guide to Checking Engine Oil Levels
- How to Assess Coolant and Brake Fluid Conditions
- Understanding When and How to Top Up Fluids Safely
- Tips for Maintaining Fluid Health to Extend Engine Life
- Q&A
- In Summary
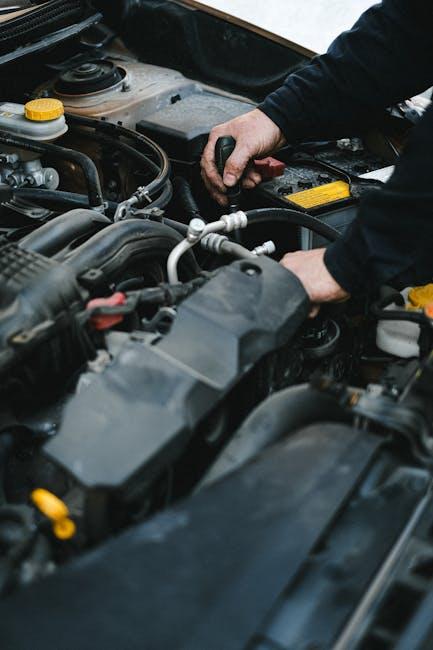
Preparing Your Vehicle for a Fluid Inspection
Before diving into checking your vehicle’s vital fluids, it’s crucial to set the stage for an accurate and safe inspection. Begin by parking your car on a flat, level surface—this ensures fluid levels are measured correctly. Give the engine a chance to cool down if you’ve been driving; a warm engine helps the oil flow smoothly, but too hot can lead to burns or misreads. Once cooled to a comfortable temperature, pop the hood and securely prop it open to prevent any accidental closures while you work.
Gather all your necessary tools and gear beforehand to streamline the process. Have a clean rag or paper towels handy for wiping dipsticks, gloves to keep your hands clean, and possibly a small flashlight to better see fluid reservoirs and indicators in dimly lit engine bays. Establish a routine order for checking each fluid—engine oil, coolant, brake fluid, transmission, and windshield washer fluid—to make certain no step is skipped. Here’s a simple checklist to kick off your prep:
- Park on level ground
- Allow engine to cool
- Open hood and secure it
- Gather cleaning rag, gloves, and flashlight
- Organize fluid check sequence
Identifying the Right Fluids to Check Regularly
Maintaining your vehicle’s performance hinges on knowing which fluids demand your attention. Beyond engine oil, transmission fluid, coolant, brake fluid, and power steering fluid are crucial. Each plays a distinct role, from lubricating moving parts to preventing overheating and ensuring braking efficiency. Regularly topping up and inspecting these fluids can prevent costly repairs and extend your engine’s life.
Here’s a quick checklist for your fluid maintenance routine:
- Engine oil: Vital for engine lubrication and combating friction.
- Transmission fluid: Ensures smooth gear shifts.
- Coolant: Regulates engine temperature and prevents overheating.
- Brake fluid: Transfers force to brake components safely.
- Power steering fluid: Facilitates effortless steering control.
| Fluid | Check Frequency | Signs of Low Levels |
|---|---|---|
| Engine Oil | Every 3,000-5,000 miles | Engine noise, overheating |
| Transmission Fluid | Every 30,000 miles | Gear slippage, burning smell |
| Coolant | Every 15,000 miles | Temperature gauge rising |
| Brake Fluid | Every 20,000 miles | Spongy brakes |
| Power Steering Fluid | Monthly | Hard steering |
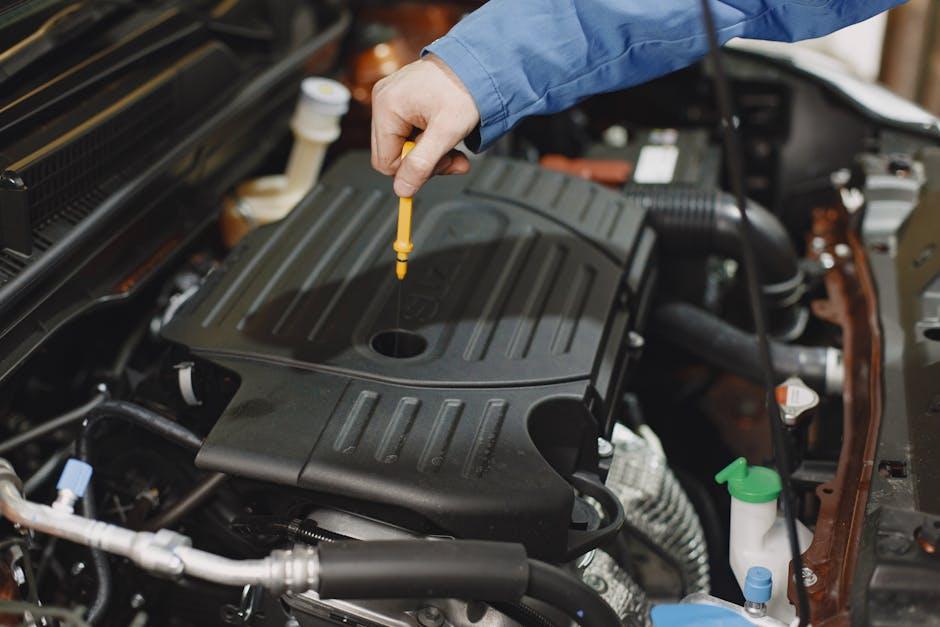
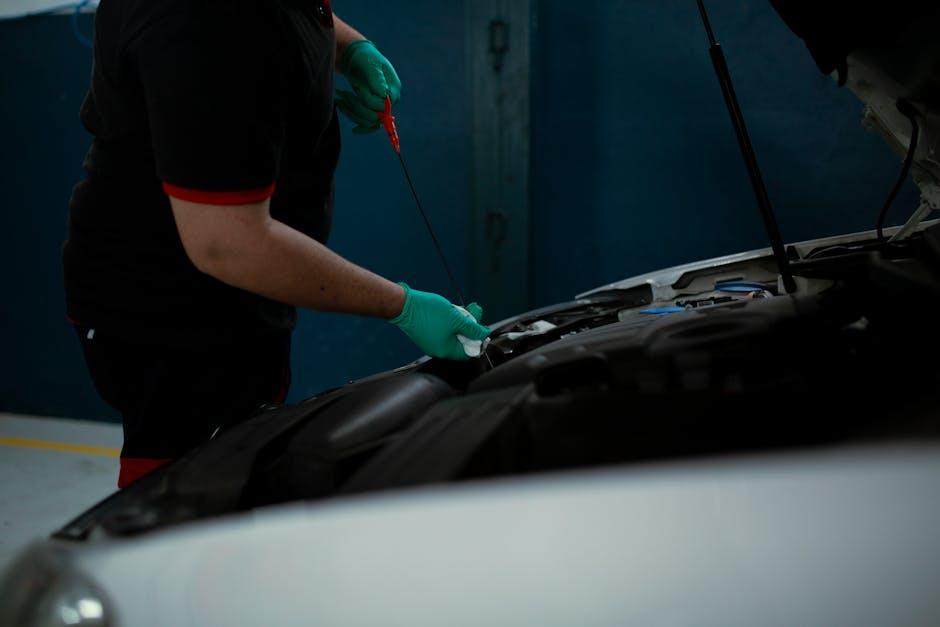
Step-by-Step Guide to Checking Engine Oil Levels
Begin by ensuring your vehicle is parked on a level surface and the engine is cool, as hot oil can give inaccurate readings or cause burns. Open the hood and locate the dipstick – usually marked with a bright handle. Pull it out, then wipe the dipstick clean with a lint-free cloth or paper towel to remove all the oil. Reinsert it fully, then pull it out again to check the oil level. The dipstick will have two marks indicating the minimum and maximum oil levels; your oil should fall somewhere in between.
While checking the oil, take note of its color and consistency. Healthy oil is generally amber and smooth, while dark or gritty oil could signal it’s time for a change. If the oil level is low, top it up gradually with the recommended oil type to avoid overfilling. Here’s a quick reference for oil color and what it means:
| Oil Appearance | Interpretation |
|---|---|
| Amber & Clear | Good condition, no action needed |
| Dark Brown/Black | Needs oil change soon |
| Milky | Possible coolant contamination – inspect immediately |
How to Assess Coolant and Brake Fluid Conditions
Start by locating the coolant reservoir and brake fluid container under the hood, usually marked with clear labels. When checking coolant, ensure the engine is cool to avoid burns. Examine the fluid level through the semi-transparent reservoir; it should be between the “MIN” and “MAX” marks. The color of the coolant can signal its health—fresh coolant is often bright green, orange, or pink, while a rusty, murky, or oily appearance means it’s time for a flush and replacement. Don’t forget to check for any sediment or debris in the fluid that might clog the cooling system.
Brake fluid requires a bit more attention as it’s crucial for safety. Use a clean, lint-free cloth to wipe the cap before opening to prevent contamination. The fluid should appear clear or slightly yellow; dark brown or black hints at moisture contamination or old fluid. Also, verify the fluid level is within the indicated range on the reservoir. If you notice bubbling, discoloration, or a spongy brake pedal feel during driving, it’s an urgent sign to have the brake system inspected and the fluid changed.
| Fluid | Healthy Indicators | Signs to Replace |
|---|---|---|
| Coolant | Bright color, clear | Rusty, oily, low level |
| Brake Fluid | Clear to pale yellow | Dark, cloudy, low level |

Understanding When and How to Top Up Fluids Safely
Maintaining proper fluid levels is crucial for your engine’s health, but topping up fluids must be done with care to avoid damage. Before adding any fluid, always check the current level using the dipstick or reservoir markings to prevent overfilling. Using the wrong type of fluid can lead to serious mechanical issues, so refer to your vehicle’s manual to identify the correct specifications. Avoid mixing different brands or types of oil or coolant, as chemical incompatibilities can reduce the efficiency of your engine’s lubrication and cooling systems.
When you’re ready to add fluids, make sure to:
- Use a funnel to avoid spills and contamination
- Top fluids slowly, pausing frequently to recheck levels
- Only fill to the recommended maximum to ensure optimal performance
| Fluid Type | Correct Specification | Common Mistake |
|---|---|---|
| Engine Oil | API SN/SM, SAE 5W-30 | Using heavier or incompatible grades |
| Coolant | Eco-friendly, ethylene glycol-based | Mixing with tap water instead of distilled |
| Brake Fluid | DOT 4 | Substituting with DOT 3 or automotive oils |
Tips for Maintaining Fluid Health to Extend Engine Life
Keeping your engine fluids in top shape is a cornerstone of durability and performance. Regularly inspect levels and quality, paying close attention to engine oil, coolant, brake fluid, and transmission fluid. Utilize a clean, lint-free cloth to check oil on the dipstick, ensuring it’s within the recommended range and free from debris or milky discoloration. Coolant should be topped up to the fill line, while brake and transmission fluids must remain clear and unclouded to function properly. Ignoring these inspections can lead to overheating, poor lubrication, and ultimately, costly engine repairs.
Beyond just monitoring levels, remember these key practices to maintain optimal fluid health:
- Change fluids at recommended intervals: Scheduled replacements prevent degradation and contamination.
- Use manufacturer-approved fluid types: Avoid mixing, as compatibility matters for system integrity.
- Regularly check for leaks: Early detection protects against sudden drops and engine damage.
| Fluid Type | Check Frequency | Signs of Trouble |
|---|---|---|
| Engine Oil | Monthly | Dark, gritty texture |
| Coolant | Every 3 months | Low level, rusty color |
| Brake Fluid | Every 6 months | Cloudy, foul smell |
| Transmission Fluid | Every 30,000 miles | Burnt odor, reddish-brown tint |
Q&A
Q&A: How to Check Engine Oil and Fluids
Q1: Why is it important to check engine oil and other fluids regularly?
A1: Think of your car as a living machine—it depends on fluids like engine oil, coolant, brake fluid, and transmission fluid to run smoothly. Regular checks help prevent breakdowns, extend your engine’s life, and ensure safety on the road. Neglecting fluids is like forgetting to water a plant; eventually, it wilts and falters.
Q2: How often should I check my engine oil and fluids?
A2: Ideally, peek under the hood once a month or before a long trip. Some newer vehicles have sensors that monitor fluid levels, but a hands-on check is usually more reliable and helps you catch problems early.
Q3: What’s the first step to check engine oil?
A3: Park your car on level ground and turn off the engine. Wait a few minutes to let the oil settle. Open the hood and locate the oil dipstick—it usually has a bright handle. Pull it out, wipe it clean with a rag, reinsert it fully, then pull it out again to check the oil level and condition.
Q4: How do I know if my engine oil level is okay?
A4: The dipstick has two marks indicating the minimum and maximum levels. The oil should sit between these marks. Too low is a warning sign; too high could be a sign of contamination or overfilling—both are bad news.
Q5: What should the engine oil look like?
A5: Fresh oil is amber and translucent. If it looks dark, gritty, or milky, it’s time for an oil change or a mechanic’s visit. Milky oil might mean coolant leak—a serious issue.
Q6: How do I check other fluids like coolant and brake fluid?
A6: Coolant and brake fluid are usually stored in translucent reservoirs with min/max level markings. Check levels when the engine is cold to avoid burns or inaccurate readings. If levels are low, top up with the recommended fluid type—usually indicated on the reservoir cap.
Q7: Can I top off fluids myself, or should I see a mechanic?
A7: Topping off fluids is generally a simple task that many car owners can safely handle, provided you use the correct fluid type. However, if you notice frequent fluid loss, discoloration, or leaks, it’s best to consult a professional.
Q8: Are there any safety tips I should keep in mind when checking fluids?
A8: Absolutely! Always work with the engine off and cooled down, avoid contact with hot parts, and wash your hands after handling car fluids. Also, dispose of any waste fluids responsibly—they’re harmful to the environment.
Q9: What if I don’t see a dipstick in my car?
A9: Some modern cars use electronic monitoring systems instead of dipsticks. In that case, refer to your owner’s manual or dashboard indicators for fluid status. You can also have a mechanic perform manual checks during service.
Q10: Can ignoring fluid checks lead to expensive repairs?
A10: Yes, skipping this simple routine can lead to engine damage, overheating, brake failure, or transmission issues—resulting in costly repairs or even accidents. A little time spent checking fluids is a small price for peace of mind.
Checking your engine oil and fluids is like giving your car a health checkup. With a little curiosity and care, you keep your vehicle happy and yourself safe on the journey ahead.
In Summary
Checking your engine oil and fluids may seem like a small step in car maintenance, but it’s a vital ritual that keeps your vehicle humming smoothly and reliably. By making this simple habit part of your routine, you not only extend the life of your engine but also gain peace of mind for every journey ahead. So, next time you pop the hood, remember: a few minutes of care today can save you from costly troubles tomorrow. Keep your fluids in check, and your drive will thank you.
2 Comments
ynyc9q
ynyc9q