

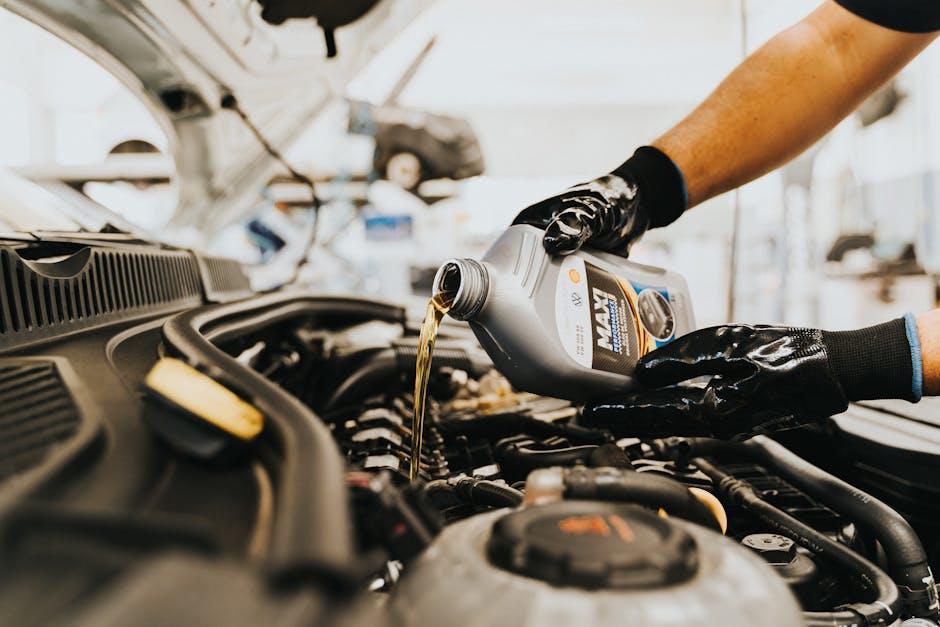
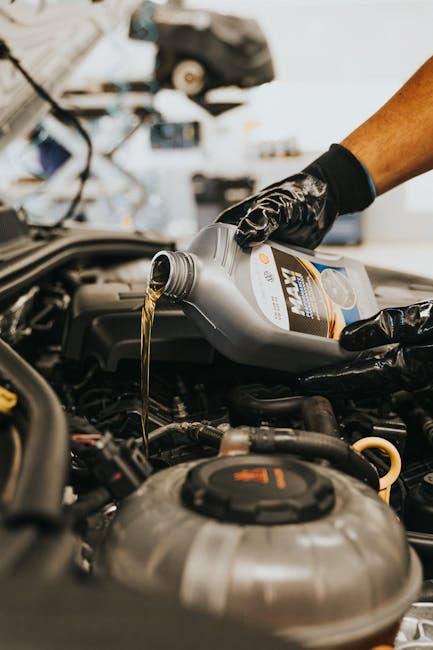
In the intricate world beneath the hood, engine oil is the lifeblood that keeps your vehicle humming smoothly. Yet, when this vital fluid begins to seep where it shouldn’t, what starts as a small drip can quickly escalate into a costly problem. Detecting engine oil leaks early is not just about preserving performance—it’s about safeguarding the heart of your car from unseen damage. This guide will navigate you through the subtle signs and practical steps to spot those elusive leaks before they become a roadblock on your journey. Welcome to the art and science of keeping your engine’s oil where it belongs.
Table of Contents
- Understanding the Common Signs of Engine Oil Leaks
- Identifying the Most Vulnerable Areas for Oil Leakage
- Essential Tools and Techniques for Effective Leak Detection
- Step by Step Inspection Process for Engine Oil Leaks
- Preventative Measures to Minimize the Risk of Future Leaks
- When to Consult a Professional Mechanic for Engine Oil Issues
- Q&A
- Closing Remarks

Understanding the Common Signs of Engine Oil Leaks
Spotting an engine oil leak early can save you from costly repairs and engine damage. Look for unusual puddles or stains under your vehicle, often dark brown or black in color. These leaks typically appear near the engine’s bottom, where gravity collects the escaping oil. Additionally, keep an eye on the oil level gauge; a sudden drop without clear usage often signals a hidden leak. Visibility of oil on engine parts or a burning oil smell during operation are also red flags to consider.
Other subtle signs include:
- Smoke from the exhaust, especially if it has a bluish tint
- Engine overheating due to insufficient lubrication
- Warning lights on the dashboard, such as the oil pressure indicator
- Greasy residue on engine components or under the hood
| Symptom | Possible Cause | Action |
|---|---|---|
| Oil Puddle | Worn Gasket or Seal | Inspect & Replace Seal |
| Frequent Low Oil | Small Leak or Consumption | Monitor & Top Up |
| Burning Smell | Oil on Hot Components | Clean & Repair Leak Source |
Identifying the Most Vulnerable Areas for Oil Leakage
Engine oil leaks commonly manifest in specific zones where gaskets, seals, and joints endure constant stress and heat. The valve cover gasket is a prime suspect; over time, it hardens and cracks, allowing oil to seep out. Similarly, the oil pan gasket, located beneath the engine, bears the brunt of road debris and vibrations, making it another frequent source of trouble. Keep an eye on these areas as oil stains or puddles beneath your vehicle can often trace back to these vulnerable points.
Other hotspots include the timing cover and the rear main seal. The timing cover protects critical engine timing components but is prone to leakage due to gasket wear and seal degradation. Meanwhile, the rear main seal, situated at the engine’s back where it connects to the transmission, is notorious for slow drips that can go unnoticed until significant oil loss occurs. Regular inspections can spot early signs of leakage such as darkened spots or fresh oil trails around these parts.
| Area | Common Leak Indicator | Inspection Tip |
|---|---|---|
| Valve Cover Gasket | Oil pooling near cylinder head | Look for dark stains along gasket edges |
| Oil Pan Gasket | Dripping oil beneath the engine | Check oil spots on driveway |
| Timing Cover | Oil residues near front engine block | Inspect for wetness around cover seam |
| Rear Main Seal | Oil leak between engine and transmission | Look for oil pooling under transmission bellhousing |
Essential Tools and Techniques for Effective Leak Detection
Effective identification of engine oil leaks requires a combination of specialized tools and keen observational techniques. One indispensable tool is the UV dye and flashlight kit, which helps highlight leaks that are not visible under normal lighting. Applying UV dye to the oil system and running the engine for a short period allows any escaping oil to fluoresce under the UV light. Complement this with a mechanical stethoscope to precisely locate the source of leaks by detecting hissing or dripping sounds, especially near gaskets and seals. Additionally, pressure testing tools can be invaluable for assessing whether the oil system maintains integrity under normal operating conditions.
- UV dye and flashlight kit – reveals hidden leaks
- Mechanical stethoscope – pinpoints leak sounds
- Pressure tester – checks seal effectiveness
- Clean rags and degreaser – essential for initial and follow-up inspections
Visual inspections remain a crucial element when detecting leaks. Begin by thoroughly cleaning engine surfaces with a quality degreaser to eliminate dirt and grime, which often mask small drips. Once clean, carefully monitor areas around valve covers, oil pan gaskets, and timing chains since these are typical leak hotspots. Using a flashlight with a narrow beam angle and varying your viewing angles allows subtle traces of oil to become visible on apparently dry surfaces. Paired with the tools above, this methodical approach ensures that elusive leaks don’t go unnoticed, ultimately helping maintain engine performance and longevity.

Step by Step Inspection Process for Engine Oil Leaks
Begin by carefully positioning your vehicle on a flat surface and placing absorbent cloths or cardboard sheets underneath the engine bay to catch any dripping oil. Next, visually inspect the engine area, paying close attention to common trouble spots such as the oil pan gasket, valve cover gasket, and oil filter housing. Use a flashlight to spot any wet, dark patches or fresh oil residue on hoses, seals, and bolts. Don’t forget to check the oil dipstick and oil filler cap for any signs of seepage or excessive grime, which could indicate a slow leak.
After the initial inspection, it’s helpful to clean the suspected areas with a degreaser before running the engine for a short period. This helps reveal active leaks more clearly. Look for the following signs during and after the engine run:
- New oil drips forming on clean surfaces
- Oil pooling around the drain plugs or gaskets
- Unusual smoke or smells that could signal oil burning
| Inspection Step | What to Look For | Tools Needed |
|---|---|---|
| Visual Scan | Oil wet spots, residue | Flashlight |
| Cleaning Surface | Removal of old grime | Degreaser, rags |
| Engine Run & Recheck | Active leak patterns | Protective gloves |

Preventative Measures to Minimize the Risk of Future Leaks
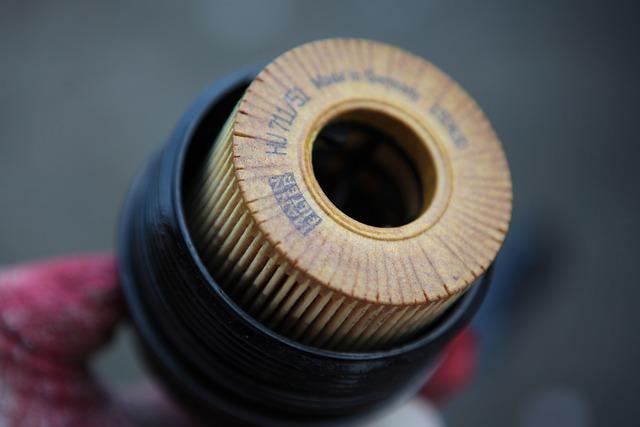
Maintaining your engine’s integrity starts with regular check-ups and proactive care. Consistent inspections of gaskets, seals, and oil filters can dramatically reduce the likelihood of leaks forming over time. Don’t underestimate the power of using high-quality engine oil suited to your vehicle’s specifications—this helps keep internal parts well-lubricated and less prone to wear and tear that leads to leaks. Additionally, ensure that oil changes are done promptly based on your manufacturer’s recommendations, as aged or degraded oil can compromise engine components and contribute to leakage.
Simple habits can protect your engine and save you costly repairs:
- Park on dry surfaces and check beneath your car regularly for fresh signs of oil spots.
- Keep an eye on oil levels weekly to catch any unexpected drops early.
- Replace worn-out or brittle seals and hoses immediately.
- Always tighten oil drain plugs and caps to the correct torque specifications.
| Preventative Action | Benefit | Recommended Frequency |
|---|---|---|
| Oil and filter change | Ensures clean lubrication; reduces wear | Every 5,000-7,500 miles |
| Seal & gasket inspection | Detects early signs of cracks or brittleness | Biannually |
| Tightening oil cap and drain plug | Prevents accidental oil seepage | At every oil change |
When to Consult a Professional Mechanic for Engine Oil Issues
While minor oil drips or small stains might be manageable with routine maintenance, certain signs indicate it’s time to seek expert help. If you notice persistent oil puddles under your vehicle that keep reappearing despite topping off oil levels, or if your engine oil warning light flashes on the dashboard, these are strong signals that a professional mechanic’s insight is needed. Additionally, unusual engine noises like knocking or ticking, or a sudden drop in oil pressure, can point toward internal engine problems that only trained technicians can accurately diagnose and fix.
Some oil leak issues might seem straightforward but can mask deeper mechanical failures. If your car’s oil consumption dramatically increases without visible leaks, or you detect oil mixed with coolant or fuel, leave no room for guesswork. Consider these red flags:
- Frequent oil top-offs with no visible leak source
- Smoke emitted from the exhaust pipe with an oily smell
- Oil stains inside the engine bay or around gasket seals
- Visible cracks or damaged oil pan
| Symptom | Possible Cause | Action Required |
|---|---|---|
| Oil Leak Underneath Car | Damaged Oil Pan or Gasket | Immediate Repair |
| Dashboard Oil Warning Light | Low Oil Pressure | Professional Inspection |
| Oil in Coolant | Blown Head Gasket | Urgent Mechanic Consultation |
Q&A
Q&A: How to Detect Engine Oil Leaks
Q1: Why is it important to detect engine oil leaks early?
A1: Engine oil is the lifeblood of your vehicle’s engine, lubing every moving part and keeping temperatures down. Detecting leaks early prevents engine damage, costly repairs, and environmental hazards. Ignoring a leak can lead to oil starvation, overheating, and even engine failure.
Q2: What are the common signs of an engine oil leak?
A2: Look for dark, oily spots or puddles beneath the parked car. You might notice a burning oil smell or smoke from the engine bay. A sudden drop in oil levels on the dipstick or warning lights on your dashboard also signal trouble.
Q3: How can I perform a basic visual inspection for oil leaks?
A3: First, park your car on a clean, dry surface and wait for the engine to cool. Inspect the engine block, oil pan, valve cover gasket, and drain plug for oily residue or grime buildup. Follow the oil trails—oil often travels, so the actual leak point might be higher than the drip spot.
Q4: Are there tools or tricks to help find hidden oil leaks?
A4: Yes! Using UV dye additives in the oil, combined with a UV flashlight, reveals leaks invisible to the naked eye. Clean the engine before adding dye, run the engine to circulate the oil, then inspect for glowing traces under UV light.
Q5: What causes engine oil leaks?
A5: Common culprits include worn gaskets and seals, loose or damaged drain plugs, cracked oil pans, or overfilled/cracked oil filters. Aging rubber components dry out and shrink, creating pathways for oil to escape.
Q6: When should I seek professional help for an oil leak?
A6: If a leak is substantial, persistent, or you’re uncertain of its source, it’s best to consult a mechanic. They have diagnostic tools and expertise to pinpoint and fix leaks safely, protecting your engine’s health.
Q7: How can I prevent engine oil leaks?
A7: Regular maintenance and timely oil changes keep seals pliable and components in good condition. Avoid overfilling oil, use quality parts, and have engine inspections during routine servicing to catch small leaks before they grow.
Detecting engine oil leaks early keeps your engine purring smoothly and extends your vehicle’s life. A keen eye and a little know-how turn you from a worried driver into a savvy car caretaker.
Closing Remarks
Detecting an engine oil leak may seem daunting at first, but with a keen eye and a bit of patience, you can catch the subtle signs before they turn into costly repairs. By understanding the common leak points and knowing what to look for, you empower yourself to take control of your vehicle’s health. Remember, a little vigilance goes a long way in keeping your engine running smoothly and your journey uninterrupted. Whether you’re a seasoned mechanic or a curious car owner, the skills to spot these leaks are within your reach—ready to protect your ride one drop at a time.
1 Comment
Thank you for your sharing. I am worried that I lack creative ideas. It is your article that makes me full of hope. Thank you. But, I have a question, can you help me?