

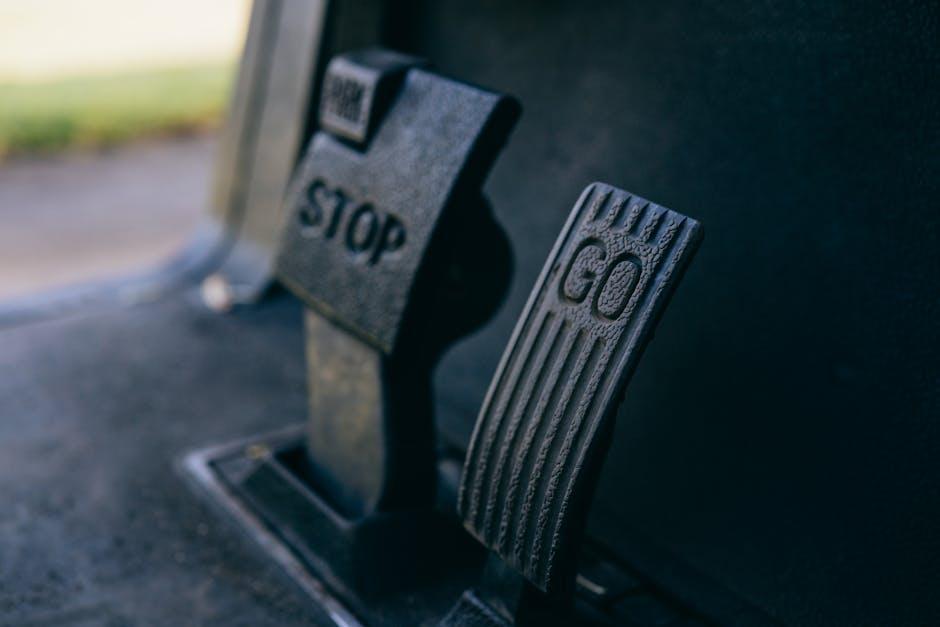
Imagine your vehicle’s brake lines as the silent guardians of your safety—thin veins of steel and rubber carrying the vital force that stops your car in its tracks. Yet, despite their critical role, brake lines often go unnoticed until a problem arises. Understanding how to inspect brake lines is not just a matter of routine maintenance but a crucial step in ensuring your journey remains smooth and secure. In this article, we’ll guide you through the essentials of examining your brake lines, empowering you to spot signs of wear, corrosion, and damage before they turn into dangerous hazards. Whether you’re a seasoned driver or a curious beginner, learning this skill could make all the difference between a safe stop and a sudden scare.
Table of Contents
- Understanding the Essential Role of Brake Lines in Vehicle Safety
- Identifying Common Signs of Brake Line Wear and Damage
- Tools and Equipment Needed for a Thorough Brake Line Inspection
- Step-by-Step Guide to Visually Inspecting Brake Lines for Corrosion and Leaks
- Evaluating Brake Line Flexibility and Connection Integrity
- Best Practices for Maintaining and Replacing Brake Lines Safely
- Q&A
- Final Thoughts
Understanding the Essential Role of Brake Lines in Vehicle Safety
Brake lines serve as the critical pathways for hydraulic fluid, ensuring force is transferred efficiently from the brake pedal to the wheel brakes. Without intact and properly functioning brake lines, the braking system can fail, leading to dangerous situations on the road. These lines, often made from steel or reinforced rubber, must withstand high pressure and resist corrosion caused by environmental factors. Ensuring their integrity means your vehicle responds swiftly and reliably whenever you press the brake.
During inspections, it’s essential to focus on several key aspects to maintain optimal performance and safety:
- Visual cracks or wear: Look closely at the rubber sleeves for any signs of dry rot, bulging, or deterioration.
- Corrosion checks: Metal lines exposed to road salts and moisture can rust, weakening their structure.
- Leak detection: Fluid leaks around connections or along the line can indicate damage or loose fittings.
- Proper routing: Ensure lines are securely fastened and do not rub against moving parts, preventing premature damage.
| Brake Line Material | Advantages | Maintenance Tip |
|---|---|---|
| Steel | High durability and pressure resistance | Check for rust periodically |
| Rubber | Flexible and easy to install | Replace every 4-5 years or if cracked |
| Braided Stainless Steel | Enhanced strength and corrosion resistance | Inspect fittings for tightness |

Identifying Common Signs of Brake Line Wear and Damage
Recognizing early signs of degradation in your brake lines is crucial for maintaining vehicle safety. Keep an eye out for visible corrosion, which often appears as reddish-brown flakes or patches on metal lines. This rust can weaken the brake line walls, leading to leaks. Another tell-tale sign is cracking or brittleness in rubber brake hoses; aging and exposure to heat cause this vulnerability. Additionally, any fluid seepage or wet spots along the brake lines indicate a compromised seal, which can result in brake fluid loss and decreased braking performance.
Other subtle indicators include unusual brake pedal behavior such as a soft or spongy feel when pressed, which might suggest air entering the brake lines due to leaks. You may also notice uneven tyre wear or a vehicle pulling to one side during braking, which can be a symptom of uneven hydraulic pressure caused by brake line damage. Below is a simple reference table outlining common symptoms and potential causes to keep in mind during your inspection:
| Symptom | Possible Cause |
|---|---|
| Rust spots on metal lines | Corrosion weakening brake line |
| Cracks on rubber hoses | Age-related deterioration |
| Brake fluid puddles | Line leaks or faulty connections |
| Soft brake pedal | Air in brake lines |
| Vehicle pulls while braking | Uneven hydraulic pressure |
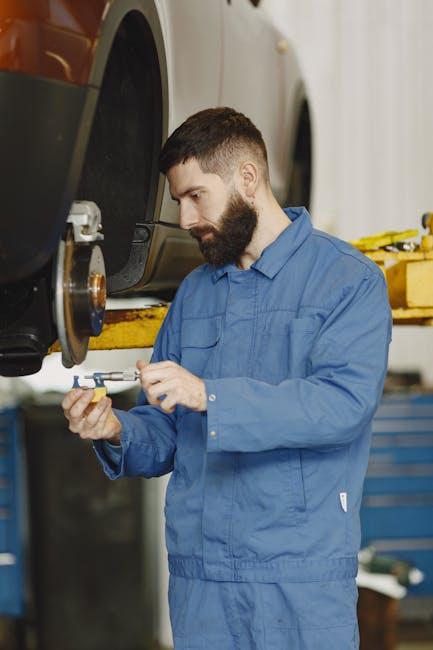
Tools and Equipment Needed for a Thorough Brake Line Inspection
Before diving into a brake line inspection, gather the essential tools and equipment that will ensure a precise and efficient process. A quality flashlight with adjustable brightness is indispensable to illuminate tight spaces and reveal hidden corrosion or cracks. Pair this with a set of mechanic’s gloves to protect your hands from grime and potential sharp edges. A pressure tester helps simulate hydraulic pressure, allowing you to check for leaks under operational conditions without driving the vehicle. Finally, keep a selection of wrenches, especially flare nut wrenches, close at hand for safely loosening or tightening brake line fittings without causing damage.
In addition to the basic tools, certain diagnostic aids can simplify your work and improve accuracy. A borescope camera lets you peer inside difficult-to-access sections of brake lines, displaying real-time images on your device. For those who like to be extra prepared, having brake fluid compatible cleaning wipes and a rust penetrant spray can help maintain clear visibility and ease any stuck fittings. Below is a quick reference table listing these tools alongside their primary uses to guide your preparations effectively.
| Tool | Purpose |
|---|---|
| Flashlight | Illuminate brake lines and fittings |
| Mechanic’s Gloves | Protect hands and improve grip |
| Pressure Tester | Check for leaks under pressure |
| Borescope Camera | Inspect hard-to-reach areas visually |
| Flare Nut Wrenches | Safely loosen/tighten brake fittings |
| Rust Penetrant Spray | Loosen corroded parts |
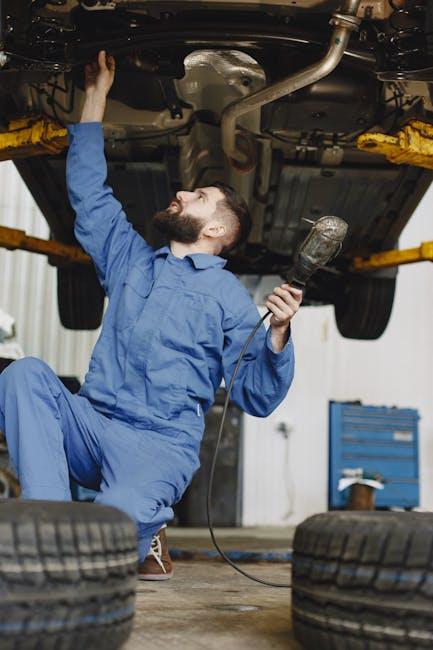
Step-by-Step Guide to Visually Inspecting Brake Lines for Corrosion and Leaks
Begin by raising your vehicle safely using a jack and securing it with jack stands. Once the brake lines are exposed, make sure the area is well-lit for thorough examination. Run your fingers along each line, feeling for any irregularities such as rough patches or bulges that could indicate the early stages of corrosion or damage. Pay particular attention to connection points and bends where rust tends to accumulate more easily. Use a flashlight to enhance visibility, especially in tight or shadowed areas under the chassis.
Look closely for any signs of fluid leaks — these often appear as wet spots, drips, or accumulated dirt stuck to oily surfaces. Leaks may also be accompanied by discoloration or corrosion around the leak site. To help you keep track, use the table below to mark each section of the brake lines and note any findings. This organized approach not only aids in diagnosis but can be useful for future inspections as well.
| Brake Line Section | Condition | Issues Noted |
|---|---|---|
| Front Left | Good | None |
| Front Right | Corroded | Surface rust near fitting |
| Rear Left | Leak | Fluid residue at bend |
| Rear Right | Good | None |

Evaluating Brake Line Flexibility and Connection Integrity
When assessing the flexibility of brake lines, it’s essential to focus on their ability to move without cracking, kinking, or hardening. Gently bend the lines in different directions to check for signs of stiffness or brittleness, which can indicate aging rubber or corrosion beneath the outer layer. Pay close attention to any unusual textures, such as rough patches or swelling. Flexibility is not just about physical movement but also about ensuring that under pressure, the brake fluid can flow without restriction, maintaining optimal braking performance.
Next, scrutinize every connection point to guarantee a leak-free seal. These junctions often harbor potential failures due to discarded corrosion, loose fittings, or damaged threads. Use a rag to wipe around the connections and observe for fluid residue, rust, or cracks. Key points for inspection include:
- Connection tightness: Confirm fittings are snug yet not over-tightened.
- Corrosion signs: Look for rust buildup or discoloration around fittings.
- Sealing components: Inspect washers and seals for wear or deformation.
| Connection Type | Common Issue | Inspection Tip |
|---|---|---|
| Compression Fittings | Leaking due to loose nut | Check and hand-tighten gently |
| Banjo Bolts | Cracked sealing washers | Replace washers annually |
| Flared Tube Ends | Corrosion on flare edges | Inspect with bright light |
Best Practices for Maintaining and Replacing Brake Lines Safely
Ensuring the integrity of your vehicle’s brake lines demands a meticulous and consistent approach. Start by performing visual inspections regularly, paying close attention to signs of wear such as rust, corrosion, and cracks. Use a flashlight to thoroughly examine hard-to-see areas, especially along the inner side of wheel wells and undercarriage. Keep an eye out for any moisture or brake fluid residue, which can indicate a leak. Adding a touch of brake fluid to a cloth and gently wiping suspect areas may reveal hidden leaks by spotting stains or moisture that aren’t easily visible.
When it comes time to replace brake lines, prioritize safety with the right tools and a knowledgeable approach. Always bleed the brake system thoroughly afterward to eliminate any air pockets that could compromise braking performance. Below is a quick reference table outlining common brake line materials and their maintenance tips to help in choosing the best replacement option:
| Material | Maintenance Tip | Replacement Interval |
|---|---|---|
| Steel | Check for rust and corrosion annually | 5-7 years |
| Stainless Steel | Inspect fittings for leaks biannually | 8-10 years |
| Rubber | Look for cracks or swelling regularly | 3-5 years |
Q&A
Q&A: How to Inspect Brake Lines
Q1: Why is inspecting brake lines such an important task?
A1: Brake lines are the lifelines of your vehicle’s braking system, carrying brake fluid to activate your brakes. A tiny leak or rust spot can jeopardize your safety by causing brake failure. Regular inspections help catch problems early, ensuring reliable stopping power when you need it most.
Q2: What tools will I need to inspect my brake lines effectively?
A2: A thorough brake line inspection requires some basic tools: a jack and jack stands for safe under-vehicle access, a flashlight to illuminate hidden spots, protective gloves, and possibly a flashlight for detailed viewing. A mirror can also help see tricky angles. No fancy gadgets needed—just patience and a keen eye.
Q3: Where should I look first when checking brake lines?
A3: Start at the master cylinder near the firewall, then follow the lines along the frame rails toward each wheel. Pay special attention to areas where the lines bend, connect to fittings, or run near moving parts or the exhaust system, as these spots are more prone to wear or damage.
Q4: What signs indicate that a brake line needs repair or replacement?
A4: Look for rust, deep scratches, cracks, bulges, or corrosion on metal lines. On flexible rubber sections, check for cracks, brittleness, or leaks. Puddles of brake fluid underneath your car or a soft, spongy brake pedal can also suggest brake line problems—never ignore these warning signs.
Q5: Can I inspect brake lines without professional help?
A5: Yes, with caution. Visual inspections can be done at home if you’re comfortable working under your car and have the right tools. However, if you spot any damage or have doubts, it’s best to consult a mechanic since brake system repairs require precision and safety knowledge.
Q6: How often should brake lines be inspected?
A6: Ideally, inspect brake lines every 12,000 miles or at least once a year. If you live in areas with harsh weather or salty roads, check more frequently, as these conditions accelerate corrosion.
Q7: What maintenance tips can help prolong the lifespan of brake lines?
A7: Keep your vehicle clean, especially the undercarriage, to prevent rust buildup. Address any leaks promptly, avoid dragging or bending brake lines during repairs, and replace flexible hoses based on manufacturer recommendations to keep your braking system in top shape.
Q8: What should I do if I find a damaged brake line?
A8: Do not drive the vehicle. Brake line damage compromises safety and demands immediate attention. Have your car towed to a professional mechanic or repair shop where trained technicians can replace or repair the lines safely.
Inspecting brake lines may sound technical, but with care and attention, it’s a manageable step toward ensuring your vehicle’s safety and your peace of mind on the road.
Final Thoughts
Inspecting your brake lines may not be the most glamorous part of vehicle maintenance, but it’s undeniably one of the most essential. By taking the time to carefully check these vital lifelines, you’re not just preserving your car’s performance—you’re safeguarding your life and the lives of those around you. Remember, a well-maintained brake system is the quiet hero of every smooth stop and safe journey. So, next time you lift the hood or peek underneath, give those brake lines the attention they deserve. Because in the world of driving, it’s the small details that steer us safely home.
2 Comments
yynpby
yynpby