

When it comes to vehicle safety, few components are as crucial as your brake system—and at the heart of that system lie the brake rotors. These often-overlooked discs play a vital role in bringing your car to a smooth, controlled stop. But how do you know when they’re working properly or showing signs of wear? Knowing how to inspect your brake rotors can save you money, enhance safety, and extend the life of your brakes. In this article, we’ll guide you through the essential steps to check your rotors, helping you stay confident behind the wheel and prevent unexpected brake failures.
Table of Contents
- Choosing the Right Tools for a Thorough Brake Rotor Inspection
- Identifying Common Wear Patterns and Surface Irregularities
- Assessing Rotor Thickness and Measuring for Safe Limits
- Detecting Warping and Evaluating Rotor Runout
- Understanding the Impact of Rust and Corrosion on Brake Performance
- Implementing Proper Maintenance Tips for Prolonged Rotor Life
- Q&A
- To Conclude
Choosing the Right Tools for a Thorough Brake Rotor Inspection
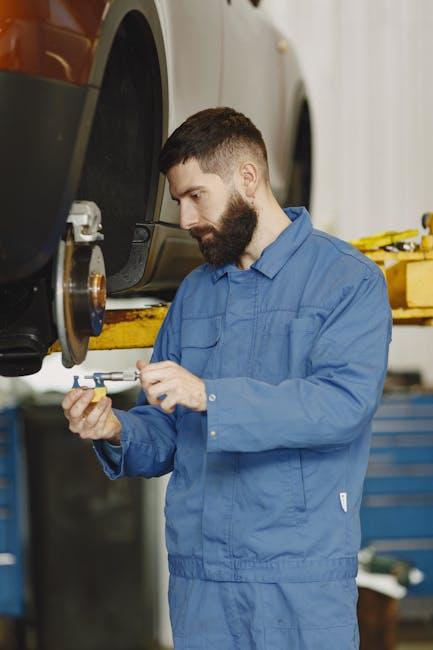
To conduct a comprehensive brake rotor inspection, having the right tools at your disposal is crucial. Start with a micrometer or brake rotor gauge to accurately measure the rotor’s thickness and compare it against manufacturer specifications. Next, a dlever gauge helps check for warping and irregularities by measuring lateral runout, ensuring your rotors spin evenly without causing vibrations. Don’t overlook the importance of a
Besides these fundamental instruments, some professionals swear by the tactile feedback delivered through a dial indicator for highly precise measurements of rotor surface variation. A wire brush or brake cleaning solvent helps maintain rotor cleanliness, removing dust that can obscure defects. For the DIY enthusiasts, investing in a brake pad thickness gauge complements rotor inspection by giving insight into the overall braking system health. Below is a quick reference table highlighting essential tools and their primary purposes for rotor inspection, designed to help you prepare effectively:
| Tool | Purpose |
|---|---|
| Micrometer | Measures rotor thickness |
| Dial Indicator | Detects rotor warp and runout |
| Inspection Light | Reveals cracks and surface damage |
| Lug Wrench | Removes wheels safely |
| Brake Cleaning Solvent | Cleans rotor surface |
| Brake Pad Gauge | Checks pad wear in tandem |

Identifying Common Wear Patterns and Surface Irregularities
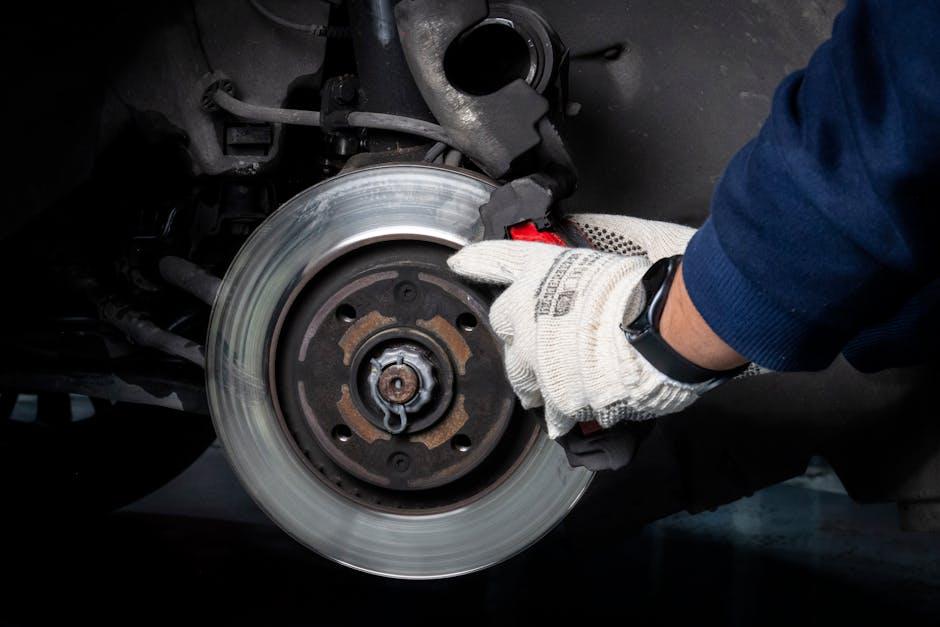
When inspecting brake rotors, one of the first things to look for is uneven wear patterns that could indicate underlying issues with your braking system. Common signs include scoring—deep, grooved lines on the rotor surface caused by debris or worn brake pads—and warping, which often results in a pulsating sensation while braking. Additionally, watch out for rust spots and discoloration that signal excessive heat buildup or moisture exposure, both of which can compromise rotor performance.
Surface irregularities can be further broken down into identifiable categories:
- Grooves and scoring: usually parallel lines formed by contaminants or uneven pad wear.
- Cracks: tiny fractures especially near the edges, often from thermal stress.
- Hot spots: bluish or dark patches indicating overheating zones.
- Warping: noticeable distortion causing brake pedal vibration.
To help visually assess the severity of these patterns, refer to the table below:
| Wear Pattern | Appearance | Potential Cause | Recommended Action |
|---|---|---|---|
| Grooves | Linear, deep scratches | Debris or worn brake pads | Resurface or replace rotor |
| Cracks | Fine lines near edges | Overheating or stress | Replace rotor immediately |
| Hot Spots | Blue/black patches | Excessive heat buildup | Inspect pads and rotor |
| Warping | Rotor distortion | Thermal shock, uneven wear | Resurface or replace rotor |
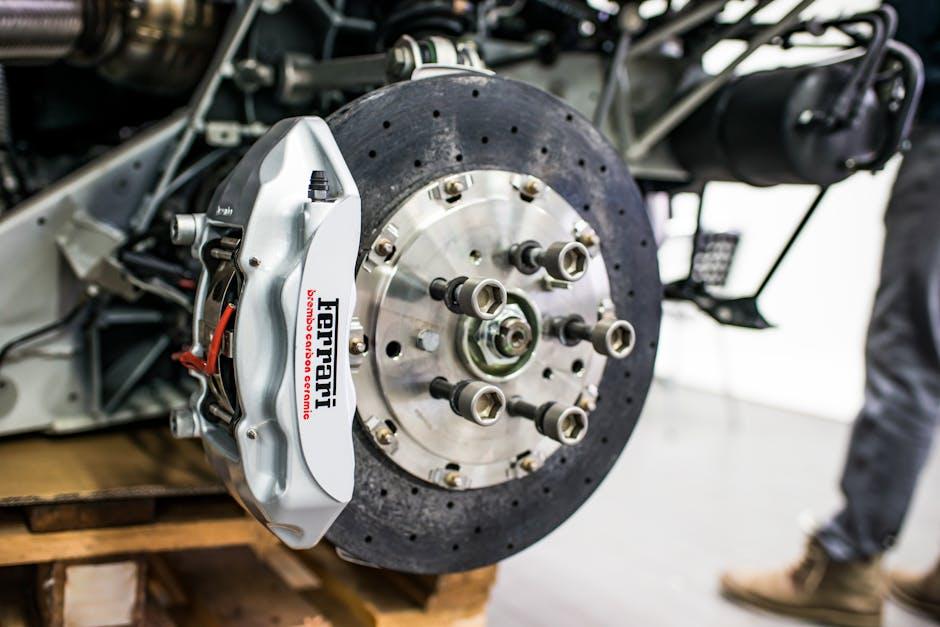
Assessing Rotor Thickness and Measuring for Safe Limits
When evaluating the thickness of your brake rotors, precision is key to ensuring both performance and safety. Use a micrometer or vernier caliper to measure the rotor at several points around its surface, focusing on areas near the hat and the braking surface. Be sure to clean the rotor beforehand for accurate readings, as dirt and rust can throw off measurements. Always compare your figures with the manufacturer’s minimum thickness specifications, which are often stamped directly on the rotor or found in your vehicle’s manual.
Understanding safe limits helps you avoid costly mistakes and dangerous brake failure. Here’s a quick reference table for typical rotor thickness limits by vehicle type:
| Vehicle Type | Minimum Thickness (mm) | Typical Thickness (mm) |
|---|---|---|
| Compact Cars | 9.0 | 10.5 |
| Sedans | 10.0 | 11.5 |
| SUVs & Trucks | 11.0 | 13.0 |
- Check for uneven wear: Measure multiple points to spot thinning spots.
- Replace if below minimum: Never drive with rotors thinner than specified.
- Consider resurfacing: If just slightly above the limit and warped, resurfacing may be an option.
Detecting Warping and Evaluating Rotor Runout
Warped rotors can cause significant vibrations and uneven brake pad wear, which may compromise your vehicle’s safety. To detect warping, place your hand on the rotor surface after a drive; if it feels unusually hot in specific spots or you notice pulsation in the brake pedal when stopping, these are typical signs. However, the most reliable method is using a dial indicator to measure runout, which quantifies any lateral movement of the rotor as it rotates. Runout exceeding 0.002 inches is generally a signal to replace or machine the rotor, preventing further damage and ensuring smoother braking performance.
Evaluating rotor runout involves the following simple steps:
- Mount a dial indicator to the suspension or a fixed point near the rotor.
- Position the indicator’s needle tip against the rotor surface near the outer edge.
- Slowly rotate the wheel by hand, observing measurement variations.
- Record the maximum and minimum readings to determine total runout.
| Runout Measurement | Condition | Action Required |
|---|---|---|
| 0.000 – 0.0015 in | Acceptable | No action needed |
| 0.0016 – 0.0020 in | Borderline | Monitor or resurface rotor if symptoms persist |
| Above 0.0020 in | Excessive | Resurface or replace rotor |

Understanding the Impact of Rust and Corrosion on Brake Performance
Rust and corrosion can significantly compromise the efficiency and safety of your brake system. When moisture interacts with the iron in brake rotors, it initiates oxidation that forms a layer of rust. This rust, although sometimes appearing cosmetic, can cause pitting and uneven wear on the rotor surface, leading to diminished contact between the brake pads and the rotors. As a result, you may notice decreased braking power, unusual vibrations, or a grinding noise when applying brakes. Small amounts of surface rust are common, especially after rain or car washing, but persistent corrosion can damage the rotors irreversibly, affecting performance and increasing stopping distances.
Regular inspection for rust and corrosion involves checking the rotor surface for the following signs:
- Discoloration: Areas of orange or brown indicate fresh or ongoing rust formation.
- Pitting: Small holes or rough textures on the rotor surface caused by corrosive damage.
- Warping indicators: Visible unevenness or ridges that suggest rotor distortion or excessive wear.
Paying close attention to these factors during inspection helps you decide when resurfacing or replacement is necessary. Neglecting rust buildup not only affects braking smoothness but also accelerates rotor deterioration, ultimately compromising vehicle safety.
Implementing Proper Maintenance Tips for Prolonged Rotor Life
Ensuring the longevity of your brake rotors hinges on a blend of routine care and mindful driving habits. Start by regularly cleaning the rotor surface with brake cleaner to prevent buildup of dust and debris, which can cause uneven wear or scoring. Coupled with this, keep an eye on your brake pads; worn pads can severely damage the rotor’s surface over time. For best results, schedule rotor inspections every 10,000 to 15,000 miles or as recommended by your vehicle’s manufacturer.
Incorporate these smart maintenance habits to keep your rotors in top shape:
- Check rotor thickness: Use a micrometer to measure thickness against the minimum specs.
- Avoid harsh braking: Gradual stops reduce rotor stress and heat generation.
- Balance and alignment: Proper wheel alignment helps distribute friction evenly.
- Replace pads promptly: Old pads can cause rotor warping and vibrations.
| Maintenance Task | Recommended Frequency | Impact on Rotor Life |
|---|---|---|
| Surface cleaning | Every 5,000 miles | Prevents debris buildup, reduces wear |
| Rod thickness measurement | Every 10,000 miles | Detects thinning early, avoids failure |
| Brake pad replacement | When worn to 3mm | Protects rotor from scoring and heat damage |
| Wheel alignment | Annually or after suspension work | Ensures even wear and smooth braking |
Q&A
Q&A: How to Inspect Your Brake Rotors
Q1: Why is inspecting brake rotors important?
A1: Brake rotors are a critical part of your vehicle’s braking system. Regular inspection ensures they are in good condition to provide safe, effective stopping power. Neglecting rotor maintenance can lead to reduced braking performance, vibrations, or costly damage.
Q2: When should I inspect my brake rotors?
A2: It’s wise to check your brake rotors every time you change the brake pads or if you notice symptoms like squealing, grinding, or vibration while braking. Also, a visual inspection is beneficial during routine tire rotations or oil changes.
Q3: What tools do I need to inspect brake rotors?
A3: Basic inspection requires a flashlight, a lug wrench to remove wheels, and possibly a micrometer or brake rotor gauge for measuring thickness. For a more detailed assessment, a dial indicator can check rotor run-out (warping).
Q4: How do I perform a visual inspection of brake rotors?
A4: After removing the wheel, look at the rotor surface. It should be smooth and even. Check for grooves, cracks, or discoloration. Heat spots appear as blue or purple patches and indicate overheating, which compromises rotor integrity.
Q5: What does rotor thickness have to do with brake safety?
A5: Rotors wear down over time. Most manufacturers specify a minimum rotor thickness; if your rotor is thinner than this, it can’t safely dissipate heat, leading to brake failure. Measuring thickness with a micrometer ensures your rotors are still within safe limits.
Q6: How can I detect rotor warping?
A6: Warped rotors cause brake pedal pulsation or vibration. To check, a dial indicator measures run-out by detecting uneven rotor surface rotation. If run-out exceeds specifications, the rotor may need resurfacing or replacement.
Q7: Can I fix minor brake rotor damage at home?
A7: Minor surface rust can often be cleaned off with a wire brush or by driving and braking gently. However, deep grooves, cracks, or warping typically require professional resurfacing or replacing the rotor to ensure safety.
Q8: When is it time to replace brake rotors?
A8: Replace your rotors if they’re below minimum thickness, cracked, severely scored, warped beyond repair, or if resurfacing isn’t recommended by the manufacturer. New rotors restore braking efficiency and safety.
Q9: Are all brake rotors the same?
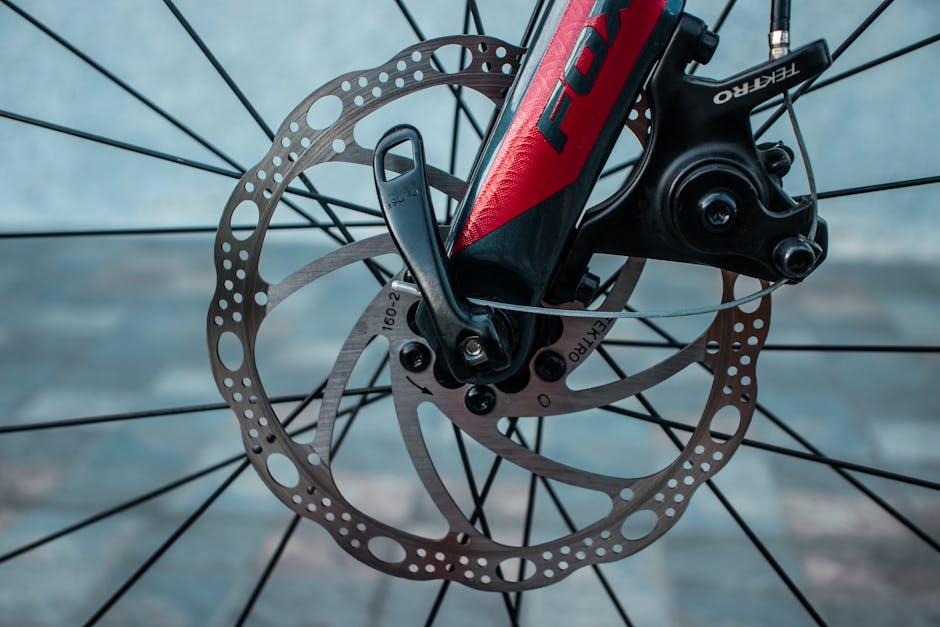
A9: No, rotors come in various materials and designs—solid, vented, slotted, or drilled—each suited for different driving needs. Understanding your vehicle’s requirements helps maintain optimal braking performance.
Q10: Can neglecting rotor maintenance be dangerous?
A10: Absolutely. Faulty rotors reduce braking power and increase stopping distances, raising the risk of accidents. Regular inspection and maintenance are essential for your safety and that of others on the road.
To Conclude
Inspecting your brake rotors may seem like a small step, but it’s a crucial checkpoint on the road to safe driving. By taking the time to carefully examine this vital component, you’re not just maintaining your vehicle—you’re safeguarding every journey ahead. So, armed with the right knowledge and a keen eye, make rotor inspections a regular part of your car care routine. After all, smooth stops lead to smooth rides.