

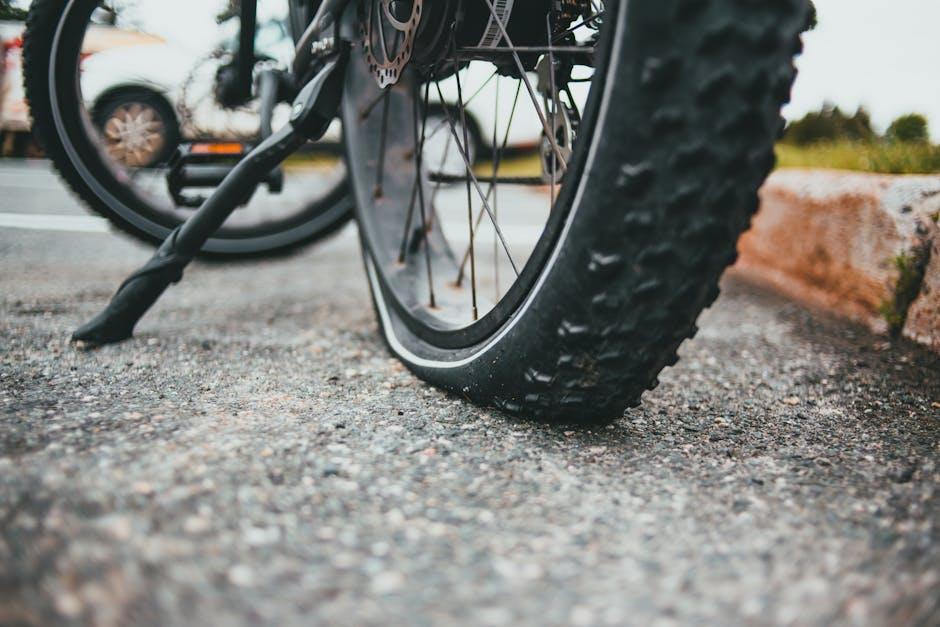
There’s nothing quite like the sudden deflation of a tire to throw a wrench in your day—a quiet hiss that quickly turns into a roadblock. Whether you’re cruising down a country lane or navigating city streets, a punctured tire can bring your journey to an unexpected halt. But before calling for help or heading to the nearest repair shop, there’s a skill you can master to get back on the road swiftly: patching a punctured tire. In this guide, we’ll take you through the step-by-step process of turning a flat into a fix, empowering you to handle the situation confidently and efficiently. Equipped with a bit of know-how and some basic tools, you’ll soon see that a little damage doesn’t have to mean a big delay.
Table of Contents
- Gathering Essential Tools for an Effective Tire Repair
- Identifying the Location and Nature of the Puncture
- Preparing the Tire Surface for Optimal Adhesion
- Applying the Patch with Precision and Care
- Ensuring a Secure Seal to Prevent Future Leaks
- Testing the Repair and Reinstalling the Tire Safely
- Q&A
- Key Takeaways
Gathering Essential Tools for an Effective Tire Repair
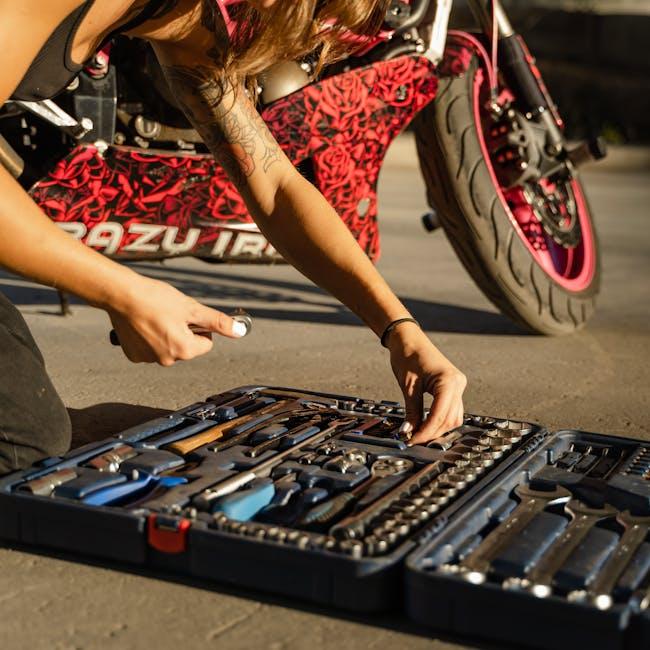
Before you dive into the tire repair process, it’s crucial to arm yourself with the right tools. Having everything laid out neatly not only streamlines the job but also ensures safety and accuracy. The essential items include a reliable tire patch kit, which typically contains patches, rubber cement, and a buffing tool. Don’t forget a sturdy tire iron or wrench to remove the tire from the wheel, and a pair of gloves to keep your hands protected from grime and sharp objects. Additionally, a pressure gauge is indispensable for verifying that the tire is properly inflated after the repair.
Organizing your tools within easy reach can make the repair smoother and less frustrating. Consider this simple checklist for your tire repair toolkit:
- Tire patch kit: Patches, vulcanizing glue, and sandpaper
- Tire iron or wrench: For removing the wheel
- Air compressor or pump: To reinflate the tire post-repair
- Pressure gauge: To monitor tire pressure
- Protective gloves: To safeguard your hands
- Marker or chalk: To highlight the puncture spot
| Tool | Purpose | Tips |
|---|---|---|
| Tire Patch Kit | Seals punctures effectively | Check expiration on glue |
| Tire Iron | Removes tire from rim | Use gentle leverage to avoid damage |
| Pressure Gauge | Monitors proper inflation | Calibrate regularly for accuracy |

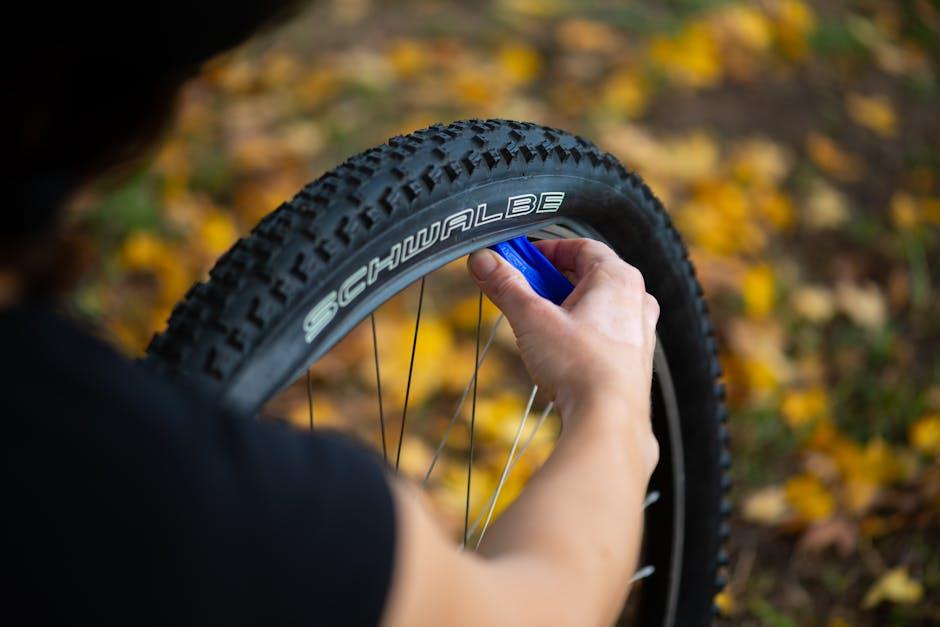
Identifying the Location and Nature of the Puncture
Before rushing to patch your tire, it’s crucial to pinpoint exactly where the puncture has occurred. Begin by inflating the tire to its recommended pressure, then carefully inspect the surface. Look for visible signs such as embedded nails, glass shards, or sharp objects that might have caused the damage. If the puncture isn’t obvious, submerge sections of the tire in water and watch for air bubbles escaping. This simple yet effective trick quickly reveals even the smallest holes, saving you from guesswork.
Understanding the nature of the puncture helps determine the best repair approach. Is the damage a clean hole caused by a single nail, or is it a jagged cut from rough terrain? Small, round holes are usually easier to patch and less likely to compromise tire integrity, whereas larger rips may require professional attention or replacement. Use this checklist to classify your puncture:
- Size: Is the hole smaller than 1/4 inch?
- Location: Found on the tread or sidewall?
- Object: Type and depth of the foreign object embedded?
- Leak Pattern: Continuous air bubbles or slow hissing sound?

Preparing the Tire Surface for Optimal Adhesion
Before applying any patch, the tire surface must be meticulously prepared to ensure the adhesive bonds perfectly and creates a reliable seal. Begin by locating the puncture and fully deflating the tire. Use a firm brush or sandpaper to roughen the area around the hole. This creates a slightly abrasive texture that helps the patch adhere better, preventing it from peeling off later. Remember to clean the surface thoroughly with a cloth dipped in a mild solvent or rubbing alcohol to remove any dirt, grease, or leftover rubber particles.
The success of your tire repair hinges on having a clean, dry, and properly roughened surface. Here are a few key steps to keep in mind:
- Clean thoroughly: Dirt and oil act as barriers to adhesion.
- Roughen the surface: Slight abrasion allows the adhesive to grip the tire.
- Dry completely: Moisture compromises the bonding process.
| Step | Purpose | Tip |
|---|---|---|
| Deflate Tire | Prevents air from escaping and eases surface prep | Fully deflate before cleaning |
| Sand Surface | Enables better adhesive grip | Use medium-grit sandpaper |
| Wipe Clean | Remove contaminants for smooth adhesion | Use alcohol or solvent wipe |
Applying the Patch with Precision and Care
Before applying the patch, ensure the damaged area is thoroughly cleaned and dried. Any dirt or moisture left behind can prevent the patch from adhering properly. Use a piece of sandpaper or a metal scraper to lightly roughen the surface surrounding the puncture; this step allows the adhesive to bond more effectively with the tire’s rubber. Apply a thin layer of vulcanizing glue over the prepared area, making sure to cover a slightly larger diameter than the patch itself. Give the glue a few minutes to become tacky—this is where patience pays off, as a sticky base ensures the patch seals seamlessly.
When setting the patch, place it carefully over the puncture, avoiding any air bubbles that might create weak spots. Press down firmly from the center outward to ensure full contact. To secure the patch while the adhesive cures, use a roller or a flat tool to apply consistent pressure. Here’s a quick guide on the pressure and time needed:
| Tool Used | Pressure Applied | Duration |
|---|---|---|
| Hand Roller | Moderate | 3-5 minutes |
| Flat Hard Object | Firm | 5 minutes |
- Avoid rushing: Even pressure and correct curing time lead to a durable fix.
- Inspect the edges: Make sure the patch is fully sealed all around.
- Test for leaks: Inflate the tire and listen or feel for escaping air before reinstalling.
Ensuring a Secure Seal to Prevent Future Leaks
Once the patch is in place, it’s vital to press down firmly to create a tight bond between the patch and tire surface. Using a roller or the back of a spoon, press evenly to eliminate air pockets and ensure the adhesive seeps into the punctured area completely. This step not only reinforces the repair but also prevents moisture and dirt from sneaking under the patch, which could lead to further leaks down the road.
For an added layer of security, consider applying a thin coat of rubber cement around the patch edges after the initial seal has dried. This acts as a protective barrier against dust and water. Remember to give the adhesive ample time to cure fully—typically about 10 to 15 minutes—before reinflating the tire. Following this technique guarantees durability that keeps the tire resilient and ready for the road ahead.
Testing the Repair and Reinstalling the Tire Safely
Before you reinstall your tire, it’s crucial to ensure the patch has formed a perfect seal over the puncture. Inflate the tire slightly and submerge the repaired area in water—or use soapy water—watching carefully for any escaping bubbles. This simple test will confirm if air is still leaking, indicating whether you need to reposition or replace the patch. Additionally, run your fingers gently over the patch to check for any uneven edges or loose glue that could cause problems later on.
Once confident in the repair, carefully align the tire back onto the rim, making sure it sits evenly without pinching the patch. When tightening the bolts or securing the tire, don’t rush: apply torque evenly, alternating sides to balance pressure. Finally, inflate the tire to its recommended pressure, and double-check with a pressure gauge to guarantee proper inflation. Here’s a quick checklist to guide you safely through the process:
- Even Tire Seating: Ensure the tire bead is properly seated on the rim all around.
- Careful Inflation: Inflate gradually to the manufacturer’s recommended PSI.
- Recheck for Leaks: Monitor patch and valve area one more time after inflation.
- Secure Fasteners: Tighten wheel nuts or clips in a crisscross pattern.
- Final Safety Checks: Inspect tire condition, including patch, valve, and overall tire integrity.
Q&A
Q: What are the first signs that my tire might be punctured?
A: A sudden or gradual loss of air pressure, a noticeable wobble while driving, or a thudding sound can all hint that your tire has been punctured. If you see a nail, screw, or other sharp object stuck in the tire, that’s a clear sign too.
Q: Can I patch the puncture myself, or do I need to visit a professional?
A: Patching a punctured tire is a doable DIY task if the damage is small and in the tread area. However, if the puncture is on the sidewall or the tire has extensive damage, it’s safer to let a professional handle the repair—or consider replacing the tire altogether.
Q: What tools and materials do I need to patch a punctured tire?
A: You’ll want a repair kit that usually includes rubber cement, a rasp tool, repair plugs or patches, a tire plug insertion tool, and importantly, a tire pressure gauge and an air pump to reinflate the tire afterward.
Q: How do I start the tire patching process?
A: First, remove the tire—or take it off the vehicle if you can. Locate the puncture by inflating the tire and spraying soapy water on it; bubbles will reveal the leak. Then, clean and roughen the area around the hole with the rasp tool.
Q: What’s the difference between a tire plug and a tire patch?
A: A tire plug is inserted into the hole from the outside and seals the puncture from within, while a tire patch is applied on the inside surface of the tire, covering the hole like a bandage. Often, use of both together offers the strongest repair.
Q: How do I apply the patch?
A: Apply rubber cement on the roughened area, wait until it becomes tacky, then firmly press the patch over the puncture on the inner surface of the tire. Make sure to smooth out air bubbles to ensure a tight seal.
Q: After patching, how do I check if the repair was successful?
A: Reinflate the tire to the recommended pressure and spray the patched area with soapy water. Look for any air bubbles indicating a leak. If none appear, your patch is holding strong!
Q: How long will a patched tire last?
A: A properly patched tire can last as long as it would have without damage—often for thousands of miles. That said, it’s wise to have the tire inspected regularly and be cautious of any new damage.
Q: Are there any safety tips to keep in mind when patching a tire?
A: Absolutely. Always work in a safe, flat area away from traffic, use proper tools to avoid injury, and never drive on a tire that’s excessively damaged or improperly repaired. Safety comes first!
Q: When should I simply replace my punctured tire instead of patching it?
A: If the puncture is larger than a quarter-inch, located on the sidewall, or if the tire has multiple punctures or severe wear, replacement is the safest bet. A patch isn’t a miracle fix for all tire problems.
Key Takeaways
Patching a punctured tire may seem like a small fix, but it’s a skill that keeps you rolling smoothly and safely on the road. With a little patience, the right tools, and a step-by-step approach, you can transform a roadside setback into just another routine part of vehicle maintenance. So next time a tire lets the air out of your plans, remember: a quick patch-up can have you back on track before you know it. Safe travels and happy patching!