

Brakes are the unsung heroes of every journey—silent, reliable, and vital for your safety on the road. Yet, despite their importance, many drivers overlook the simple yet crucial step of testing their brakes regularly. Knowing how to test your brakes properly isn’t just about passing inspections; it’s about ensuring peace of mind and control when it matters most. In this article, we’ll guide you through straightforward, effective methods to check your braking system, helping you stay safe and confident behind the wheel.
Table of Contents
- Understanding the Importance of Brake Testing for Vehicle Safety
- Identifying Common Signs That Indicate Brake Issues
- Preparing Your Vehicle for a Comprehensive Brake Inspection
- Step-by-Step Guide to Performing a Brake Responsiveness Test
- Evaluating Brake Pad and Disc Condition for Wear and Damage
- When to Seek Professional Help After Conducting Your Own Brake Tests
- Q&A
- The Conclusion
Understanding the Importance of Brake Testing for Vehicle Safety
Ensuring your brakes are functioning effectively can be the difference between a safe journey and a hazardous situation. Regular brake testing is not just a maintenance routine; it’s a critical step in safeguarding yourself and others on the road. By actively assessing brake response and wear, you intercept potential failures before they escalate into dangerous malfunctions. A properly tested brake system delivers reliable stopping power, giving you confident control under all driving conditions.
To optimize brake safety, pay attention to these key factors during your test:
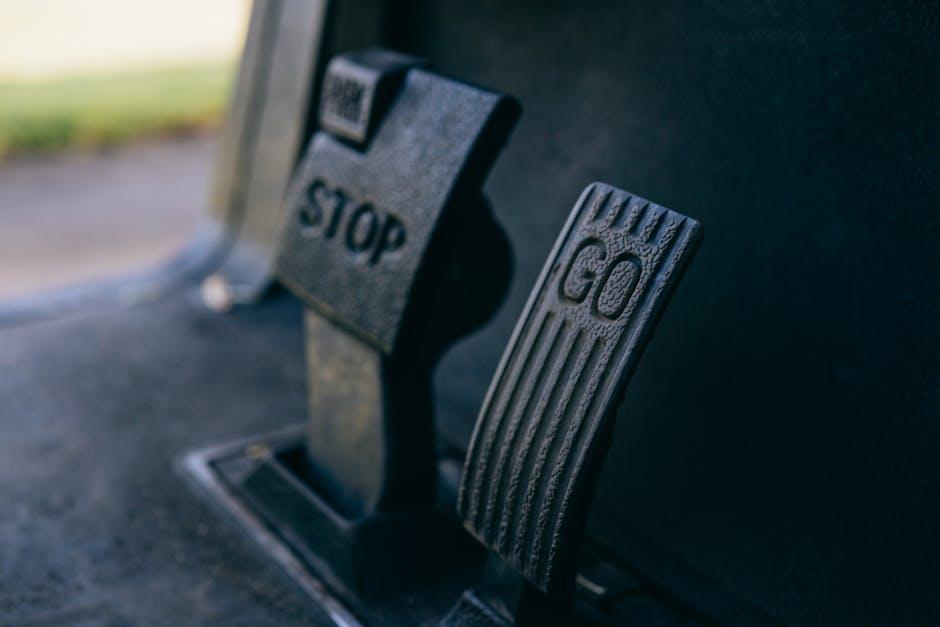
- Brake Pedal Feel: Should be firm and responsive, not spongy or soft.
- Stopping Distance: Note if the vehicle takes longer than usual to halt.
- Noise Detection: Listen for squeaks, grinding, or unusual sounds during braking.
- Brake Warning Indicators: Monitor dashboard lights related to brake function.
- Visual Inspection: Look for brake fluid leaks or worn-out pads through the wheel spokes.
| Brake Test Aspect | What to Look For | Possible Issue |
|---|---|---|
| Pedal Pressure | Feels soft or sinks | Air in brake lines or fluid leak |
| Noise When Braking | Squealing or grinding sounds | Worn brake pads or discs |
| Uneven Brake Wear | One side brakes harder than the other | Sticking calipers or uneven pad wear |

Identifying Common Signs That Indicate Brake Issues
Recognizing the warning signals your brakes give you can save not only your car but also your life. Unusual noises such as squealing or grinding when you apply the brakes often point to worn-out pads or damaged rotors. You might also feel vibrations pulsating through the brake pedal, which could indicate uneven wear or warped discs. Another red flag is an increased stopping distance—if your vehicle doesn’t halt as quickly as it used to, it’s time to investigate.
Pay close attention to these common signs that something could be amiss:
- Squeaking or grinding sounds
- Brake pedal feels soft, spongy, or sinks
- Vibrations or pulsations when braking
- Car pulls to one side when brakes are applied
- Warning light on the dashboard
| Symptom | Possible Cause | Action |
|---|---|---|
| Squealing sound | Worn brake pads | Replace pads immediately |
| Soft brake pedal | Air in brake lines or fluid leak | Inspect and bleed brake system |
| Vibrations | Warped rotors | Have rotors resurfaced or replaced |
| Pulling to one side | Brake caliper issue | Check calipers and brake lines |

Preparing Your Vehicle for a Comprehensive Brake Inspection
Before diving into the brake inspection, ensuring your vehicle is primed can save time and enhance safety. Begin by parking on a level surface and engaging the parking brake firmly. This stabilizes the car and prevents unintended movements during the process. Clear away any loose debris or objects around the wheels to provide unobstructed access. Inspect tire tread and pressure as these can influence brake performance and overall vehicle control.
Next, gather essential tools and materials that facilitate a thorough evaluation. Some key items include:
- Jack and jack stands for safe lifting
- Flashlight or inspection light for visibility
- Brake cleaner to remove dirt and grime
- Wheel chocks to prevent rolling
| Step | Purpose |
|---|---|
| Lifting Vehicle | Provides access to brake components |
| Wheel Removal | Allows inspection of brake pads and rotors |
| Cleaning Parts | Removes buildup for accurate assessment |
Step-by-Step Guide to Performing a Brake Responsiveness Test
Begin by finding a quiet, flat stretch of road where you can safely test your vehicle without traffic interference. Before pressing the brake pedal, take note of any unusual noises, vibrations, or delays. Gradually apply pressure to the pedal, feeling for a consistent and firm response. If the brake feels spongy or the pedal sinks toward the floor, this may indicate an issue with the brake fluid or air in the brake lines. Keep your hands steady on the wheel and gradually increase the braking force to check how quickly the vehicle decelerates without veering to one side.
Pay close attention to these key signs during the test:
- Brake pedal travel: Should be smooth and firm, not spongy or overly soft.
- Stopping distance: Should be consistent with the road conditions and vehicle speed.
- Brake responsiveness: Immediate reaction without lag when pressure is applied.
- Vehicle behavior: Should remain stable and not pull to one side during braking.
| Test Aspect | What to Expect | Signs of Concern |
|---|---|---|
| Pedal Feel | Firm, steady | Soft, spongy, or sinking |
| Stopping Distance | Consistent with speed | Longer than usual |
| Vehicle Stability | Straight line | Pulls to one side |

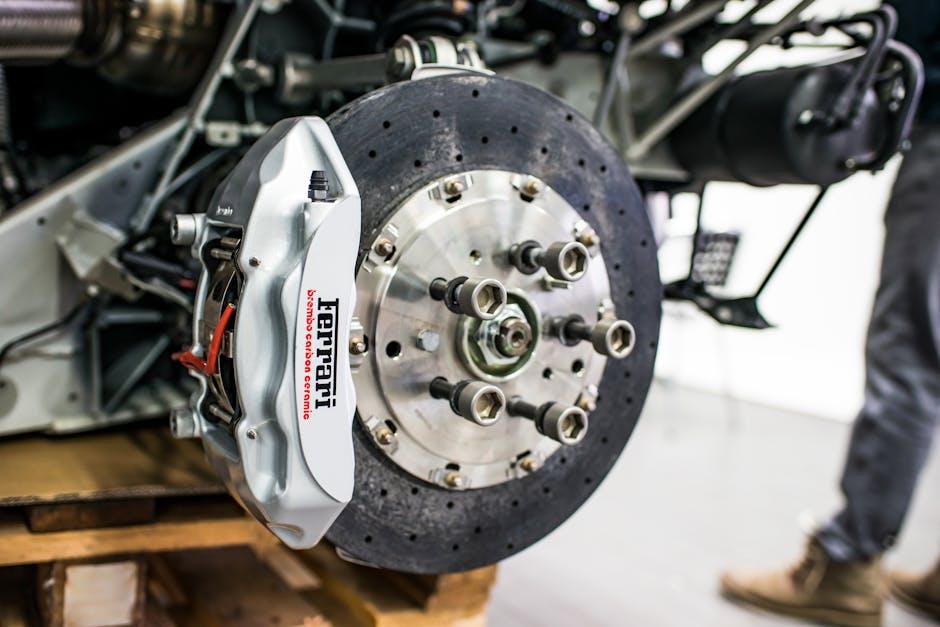
Evaluating Brake Pad and Disc Condition for Wear and Damage
Start by visually inspecting the brake pads through the wheel spokes or by removing the wheel if necessary. Look for signs of uneven wear, cracks, or deep grooves that indicate the pads might be compromised. Remember, most brake pads have a built-in wear indicator; if this is worn down to the metal, it’s time for a replacement. Additionally, pay attention to any unusual dust accumulation or discoloration, as these could signal overheating or contamination.
Next, examine the brake discs for surface imperfections that hinder proper braking performance. Run your fingers lightly over the disc surface (only when cool) to feel for scoring, warping, or ridges. Minor surface rust is common but should be cleaned off, while deep grooves and cracks require professional attention. To help track wear levels systematically, use the table below as a quick reference:
| Condition | Brake Pad | Brake Disc |
|---|---|---|
| Optimal | Thickness > 5mm, No cracks | Flat surface, No grooves |
| Warning | Thickness 3-5mm, Minor scoring | Light grooves, Slight warping |
| Replace | Thickness < 3mm, Cracked or uneven | Deep grooves, Cracks, Severe warping |

When to Seek Professional Help After Conducting Your Own Brake Tests
After performing your own brake tests, it’s crucial to recognize the moments when professional assessment becomes indispensable. If you notice persistent issues such as unusual noises, vibrations, or a spongy brake pedal, these are clear signs that your brakes may require expert attention. Additionally, if the vehicle pulls to one side when braking or if it takes longer to stop than usual, don’t delay consulting a mechanic. Prioritizing safety means trusting the trained eye and specialized tools professionals bring to the table, especially when your initial tests reveal anomalies beyond simple adjustments.
Some warning signs that should prompt an immediate visit to a brake specialist include:
- Burning smells during or after braking
- Illuminated brake warning light on the dashboard
- Fluid leaks near the brake components
- Excessive brake pedal travel or stiffness
Recognizing these signals early can prevent more costly repairs and ensure your vehicle remains safe on the road. When in doubt, remember that brake safety is never worth cutting corners—seeking professional help is a responsible decision for you and all road users.
Q&A
Q: Why is it important to test your brakes regularly?
A: Your brakes are the most critical safety feature on your vehicle. Regular testing ensures they function correctly, helping you avoid accidents and maintain control during emergencies. Neglecting brake tests can lead to worn components and potentially dangerous situations on the road.
Q: How can I test my brakes without a professional mechanic?
A: Start by finding a safe, open area free from traffic. Gradually press the brake pedal to feel its responsiveness — it should be firm, not spongy or overly stiff. Next, take a slow test drive and apply the brakes at different speeds to check for unusual noises, vibrations, or pulling to one side. If everything feels smooth and consistent, your brakes are likely in good shape.
Q: What signs should I look for that indicate brake problems?
A: Be alert for squealing or grinding sounds, a soft or sinking brake pedal, longer stopping distances, or the vehicle pulling to one side when braking. Any of these signs warrant a professional inspection to avoid further damage or unsafe driving conditions.
Q: Can I test brake fluid quality myself?
A: While checking the brake fluid level is straightforward — just look at the reservoir under the hood — assessing its quality is trickier. Brake fluid should be clear or slightly yellow. If it’s dark or dirty, it may be time for a fluid change. Some auto stores sell inexpensive test strips to check moisture contamination, but otherwise, have a technician perform a thorough check.
Q: How often should I test my brakes?
A: Make it a habit to do a basic brake test every few weeks or before long trips. More comprehensive inspections, including professional evaluations, are recommended at least once a year or according to your vehicle manufacturer’s guidelines.
Q: Is it safe to do an emergency brake test on public roads?
A: Emergency brake tests simulate sudden stops but can be dangerous on busy roads. Only perform them in controlled environments like empty parking lots, and ensure there’s plenty of space to stop safely. It’s best to leave these tests to professionals in specialized conditions.
Q: What should I do if my brakes fail the test?
A: Don’t ignore it. Schedule a professional brake inspection immediately. Driving with compromised brakes risks your safety and others’. Prompt repairs can save you money and lives in the long run.
Q: Can brake testing help extend the life of my brakes?
A: Absolutely. Regular testing helps catch minor issues before they escalate, allowing timely maintenance. This proactive approach preserves brake components, maintains performance, and can save you from costly repairs down the road.
The Conclusion
In the end, knowing how to test your brakes properly is more than just a skill—it’s a vital step toward ensuring your safety and peace of mind every time you hit the road. By taking the time to check your brakes thoroughly and regularly, you empower yourself to catch potential issues before they become emergencies. Remember, your brakes are your vehicle’s most important safety feature, so treat them with the care and attention they deserve. Drive wisely, test confidently, and let every stop be a smooth one.
1 Comment
Your point of view caught my eye and was very interesting. Thanks. I have a question for you.