

Washing a car might seem like a simple chore, but doing it well is an art that can elevate your vehicle’s appearance and protect its finish for years to come. Whether you’re aiming to impress at your next weekend meet-up or simply want to maintain that fresh-from-the-showroom shine, mastering the right techniques can make all the difference. In this guide, we’ll walk you through the essential steps and insider tips on how to wash your car like a pro, turning a routine task into a satisfying and effective ritual.
Table of Contents
- Choosing the Right Tools and Products for a Spotless Clean
- Preparing Your Car for Washing to Avoid Scratches and Swirls
- Mastering the Two-Bucket Method for Optimal Dirt Removal
- Techniques for Washing Different Car Surfaces with Care
- Secrets to Achieving a Streak-Free Dry and Polished Finish
- Maintaining Your Car’s Shine with Regular Wash and Protection
- Q&A
- To Conclude
Choosing the Right Tools and Products for a Spotless Clean
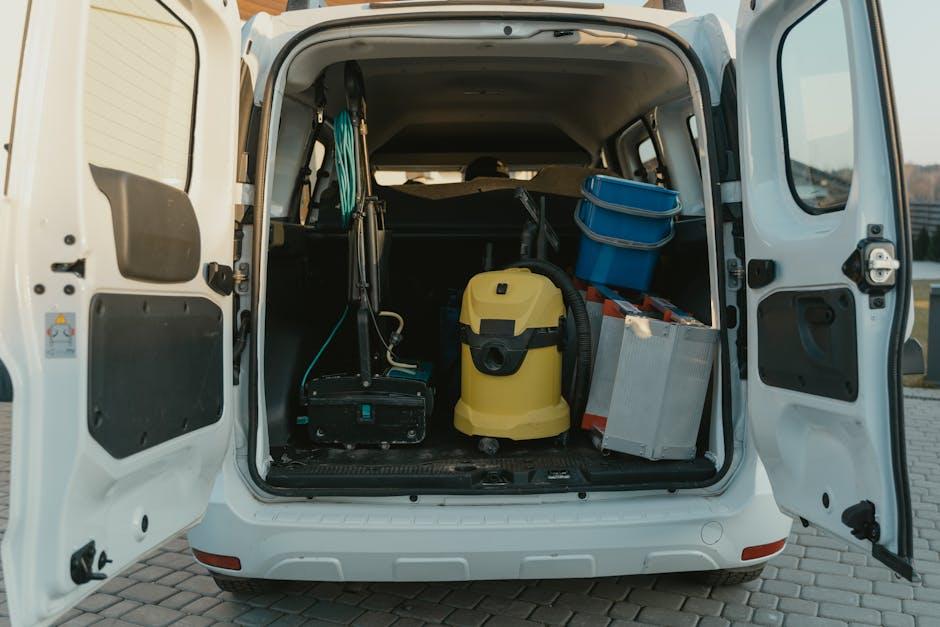
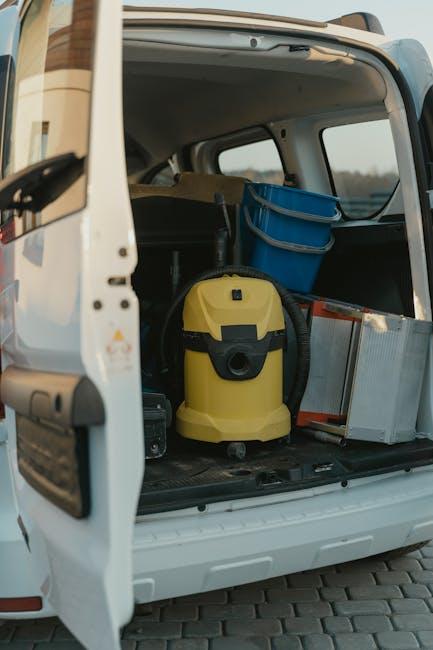
Achieving a professional-grade car wash starts with selecting the right tools and cleaning products designed specifically for automotive care. Avoid household detergents as they can strip away protective wax and harm your paint. Instead, opt for a high-quality car shampoo that foams well to lift dirt but remains gentle on the surface. Equipping yourself with a soft, microfiber wash mitt reduces the risk of scratches, while a separate detailing brush ensures you can access tight spots like grilles and around emblems effectively. Investing in multiple buckets—one for soapy water and one for rinsing—helps prevent dirt from being reapplied to your car’s surface during the wash.
Beyond soaps and mitts, having the right drying and polishing accessories can elevate the final shine. A microfiber drying towel or a waffle-weave drying cloth swiftly absorbs water without leaving streaks or lint behind. For wheels and tires, choose specialized cleaners and brushes that tackle brake dust and grime efficiently. The table below summarizes some essential tools and their purposes, helping you customize your car wash kit:
| Tool/Product | Purpose |
|---|---|
| Microfiber Wash Mitt | Gentle dirt removal without scratches |
| Car Shampoo | Safe cleaning with rich foam |
| Two-Bucket System | Prevents cross-contamination |
| Detailing Brush | Reaches tight crevices |
| Microfiber Drying Towel | Streak-free drying |
| Wheel Cleaner & Brush | Breaks down brake dust and grime |
Preparing Your Car for Washing to Avoid Scratches and Swirls
Before you even reach for the hose, proper preparation is key to maintaining your car’s flawless finish. Start by parking your vehicle in a shaded, cool spot to prevent water spots and soap from drying too quickly, which can cause streaks and mineral deposits. Next, give the car a gentle dust-off with a microfiber duster or a soft brush to remove loose dirt and debris that might otherwise create micro-scratches during washing. Always use clean, high-quality microfiber towels or wash mitts to protect the paint, and organize your washing tools in labeled buckets – one for soapy water and one for rinsing – to prevent contamination.
Implementing a foolproof pre-wash routine can make all the difference. Use a gentle pre-wash spray designed to loosen stubborn grime, but avoid harsh chemicals that might degrade your paint protection. Also, remember to inspect your wash mitt frequently – a clogged mitt can trap grit and magnify surface damage. Here’s a quick checklist to help you prepare:
- Find shade: Reduce sun exposure to avoid water marks.
- Remove loose dirt: Use a microfiber duster to clear dust.
- Use separate buckets: One for wash soap, one for rinse water.
- Pre-wash spray: Loosen grime before washing.
- Check your mitt: Rinse and inspect to avoid trapped dirt.
Mastering the Two-Bucket Method for Optimal Dirt Removal
Harnessing the power of the two-bucket technique transforms your car wash from a chore into a precision clean. This method uses one bucket filled with soapy water to launch your suds onto the paintwork, and a second bucket of clean water dedicated solely to rinsing your wash mitt or sponge. This simple step dramatically reduces the risk of transferring dirt and grit back onto your vehicle, which can cause those pesky swirl marks that ruin a perfectly polished finish. Always perform a rigorous rinse cycle in the clean water bucket before dipping back into your soap solution, ensuring every swipe of the mitt is contaminant-free.
To get the best results from this technique, set up your washing station thoughtfully with these essentials:
- Bucket One: Warm water with a high-quality car shampoo.
- Bucket Two: Clean, cold water reserved exclusively for rinsing your wash mitt.
- Grit Guard Inserts: These help trap dirt at the bottom of each bucket, preventing it from getting picked up again.
- Microfiber Wash Mitt: Gentle on paint and highly effective at lifting dirt.
| Step | Action | Purpose |
|---|---|---|
| 1 | Dip mitt in soapy water | Lift dirt and grime off paint |
| 2 | Wash car section | Remove contaminants safely |
| 3 | Rinse mitt in clean water | Release dirt from mitt fibers |
| 4 | Repeat | Maintain a clean mitt for next use |
Techniques for Washing Different Car Surfaces with Care
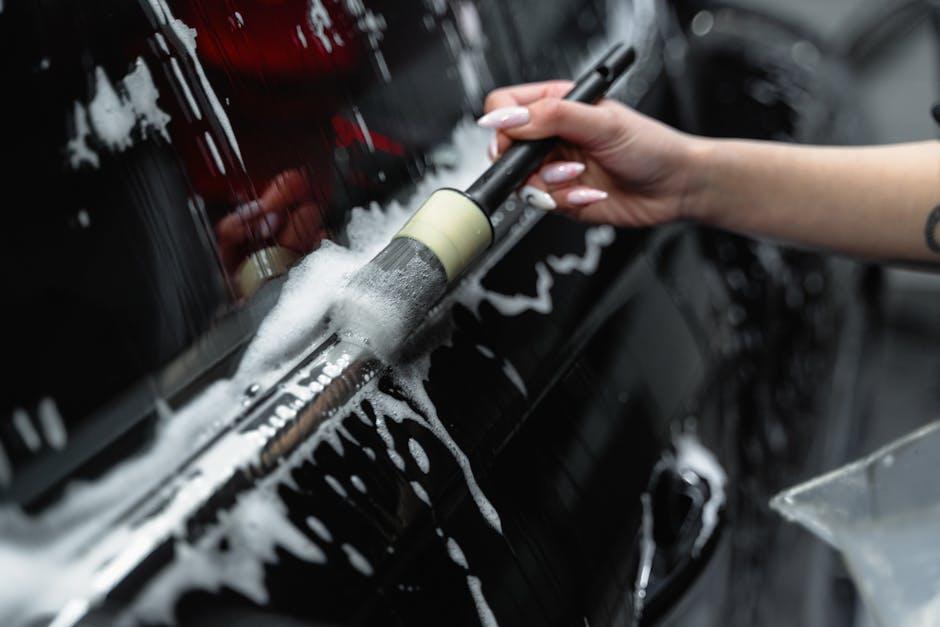
Every surface of your car demands a tailored approach to maintain its pristine condition. For glossy paint finishes, opt for a foam cannon or gentle microfiber mitts to avoid scratching, always washing in straight lines rather than circles to reduce swirl marks. When tackling the delicate glass, a high-quality glass cleaner paired with a lint-free cloth ensures streak-free clarity. Don’t forget the matte finishes—these require specially formulated soaps designed to preserve their unique texture without adding shine.
Wheels and tires deserve special attention too, as they often accumulate stubborn grime and brake dust. Use a dedicated wheel cleaner with a soft brush to reach into the nooks, followed by wiping down with a tire dressing to keep them looking fresh without slick residue. Consider this simple chart to guide your choice of tools based on surface type:
| Surface | Recommended Cleaning Tool | Key Tip |
|---|---|---|
| Glossy Paint | Microfiber Mitt or Foam Cannon | Use straight strokes to avoid swirl marks |
| Glass | Lint-Free Cloth & Glass Cleaner | Wipe in vertical and horizontal passes |
| Matte Finish | Matte Surface Soap | Avoid waxes or polishes to keep texture |
| Wheels & Tires | Soft Brush & Tire Dressing | Thoroughly clean brake dust and grime |

Secrets to Achieving a Streak-Free Dry and Polished Finish
Achieving that flawless, streak-free shine on your car starts with selecting the right drying tools and techniques. Avoid standard bath towels that can leave lint and scratches; instead, opt for a high-quality microfiber drying towel or a waffle-weave drying cloth designed to absorb water quickly and gently. Patience is key—gently blot the surface rather than rubbing aggressively, which helps minimize swirl marks and ensures every drop is whisked away. To tackle glass surfaces, use a separate, clean microfiber cloth to prevent cross-contamination and guarantee crystal-clear windows without any streaks or smudges.
Enhance the polished look with a quick detailer or a spray wax applied after drying. This not only boosts shine but also helps repel dust, water spots, and pollutants, keeping the car looking pristine longer. Here’s a quick guide to tools best suited for a streak-free finish:
| Tool | Purpose | Tip |
|---|---|---|
| Microfiber Drying Towel | Water absorption without scratching | Use large, gentle blotting motions |
| Waffle-Weave Cloth | Efficient drying with less effort | Keep it clean and dry for best results |
| Quick Detailer Spray | Enhance gloss & remove residue | Apply lightly using an ergonomic sprayer |
| Glass-Specific Microfiber Cloth | Streak-free window finish | Reserve exclusively for glass surfaces |
Maintaining Your Car’s Shine with Regular Wash and Protection
Keeping your car’s gleam vibrant goes beyond just a quick rinse. Consistency is key—regular washing removes harmful contaminants like dirt, road salt, and bird droppings that can erode your paintwork over time. To protect the finish, invest in a high-quality wax or sealant after every wash. These products create a protective layer that repels water and UV rays, maintaining that fresh-off-the-lot shine longer. Remember, using the right cleaning products tailored for automotive finishes prevents scratching and ensures the surface remains smooth and glossy.
To make your routine more effective, equip yourself with:
- Microfiber towels: gentle on paint and excellent for drying.
- pH-balanced car shampoo: designed to clean without stripping wax.
- Clay bars: remove embedded contaminants for a silky finish.
- Quality wax or sealant: offers long-term protection and shine.
| Wash Step | Recommended Product | Frequency |
|---|---|---|
| Cleaning | pH-balanced Car Shampoo | Weekly |
| Decontamination | Clay Bar | Monthly |
| Protection | Carnauba Wax or Sealant | Every 3 months |
Q&A
Q&A: How to Wash Your Car Like a Pro
Q1: Why is it important to wash my car properly?
A1: Washing your car properly not only keeps it looking pristine but also protects the paint and finish from dirt, grime, and contaminants that can cause scratches or corrosion over time. A well-maintained car retains value and reflects pride of ownership.
Q2: What tools do I need for a professional car wash at home?
A2: To wash like a pro, gather these essentials: a high-quality car wash soap (not dish detergent), two buckets (one for soapy water, one for rinse water), a soft microfiber wash mitt, a grit guard to keep dirt off your mitt, a hose with a spray nozzle, microfiber drying towels, and optionally, a foam cannon and wax or sealant for finishing.
Q3: Why use two buckets instead of one?
A3: The two-bucket method minimizes the risk of rubbing dirt and debris back onto your car’s surface. One bucket holds soapy water to wash, the second holds clean water for rinsing your mitt, keeping grime out of your wash solution and reducing the chance of scratches.
Q4: What’s the best technique to wash the car?
A4: Start from the top and work downward, as dirt usually settles toward the bottom. Use gentle, straight-line strokes rather than circular motions to avoid swirl marks. Rinse often and rinse the car thoroughly before drying.
Q5: How should I dry the car to avoid water spots?
A5: Use clean, soft microfiber towels or a car-specific drying towel to blot and gently wipe the surface dry. Avoid air drying in direct sunlight, as this can cause water spots from minerals in the water. Pat dry rather than rub for the best result.
Q6: Is there anything extra I can do to make my car shine like it just rolled off the showroom floor?
A6: After washing, apply a quality wax or paint sealant to protect and enhance the shine. For added gloss, use a quick detailer spray. Regular application creates a slick surface that repels dirt and water, making future washes easier.
Q7: How often should I wash my car to maintain that professional finish?
A7: Ideally, wash your car every two weeks to keep dirt buildup and contaminants at bay. If you live near the ocean or in areas with harsh weather, more frequent washing helps protect your car’s paint and metal.
By following these expert tips, you’ll not only clean your car effectively but elevate the whole experience—making your vehicle look cared for and cared about.
To Conclude
Mastering the art of washing your car like a pro isn’t just about cleanliness—it’s about care, patience, and a touch of pride in every gleaming detail. With the right techniques and tools, your vehicle can shine not only on the outside but also in your daily drive. So next time you reach for that hose or bucket, remember: a professional wash is less about speed and more about the love you pour into every rinse, scrub, and polish. Happy washing, and here’s to many journeys reflecting your impeccable shine!
2 Comments
vnnont
Your point of view caught my eye and was very interesting. Thanks. I have a question for you.