

There’s something deeply satisfying about a car that gleams under the sun, its surface smooth and reflective like a glassy lake. Waxing your car at home is more than just maintenance—it’s a hands-on ritual that reconnects you with your vehicle, turning a routine chore into a moment of mindful care. But if the thought of waxing feels daunting or mysterious, fear not. This guide will walk you through the essential steps and best practices, helping you bring out your car’s natural shine without the need for professional help. Ready to roll up your sleeves and unlock that showroom sparkle? Let’s dive in.
Table of Contents
- Choosing the Right Wax for Your Car’s Finish
- Preparing Your Car Surface for a Flawless Application
- Essential Tools and Materials for Effective Waxing
- Step by Step Guide to Applying Wax Like a Pro
- Tips for Achieving an Even and Streak-Free Shine
- Maintenance and Aftercare to Extend Your Wax’s Lifespan
- Q&A
- To Wrap It Up
Choosing the Right Wax for Your Car’s Finish
Selecting the perfect wax for your vehicle is essential to achieving that showroom shine while providing lasting protection. There are several types to consider, each tailored to different finishes and durability needs. Carnauba wax, for example, offers a deep, warm glow, especially on darker paints, but typically requires more frequent application. On the other hand, synthetic waxes (also called sealants) provide stronger protection against UV rays and contaminants with longer-lasting results, making them ideal for those who want less maintenance.
To simplify your decision, take a look at the following table summarizing popular wax types and their best uses:
| Wax Type | Finish | Durability | Best For |
|---|---|---|---|
| Carnauba | Rich, warm glow | 2-4 weeks | Dark paint, show cars |
| Synthetic Sealant | Glossy, slick | 4-6 months | Everyday use, all paints |
| Hybrid Blends | Balanced shine | 3-5 months | All paint types, long-lasting |
| Paste Wax | Classic shine | 3-4 months | Detailers & enthusiasts |
- Consider your climate. Hotter areas with more sun exposure may benefit from synthetic options with added UV protection.
- Think about your schedule. If you prefer less frequent waxing, opt for sealants or hybrid blends.
- Always test a small area. Some finishes or colors react differently to certain waxes.

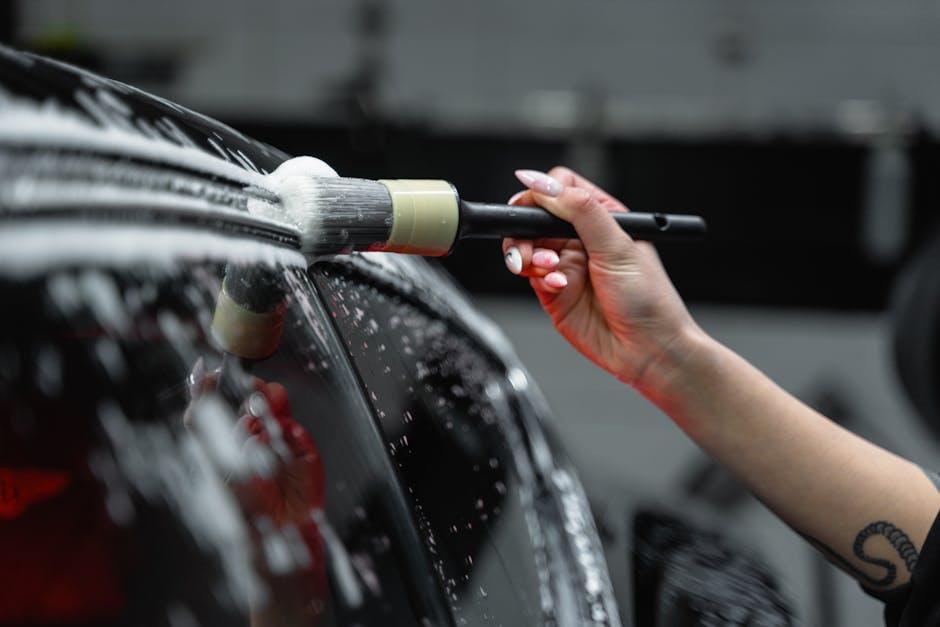
Preparing Your Car Surface for a Flawless Application
Before you even think about applying wax, it’s crucial to ensure your car’s surface is perfectly clean and smooth. Start by giving your vehicle a thorough wash using a pH-balanced car shampoo to remove dirt, grime, and any oily residues that could interfere with wax adherence. Rinse well and dry the car completely with a microfiber towel to avoid water spots. Remember, skip any automatic car washes with abrasive brushes—hand washing is always the safest bet to preserve your paint’s integrity.
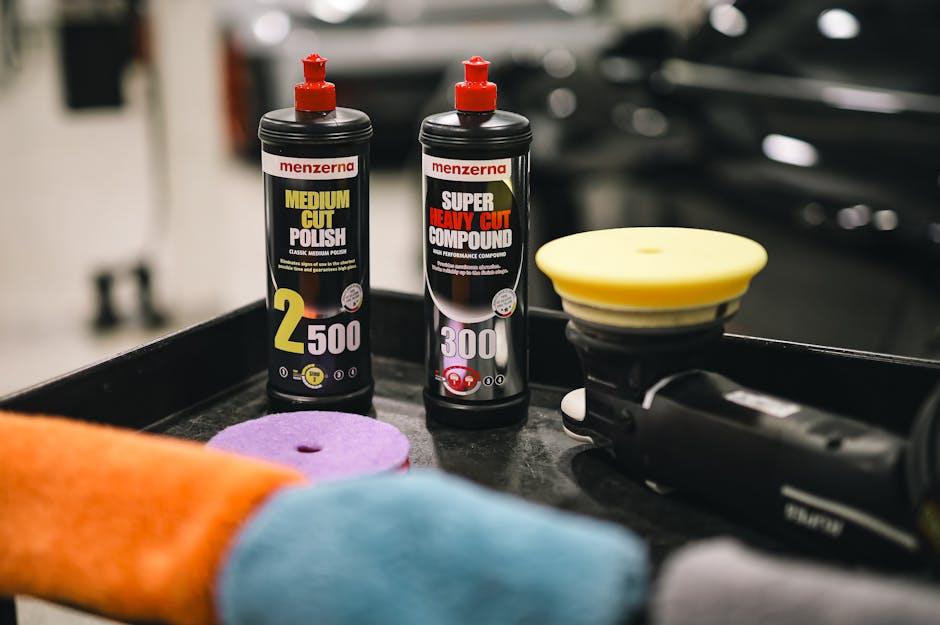
Next, inspect your car for any stubborn contaminants like tree sap, tar, or water spots, which can prevent the wax from bonding properly. If necessary, use a clay bar kit to gently lift these impurities from the paint surface. This step is vital for achieving that mirror-like shine after waxing. Finally, check for small scratches or swirl marks; applying a mild polish can smooth out imperfections, creating an ideal canvas for the wax to work its magic. Here’s a quick checklist to prep your car:
- Hand wash with proper car shampoo
- Dry using a microfiber cloth
- Remove contaminants with clay bar
- Polish minor paint imperfections
| Step | Purpose | Product |
|---|---|---|
| Washing | Remove dirt/grime | pH-balanced shampoo |
| Claying | Eliminate contaminants | Clay bar kit |
| Polishing | Smooth paint surface | Light polish |
Essential Tools and Materials for Effective Waxing
To achieve a brilliant, durable shine on your car, gathering the right tools and materials is crucial. Start with a high-quality car wax tailored to your vehicle’s paint type—whether synthetic or natural paste wax. You’ll also need a handful of soft microfiber cloths; these are essential for applying and buffing wax without scratching the surface. A foam applicator pad can help spread the wax evenly, while a clay bar kit is invaluable for removing surface contaminants before waxing, ensuring a smooth and polished finish.
Beyond these basics, consider organizing your waxing kit with these handy items:
- Bucket with clean water for rinsing cloths
- Detailing spray for quick touch-ups
- Masking tape to protect rubber trims and windows
- Portable LED light to spot imperfections under various angles
| Tool/Material | Purpose | Pro Tip |
|---|---|---|
| Microfiber Cloths | Application and buffing | Use separate cloths for application & buffing |
| Foam Applicator | Even wax distribution | Apply thin, circular layers for best results |
| Clay Bar | Surface decontamination | Use with lubricant spray for smooth glide |
Step by Step Guide to Applying Wax Like a Pro
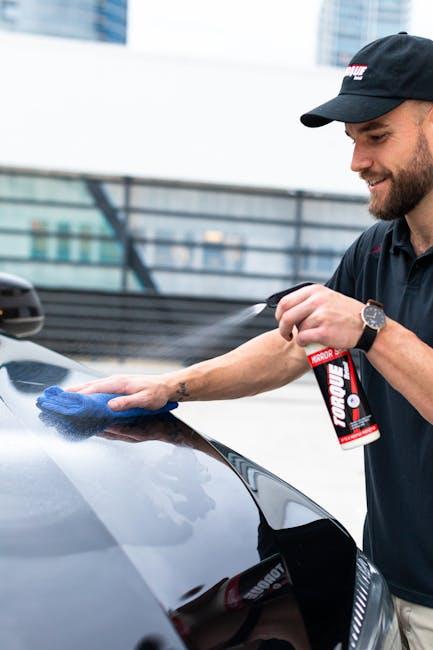
Begin by ensuring your car’s surface is spotless and completely dry. Use a dedicated automotive soap and soft mitt to wash away dirt and debris, then buff dry with a microfiber cloth to avoid any water spots. Choose a shaded area to work in, as direct sunlight can cause wax to dry too quickly, making it difficult to achieve an even finish. Next, select a wax suitable for your vehicle’s paint type—whether it’s paste, liquid, or spray. Apply the wax with a clean foam applicator in small, circular motions, focusing on one panel at a time for precise coverage.
Allow the wax to haze over according to product instructions, usually between 5 to 10 minutes. Once hazed, gently buff the surface with a fresh microfiber towel, moving in straight, overlapping strokes to bring out an unbeatable shine. For best results and maximum protection, consider applying two thin layers of wax, letting the first layer cure fully before applying the second. Remember, wax isn’t just for aesthetics; it provides a protective barrier against UV rays, water, and pollutants, preserving your car’s paint for the long haul.
| Step | Tip |
|---|---|
| Cleaning | Use pH-balanced car soap |
| Application | Apply wax in circular motions |
| Buffing | Use a soft, clean microfiber towel |
| Multiple Layers | Apply second layer after first cures |
Tips for Achieving an Even and Streak-Free Shine
Start by selecting a cool, shaded spot to wax your car. Direct sunlight heats the surface, causing the wax to dry too quickly and leaving behind unsightly streaks. Use a soft, clean microfiber applicator to apply the wax in small, circular motions—this technique helps distribute the product evenly without over-applying. Remember, less is more when it comes to wax; a thin, uniform layer is easier to buff and results in an even, glossy finish.
Consistency and patience are key:
- Allow the wax to haze properly before buffing, usually between 5-15 minutes depending on the product.
- Buff in gentle, overlapping strokes using a clean, plush microfiber towel to avoid uneven spots.
- Rotate your applicator regularly to maintain a smooth coat, preventing buildup in certain areas.
Maintenance and Aftercare to Extend Your Wax’s Lifespan
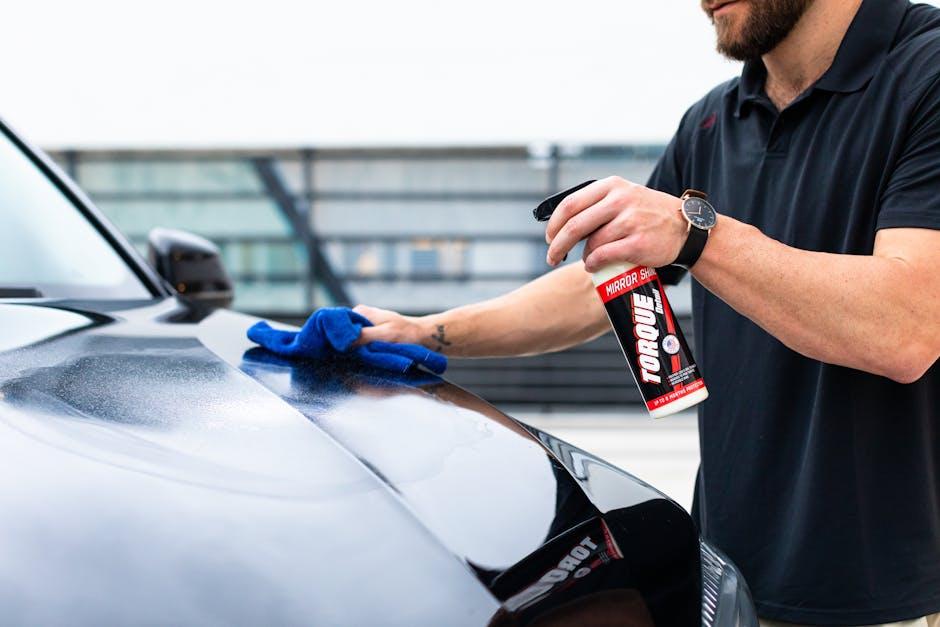
To preserve the glossy protection your wax provides, regular upkeep is essential. Start by washing your car with a gentle, pH-balanced shampoo that won’t strip away the wax layer. Avoid harsh detergents or automatic car washes with abrasive brushes, as they can prematurely wear down the finish. After washing, use a microfiber drying towel to avoid scratching the paint and to maintain that smooth, polished feeling. Periodically refreshing your wax with a spray-on booster can also help maintain that deep shine and protective barrier between washes, extending the time before a full reapplication is necessary.
Additionally, parking habits and environmental considerations play a big role. Whenever possible, shield your vehicle from direct sunlight and extreme weather by utilizing covered or shaded parking. This minimizes UV damage and environmental fallout that can degrade wax layers over time. A quick guide to aftercare essentials:
- Use gentle cleaning products: Opt for wax-friendly car shampoos.
- Microfiber is a must: For drying and wiping down surfaces.
- Frequent light maintenance: Use spray wax for touch-ups.
- Protect from elements: Park in shaded or covered areas when possible.
| Maintenance Step | Frequency | Impact on Wax Lifespan |
|---|---|---|
| Gentle wash | Weekly | Prevents wax stripping |
| Spray-on wax booster | Biweekly | Enhances gloss and protection |
| Shade parking | Daily | Reduces UV wear |
| Microfiber drying | After every wash | Avoids scratches and swirl marks |
Q&A
Q: Why should I wax my car at home instead of going to a professional?
A: Waxing your car at home not only saves money but also gives you a rewarding hands-on experience. It allows you to protect your vehicle’s paint from UV rays, dirt, and water spots, extending its life and shine—all while enjoying a satisfying DIY project.
Q: What type of wax should I use for my car?
A: Choose between paste, liquid, or spray wax depending on your preference and skill level. Paste wax offers durability but requires more effort, liquid wax balances ease and protection, and spray wax is quick for touch-ups. Consider synthetic or natural wax based on how long you want the protection to last.
Q: How do I prepare my car for waxing?
A: Start with a thorough wash to remove dirt, grime, and contaminants. Dry the car completely to prevent water spots, and if possible, clay bar the surface to eliminate embedded particles. This ensures the wax bonds well to a clean, smooth surface.
Q: What’s the best way to apply car wax at home?
A: Apply wax in small sections using a foam or microfiber applicator pad with gentle circular motions. Work in the shade to avoid the wax drying too quickly. Allow the wax to haze, usually a few minutes, then buff it off with a clean microfiber cloth to reveal a glossy finish.
Q: How often should I wax my car to keep it looking great?
A: For optimal shine and protection, waxing every 3 to 4 months is ideal. However, you can adjust based on your environment—hotter, sunnier climates may require more frequent waxing, while cooler areas might allow for longer intervals.
Q: Can I wax my car if it’s not perfectly clean or has scratches?
A: It’s best to wax a clean, scratch-free surface for the smoothest finish. If you have minor scratches, consider using a polishing compound before waxing. Dirt and debris can get trapped under the wax, potentially causing more harm than good.
Q: Are there any common mistakes to avoid when waxing my car at home?
A: Avoid waxing under direct sunlight or on a hot surface, using too much wax, or rushing the buffing process. These mistakes can cause streaks, uneven coverage, or a dull finish. Patience and proper technique are key to a professional-looking result.
Q: How do I maintain the wax finish between applications?
A: Keep your car clean with regular washing using pH-balanced car shampoo, and use quick detailers for minor touch-ups. Parking in shaded areas and using car covers also help preserve the wax’s protective qualities longer.
Q: Is waxing safe for all types of car paint?
A: Waxing is generally safe for most factory and aftermarket paints, but be cautious with matte or textured finishes—these surfaces may require special products. Always check your car’s manual or consult with a paint specialist if unsure.
Q: What benefits will I see immediately after waxing my car?
A: Right after waxing, your car will gleam with a rich, deep shine and feel silky smooth to the touch. Water will bead up and roll off easily, helping to keep your ride cleaner and more protected against the elements.
To Wrap It Up
Waxing your car at home is more than just a task—it’s a chance to connect with your vehicle and bring out its natural shine. With patience, the right materials, and a bit of elbow grease, your car can gleam with a showroom finish without ever stepping foot in a professional shop. So roll up your sleeves, embrace the process, and enjoy the satisfying glow of your handiwork each time your car catches the light. After all, your car deserves a little TLC, and now you have the know-how to give it just that.