

Installing a car stereo system is more than just a way to pump up your favorite tunes—it’s an opportunity to transform your vehicle into a personalized sound sanctuary. Whether you’re upgrading from a factory model or building a custom setup from scratch, understanding the wiring process is key to unlocking crystal-clear audio and seamless control. In this guide, we’ll walk you through the essential steps to wire a car stereo system, breaking down complex connections into manageable parts. Join us as we demystify the interplay of wires and signals, so you can hit the road with confidence and a soundtrack tailored just for you.
Table of Contents
- Understanding Your Car Stereo Components and Wiring Basics
- Choosing the Right Tools and Materials for a Smooth Installation
- Step-by-Step Guide to Disconnecting and Removing Your Old Stereo
- Mastering the Wiring Harness: Connections and Color Codes Explained
- Securing and Testing Your New Stereo for Optimal Performance
- Troubleshooting Common Wiring Issues and Ensuring Long-Term Reliability
- Q&A
- Concluding Remarks

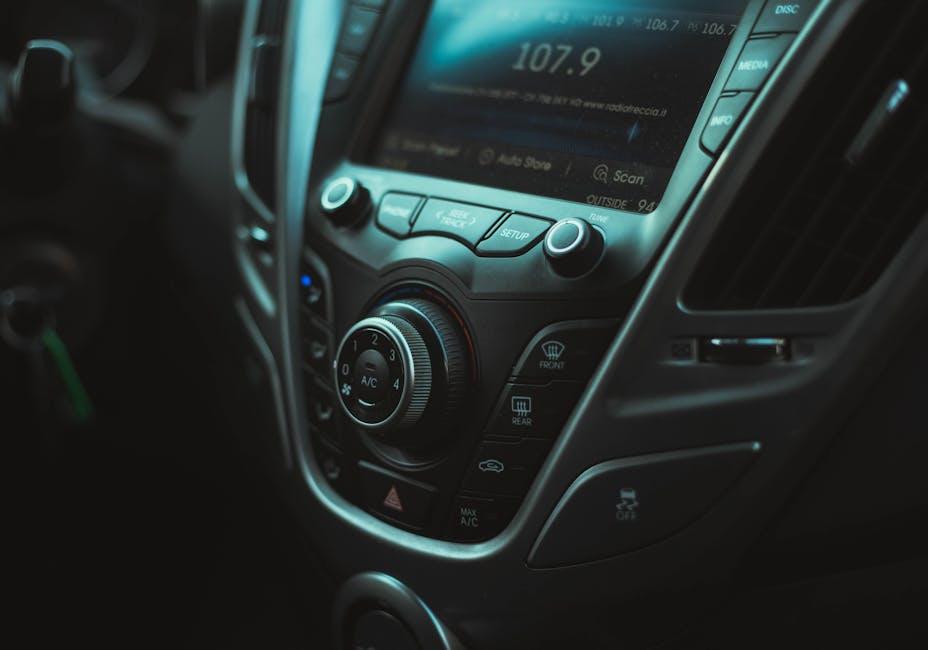
Understanding Your Car Stereo Components and Wiring Basics
Every car stereo system is made up of several key components that work in unison to deliver crisp sound and seamless connectivity. At the heart of it all is the head unit, which acts as the command center for audio control and source selection. Connected to this are the speakers, responsible for translating electrical signals into sound waves. Behind the scenes, the amplifier powers the speakers by boosting audio signals to ensure volume and clarity. Wiring plays a pivotal role in linking these components, and understanding the function of each wire color—commonly standardized—makes installation and troubleshooting far easier.
When it comes to wiring basics, several essential cables should be on your radar. A typical car stereo harness includes wires for:
- Power (+12V constant and accessory switched)
- Ground
- Speaker outputs (front and rear, left and right channels)
- Remote turn-on for amplifiers
- Illumination and antenna control
| Wire Color | Purpose |
|---|---|
| Red | Switched Power (Ignition) |
| Yellow | Constant Power (Battery) |
| Black | Ground |
| Blue/White | Remote Turn-On |
| White/White-Black | Front Left Speaker (+/-) |
| Gray/Gray-Black | Front Right Speaker (+/-) |
Choosing the Right Tools and Materials for a Smooth Installation
Before diving into the wiring process, it’s essential to assemble the proper tools and materials to ensure a seamless and efficient installation. A reliable wire stripper and crimper, a multimeter for testing connections, and heat-shrink tubing for insulation are a few must-haves in your toolkit. Selecting quality wiring kits designed specifically for car stereos will save you time and prevent potential electrical issues down the road. Don’t overlook essentials like electrical tape and cable ties, which keep your installation neat and secure.
Understanding the specifications of your car stereo and the vehicle model will guide your choices for compatible connectors and adapters. Below is a quick reference table summarizing core materials and their recommended uses:
| Material | Purpose | Key Feature |
|---|---|---|
| Speaker Wire | Connect speakers to amp/stereo | Gauge: 16-18 AWG for clarity |
| Fuse Holder | Protects the wiring circuit | Easy replaceable fuse slot |
| Wire Connectors | Smooth, secure joining of wires | Weatherproof and solder-free |
| Ground Wire | Prevents electrical noise and shorts | High conductivity copper |
- Tip: Always choose materials rated for automotive use to withstand vibrations and temperature changes.
- Tip: Label your wires during installation to avoid confusion and simplify troubleshooting.
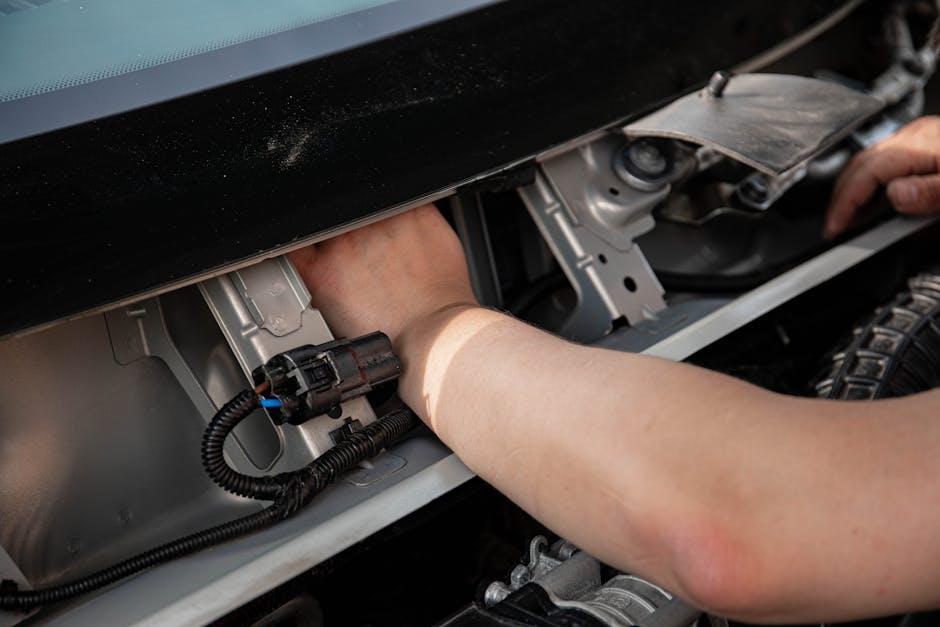
Step-by-Step Guide to Disconnecting and Removing Your Old Stereo
Before you start, make sure to park your vehicle in a safe, well-lit area and disconnect the negative terminal of your car battery. This precaution prevents any electrical shorts or shocks while you work. With the battery off, locate the dashboard panel surrounding your stereo; this usually involves popping off trim pieces or unscrewing retaining bolts—keep a small container ready for these screws to avoid losing them. Gently pry the panel away to reveal the head unit, carefully unplugging any wiring harnesses and antenna cables connected to the back.
As you handle each connection, it’s helpful to create a quick reference list or mark wires with colored tape for easier installation later. Here’s a checklist of essentials to keep track of during removal:
- Power and Ground Wires: Provide electrical current and grounding.
- Speaker Wires: Connect to car speakers for audio output.
- Antenna Connector: Essential for radio reception.
- Additional Cables: Such as USB, auxiliary, or steering wheel controls.
| Tool | Purpose |
|---|---|
| Trim Removal Tool | Safely remove dashboard panels without damage |
| Screwdriver | Remove screws securing the stereo unit |
| Socket Wrench | Handle bolts that may hold the stereo in place |
Mastering the Wiring Harness: Connections and Color Codes Explained
Understanding the wiring harness is crucial for ensuring a smooth installation and flawless performance of your car stereo system. Each wire color typically serves a specific function, making it easier to identify and connect the right cables without confusion. Here’s a quick reference to keep on hand during installation:
- Red: Ignition/Accessory power – supplies power when the ignition is turned on.
- Yellow: Constant 12V power – provides continuous power for memory functions.
- Black: Ground wire – connects to the car’s chassis for grounding the system.
- Blue: Power antenna or amplifier remote turn-on.
- White/Gray (and their stripes): Speaker wires, with solid colors usually indicating front (white) and rear (gray) and stripes indicating polarity.
Properly connecting these wires not only guarantees a functional audio system but also protects your vehicle’s electrical components. Use this color guide in tandem with the wiring harness diagram that comes with your stereo to avoid any mix-ups. Remember, mismatched connections can lead to shorts or audio imbalance, so double-check each pairing before securing your installation.
| Wire Color | Function | Notes |
|---|---|---|
| Red | Ignition/Accessory Power | Works only when car is ON |
| Yellow | Constant 12V Power | Maintains memory |
| Black | Ground | Connects to chassis |
| Blue | Power Antenna/Remote | Turn on external devices |
| White / Gray | Speaker Outputs | Polarity marked with stripes |
Securing and Testing Your New Stereo for Optimal Performance
Once your stereo wiring is complete, the next crucial step is to secure every connection to prevent disruptions while driving. Start by using heat shrink tubing or quality electrical tape to insulate exposed wires and avoid shorts. Anchor the wiring harness carefully using zip ties or cable clips, ensuring wires don’t dangle near moving parts or sharp edges. This organization not only protects your stereo system from wear and tear but also simplifies future maintenance or upgrades.
Testing the system involves more than just turning it on. Perform a thorough check using a checklist to verify all functions operate seamlessly:
- Power Consistency: Confirm that the stereo powers on and remembers settings after ignition cycles.
- Sound Quality: Listen for distortion, static, or uneven speaker outputs across all channels.
- Connectivity: Test Bluetooth, auxiliary, and USB inputs for stable and clear audio streaming.
- Controls Response: Ensure buttons and touchscreen (if applicable) respond accurately to inputs.
| Test Aspect | What to Check | Expected Outcome |
|---|---|---|
| Power | Turn on/off with ignition | Starts and shuts down smoothly |
| Sound | Play different audio sources | Clear, balanced sound without buzzing |
| Controls | Use volume and track buttons | Instant, correct response every time |
| Connectivity | Pair Bluetooth devices | Stable connection with no dropouts |

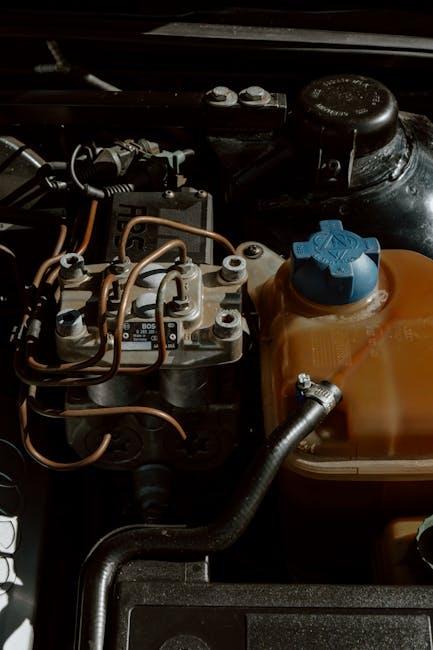
Troubleshooting Common Wiring Issues and Ensuring Long-Term Reliability
Car stereo wiring can be prone to occasional hiccups—common issues like loose connections, incorrect grounding, or even blown fuses can quickly turn your sound system silence into static. Start by carefully inspecting all wire connections to ensure they’re snug and securely crimped. Use a multimeter to verify continuity and voltage at critical join points, paying special attention to the ground wires, as a poor ground is often the silent culprit behind unpredictable audio behavior. Take time to label each wire for future troubleshooting ease, and avoid splicing or twisting wires without using appropriate connectors.
For long-term reliability, consider the quality of materials and installation techniques. Employ heat shrink tubing or electrical tape around exposed joints to prevent corrosion and short circuits. Additionally, routing wires away from sharp metal edges and heat sources will safeguard against damage. Below is a quick checklist to maintain a robust wiring system:
- Secure all connections with crimp connectors or solder.
- Ensure correct fuse rating to protect the system.
- Route cables intelligently, avoiding high-heat areas.
- Regularly inspect wiring for wear and damage.
| Common Issue | Solution |
|---|---|
| Intermittent Sound | Check ground wire, tighten connections |
| No Power | Inspect fuses, confirm proper voltage |
| Static Noise | Re-route cables to avoid interference |
| Speaker Distortion | Verify wiring polarity and speaker impedance |
Q&A
Q&A: How to Wire a Car Stereo System
Q1: What tools and materials do I need to wire a car stereo system?
A1: To wire a car stereo, you will typically need wire strippers, crimp connectors or soldering tools, electrical tape, a multimeter, wiring harness adapters specific to your car model, and of course, the new stereo system itself. Having a service manual for your vehicle can also be immensely helpful.
Q2: Where do I begin when wiring a new car stereo?
A2: Start by disconnecting the car battery to avoid any shorts. Then remove the old stereo and take note of the factory wiring colors. Using a wiring harness adapter simplifies the job, matching your vehicle’s wiring to the stereo’s connections. From there, connect power wires, speaker wires, and any additional inputs or outputs following manufacturer instructions.
Q3: How do I identify the wiring for power, ground, and speakers?
A3: Power wires are usually red (ignition/accessory) and yellow (constant 12V). The ground wire is typically black. Speaker wires come in pairs of different colors—usually one solid color and one with a stripe to distinguish positive and negative. Consulting a wiring diagram for your specific vehicle model is key.
Q4: Can I install an aftermarket stereo without cutting the factory wires?
A4: Yes, using a wiring harness adapter designed for your car lets you plug into the factory wiring without cutting or splicing. This not only makes installation cleaner but also preserves your car’s original wiring for easier future upgrades or resale.
Q5: What should I do if the stereo won’t turn on after wiring?
A5: Double-check your connections—make sure the yellow (constant power) and red (accessory power) wires are properly connected, and the black ground wire has a secure chassis ground. Use a multimeter to verify voltage at these points. Also, ensure the fuse in your stereo’s wiring harness or car fuse box isn’t blown.
Q6: How can I avoid interference or noise in the audio after installation?
A6: Properly grounding the system is critical to avoid noise. Keep power and speaker wires separated to minimize electromagnetic interference. Use shielded cables for auxiliary inputs and ensure all connections are secure and insulated to prevent grounding issues.
Q7: Are there additional considerations for modern car stereos with Bluetooth or USB?
A7: Yes, many modern units require connections for external microphones, USB hubs, or Bluetooth antennas. Follow the stereo’s wiring guide carefully. You may also need to route antenna cables and auxiliary inputs carefully to maintain signal strength and audio quality.
Q8: Is it recommended to seek professional help for wiring a car stereo?
A8: If you’re unfamiliar with automotive wiring or unsure about the process, consulting a professional can save time and prevent damage. A pro installer ensures correct wiring, optimal sound, and integration with your vehicle’s electronics, especially with complex or factory-integrated systems.
Q9: Can I wire my car stereo to support multiple speakers or amplifiers?
A9: Absolutely. You’ll need an amplifier wiring kit for power distribution and additional speaker wires running from the stereo to the amp and from the amp to the speakers. Make sure your wiring gauge is sufficient for the power requirements and follow the amplifier’s installation guide carefully.
Q10: What’s the best way to test the system once wiring is complete?
A10: Before reassembling the dashboard, reconnect the battery and power on the stereo. Test all speakers individually to verify correct polarity and sound quality. Check all functions like radio, auxiliary inputs, Bluetooth, and controls. Once satisfied, neatly secure all wires and reinstall panels.
This creative Q&A offers clear, practical guidance in a straightforward tone, making the sometimes daunting task of wiring a car stereo system approachable for enthusiasts and novices alike.
Concluding Remarks
Wiring a car stereo system may seem daunting at first, but with patience, the right tools, and a clear plan, it becomes a straightforward and rewarding project. Whether you’re upgrading for better sound quality or customizing your ride’s audio experience, understanding the basics ensures every connection is solid and every beat hits just right. So, take your time, double-check your work, and soon enough, your car will be filled with the perfect soundtrack for every journey. Happy wiring!